
How Do RV Leveling Blocks Work: Easy Setup Guide
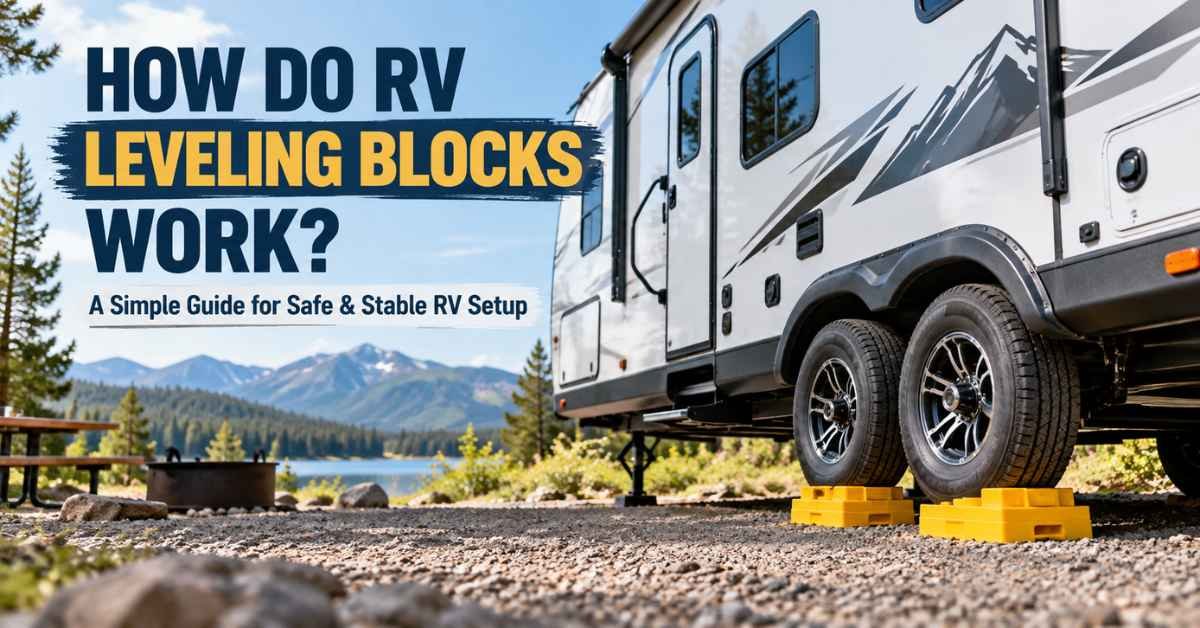
RV leveling blocks raise low wheels, spread weight, and create a stable, level base for your parked RV.
Learning how do RV leveling blocks work helps you set up faster and avoid stress on your tires, jacks, slide-outs, and frame. This guide explains the mechanics, the safest setup method, common mistakes, and how to choose blocks that fit your RV and campsite.
What Are RV Leveling Blocks?
RV leveling blocks are strong platforms placed under an RV’s tires, stabilizer jacks, or leveling jacks. They raise selected points of the RV so the vehicle sits closer to level on uneven ground.
Most blocks are made from high-strength plastic, resin, wood, or rubber. Many have a stackable design, which lets you build the height you need without carrying one very tall block.
The basic goal is simple: create a firm, even surface under the RV. A campsite may look flat, but small slopes can affect sleep, refrigerator operation, door movement, water drainage, and slide-out performance.

How Do RV Leveling Blocks Work?
RV leveling blocks work by adding height under the low side of the RV. Suppose the left side sits lower than the right side. You place blocks under the left-side tires, then slowly drive onto them until the RV body is more level.
The blocks do not lift the entire RV by themselves. The tires provide the main support when you drive onto a leveling ramp. The blocks simply raise the tires and spread the load over a larger, stronger surface.
For jack-supported leveling, blocks work in a slightly different way. You place them under the feet of hydraulic or electric jacks. The jacks then extend onto the blocks, which reduces the distance they must travel and helps prevent the feet from sinking into soft soil.
Think of the blocks as a firm bridge between the RV and the ground. They distribute weight, reduce ground pressure, and give the tires or jacks a more stable contact point.
The leveling process in simple terms
Here is how do RV leveling blocks work during a typical setup:
- You check the campsite and park the RV.
- You measure the side-to-side slope with a small level.
- You place blocks near the low-side tires.
- You drive or guide the RV onto the blocks.
- You check the level again.
- You add or remove block layers as needed.
- You place wheel chocks on both sides of the tires.
- You use front-to-back leveling equipment if required.
Never use leveling blocks as a substitute for wheel chocks. Blocks raise the RV, but chocks help stop it from rolling.
Why Do RVs Need Leveling Blocks?
An RV needs a reasonably level position for comfort, safety, and proper equipment operation. A slight tilt may not seem serious at first, but it can create several problems during a long stay.
Many RV refrigerators use an absorption cooling system. These systems depend on gravity and correct internal fluid flow. Operating far out of level for long periods can damage the cooling unit, although the exact safe limit depends on the refrigerator design and its manual.
Leveling also helps slide-outs move smoothly. A tilted RV can place extra stress on slide mechanisms, seals, and rollers. Doors may swing open or shut, and cabinet contents may shift while you walk inside.
Leveling blocks can also protect the campsite. Without them, jack feet may press into mud, sand, grass, or asphalt. A wide block spreads the load and helps keep the jack from sinking.
Common reasons to use RV leveling blocks include:
• Improving sleep and walking comfort
• Supporting tires on uneven campsites
• Reducing jack extension
• Preventing jack feet from sinking
• Helping the refrigerator operate within its intended position
• Making slide-out operation more consistent
• Protecting pavement, grass, and soft soil

Types of RV Leveling Blocks
Different RV leveling blocks serve different purposes. Choosing the right style depends on your RV weight, tire layout, jack system, campsite conditions, and storage space.
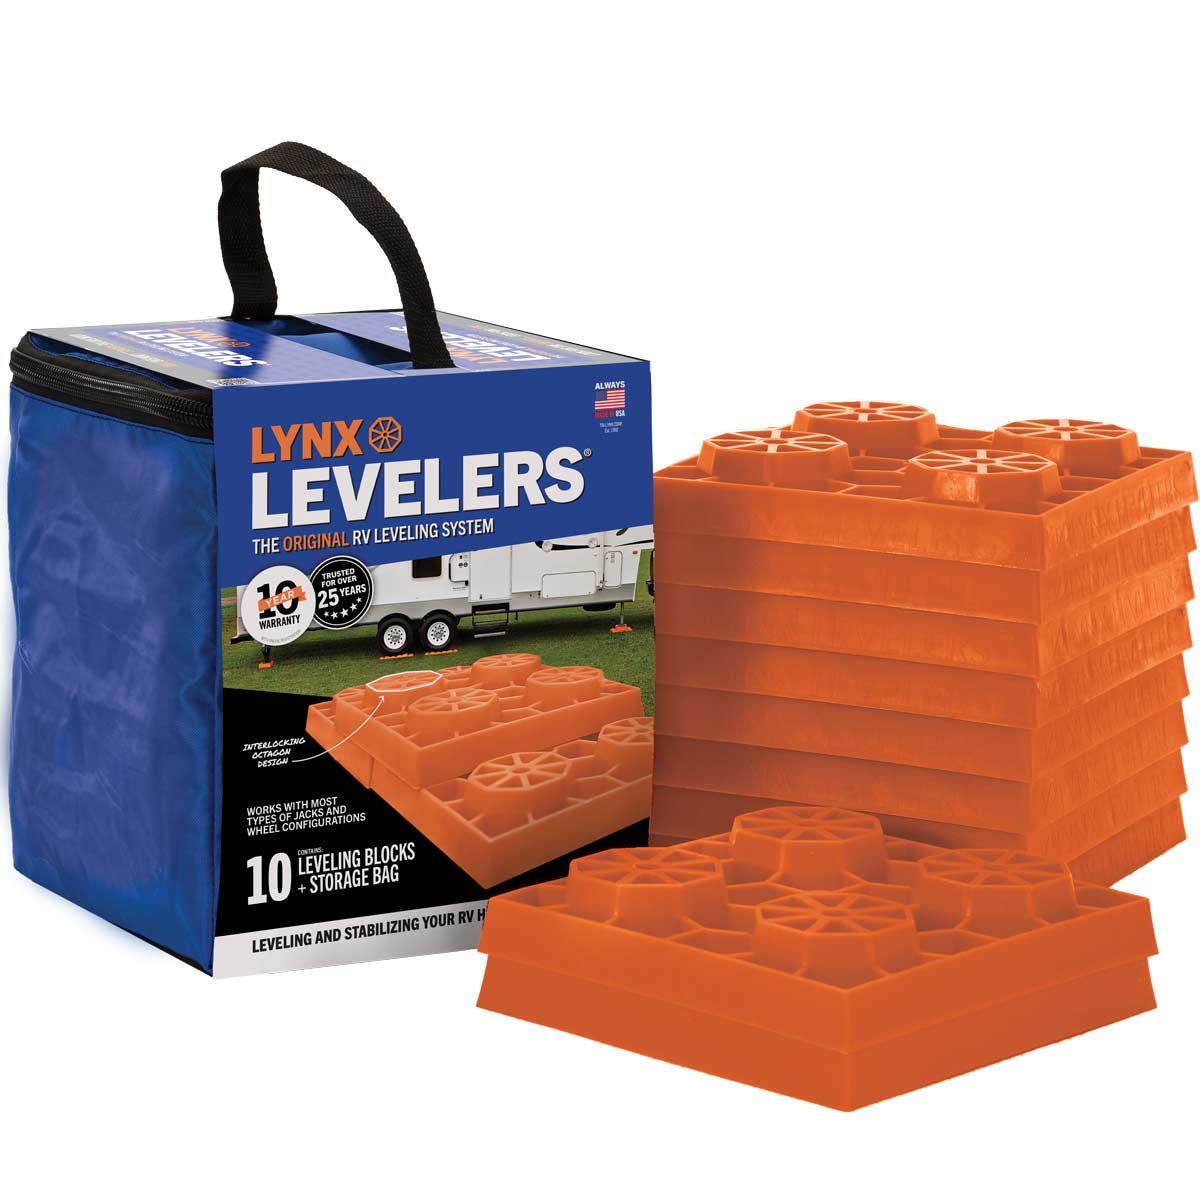
Interlocking plastic blocks
These blocks connect like small building pieces. They are light, easy to clean, and simple to stack. Many sets include enough pieces to form ramps or jack platforms.
They work well for travel trailers, fifth wheels, motorhomes, and tow vehicles. Their main limitation is that low-cost plastic can crack under heavy loads or in very cold weather.
Leveling ramps
Ramps have a sloped shape. You drive the tire up the ramp and stop when the RV reaches the desired height. Some ramps include a separate chock or stop.
Ramps are fast and convenient, especially when one person is setting up. They require careful positioning because driving too far can place the tire beyond the supported area.
Single-point blocks
These are larger blocks designed for one tire or one jack foot. They often have a broad base and a textured top. They are useful when you need a stable support point but do not need a long ramp.
Wood leveling blocks
Pressure-treated lumber can provide strong support when cut to the right size. Wood is often inexpensive and easy to replace, but it is heavy and can absorb water.
Avoid rotten, split, or untreated wood. A broken block under a jack can cause a sudden shift, so inspect wood before every trip.
Rubber and composite pads
Rubber pads can reduce sliding and protect pavement. Composite pads are often lighter than wood and resist water damage.
Do not assume that every pad is suitable for every jack. Check its load rating and make sure the pad is large enough for the jack foot.

How to Use RV Leveling Blocks Safely
Correct placement matters as much as block strength. A strong block can still fail if it sits on a slope, soft soil, or an unstable surface.
1. Inspect the campsite
Look for holes, loose gravel, soft mud, tree roots, and sharp stones. Move the RV to a firmer area when possible.
Check overhead branches and nearby objects before making your final parking position. Give yourself enough room to deploy slide-outs and awnings.
2. Find the low side
Place a small bubble level on the floor, counter, or another stable surface inside the RV. You can also use a wireless RV level system or a phone app, but confirm the reading with a physical level.
Measure side to side first. This measurement tells you which tires need blocks.
3. Place the blocks
Build a short, wide ramp or platform. Keep every block flat and fully supported by the block below it.
The block surface should extend across the tire contact area. Never balance a tire on the edge of a small block.
4. Drive onto the blocks slowly
Use a spotter when possible. Approach at a slow speed and stop when the tire is centered on the ramp or platform.
Set the parking brake, place the transmission in park, and follow the manufacturer’s instructions for your specific RV.
5. Recheck the level
Small adjustments can make a major difference. If the RV still leans, lower it safely and add or remove a block layer.
Do not place a thin object under only one corner of a heavy RV. Uneven support can create concentrated pressure and movement.
6. Chock the wheels
Place wheel chocks on both sides of the tires that remain on the ground. Use chocks rated for your RV’s weight.
For a travel trailer, many owners also use a wheel chock between tandem tires. This can reduce fore-and-aft movement, but it does not replace proper leveling or stabilizer use.
7. Level front to back
Use the tongue jack on a travel trailer or the leveling system on a motorhome. Place a suitable pad under the jack foot when the ground is soft.
Always follow the RV and jack manuals. Different systems have different limits and operating steps.

How Do RV Leveling Blocks Work With Different RV Types?
The correct method changes with the RV design. A lightweight travel trailer does not place the same demands on blocks as a large diesel motorhome.
Travel trailers
Travel trailers often need side-to-side leveling before you disconnect from the tow vehicle. Place blocks under the low-side tires, then slowly tow the trailer onto them.
After chocking the wheels, disconnect the tow vehicle. Use the tongue jack to level the trailer from front to back. Finally, lower the stabilizer jacks onto solid pads.
Stabilizer jacks are not designed to lift the full trailer for major leveling. Using them to raise the trailer can bend the jack, damage its mounting point, or make the trailer unstable.
Fifth wheels
Fifth wheels usually use the landing gear for front-to-back support. Level the trailer side to side with blocks under the tires before unhitching.
Once the tires are chocked, use the landing gear and rear stabilizers as directed. Keep the landing gear on broad, solid pads, especially on soil or asphalt.
Class A, B, and C motorhomes
Motorhomes may use hydraulic, electric, or manual leveling systems. Some systems level the entire coach, while others require you to choose the low side first.
Read the leveling system manual before using blocks. Some manufacturers recommend blocks under the tires, while others focus on pads under the jack feet.
Dual and tandem wheels
Dual tires need full and even support. A block that touches only one tire can overload that tire and create an unstable setup.
Use a system designed for the tire arrangement. The block should support the load across the intended width, not just one narrow contact point.

How Many RV Leveling Blocks Do You Need?
The number of blocks depends on your RV layout and the amount of height needed. A small trailer on a nearly flat campsite may need only a few pieces. A large motorhome on a slope may need several platforms.
You need enough blocks for:
• Each tire position that requires a height change
• Each jack foot that needs a firm base
• The height and width of the ramp
• The slope of the campsite
• Your chosen chock system
Follow the load rating printed by the block maker. Do not estimate capacity based only on size or appearance.
For example, if an RV weighs 12,000 pounds, that weight is not always shared evenly. Braking, cargo placement, axle design, and the slope can change the load on each tire or jack.
A useful practice is to buy one complete set more than you think you need. Running short by two blocks at a rainy campground is a frustrating lesson. Store the blocks in a clean bag or storage tub so dirt does not prevent interlocking pieces from fitting.

Common Mistakes to Avoid
Many leveling problems come from rushed setup, not from poor equipment. Taking five extra minutes can prevent damage and improve comfort.
Using leveling blocks as wheel chocks
A ramp may stop a tire from rolling in one direction, but it may not secure the RV from movement. Use dedicated chocks that fit the tire size and RV weight.
Stacking blocks too high
Tall, narrow stacks can tip. Build a wide base and follow the manufacturer’s stacking limit.
Leveling with stabilizer jacks
Stabilizer jacks support an RV after it is parked. They are not usually meant to lift the RV several inches or correct a major side-to-side slope.
Placing blocks on soft ground
Mud can swallow a block. Sand can shift under load. Add a larger support pad or move to firmer ground when possible.
Leaving gaps between blocks
Every layer should sit flat. Gaps can cause blocks to twist or break when weight transfers onto them.
Ignoring the load rating
The block rating must match the force placed on it. Consider the RV’s gross vehicle weight rating, axle loads, and jack loads rather than the empty vehicle weight alone.
Forgetting to recheck after extending slides
A slide-out changes the weight distribution. After deploying slides, check for movement and confirm that the RV remains stable.

How Do RV Leveling Blocks Work on Slopes?
On a mild slope, blocks raise the low side until the RV is closer to level. On a steep slope, however, blocks may require an unsafe stack height.
Do not try to correct a severe slope with a tall tower of loose blocks. Choose another campsite when possible. A safe site with a small adjustment is better than an unstable site with a large one.
Park with the RV facing the safest direction. Keep the tires straight when driving onto ramps, and avoid placing a tire near the downhill edge.
On a slope, gravity increases the chance of rolling. Chock the wheels before disconnecting a trailer, and use the parking brake when appropriate. If you feel the RV shift, stop the setup and reassess the surface.
Choosing the Best RV Leveling Blocks
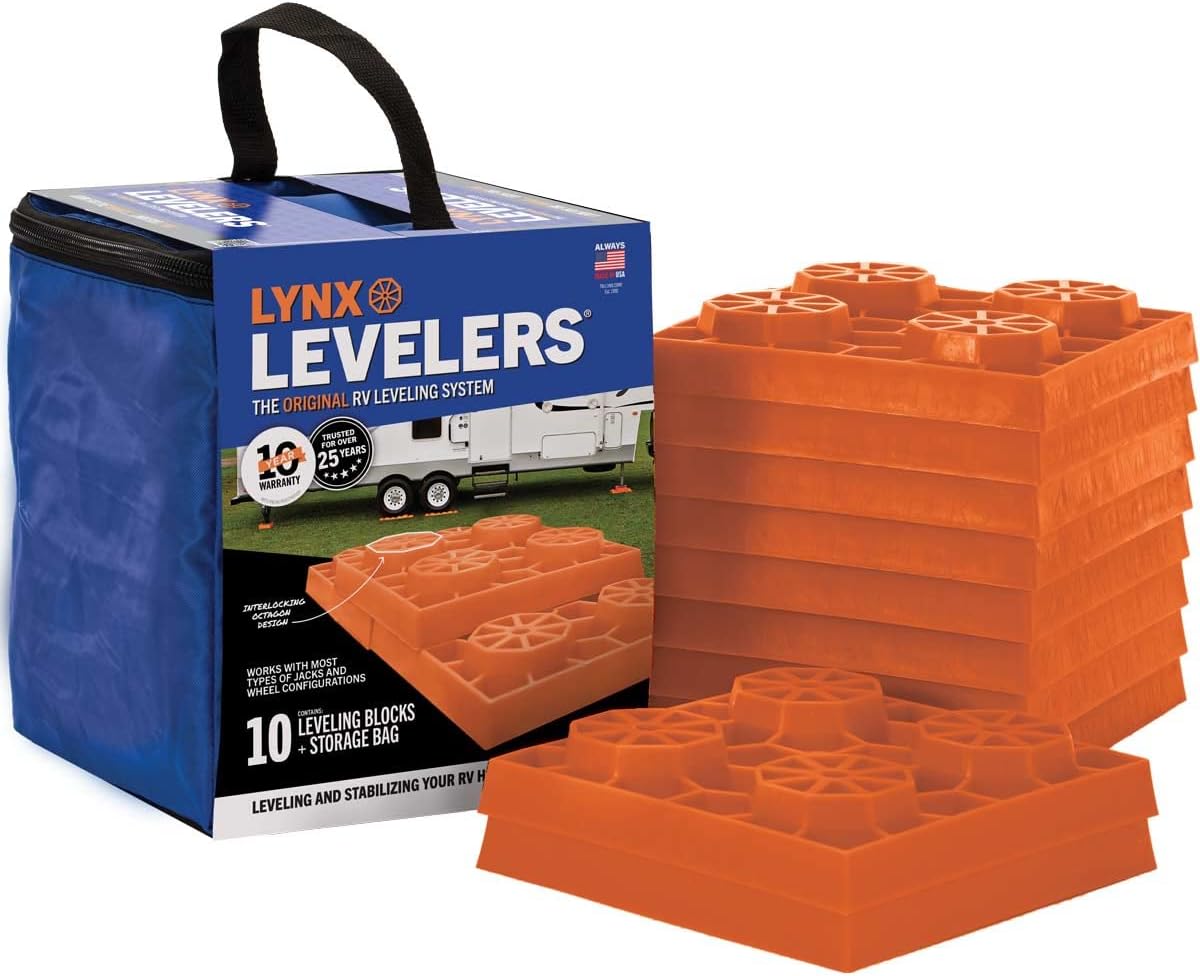
The best RV leveling blocks match your weight, tire layout, and travel habits. A compact trailer may benefit from lightweight interlocking blocks. A heavy motorhome may need larger composite pads with a higher load rating.
Consider these features:
• Load capacity: Choose a rating that exceeds the expected load.
• Block size: Larger blocks provide more support but take more storage room.
• Surface grip: Textured surfaces can reduce sliding.
• Stack design: Interlocking edges help keep layers aligned.
• Weather resistance: Water-resistant materials last longer outdoors.
• Temperature performance: Some plastics become brittle in extreme cold.
• Ease of cleaning: Mud and gravel should rinse away easily.
• Storage: The set should fit your cargo space without blocking important equipment.
Read both the block instructions and your RV manufacturer’s guidance. Product ratings are not always tested under identical conditions, so avoid comparing numbers without checking how each rating was established.
Practical Setup Lessons From the Road
One lesson experienced RV travelers learn quickly is that level does not mean perfectly flat. A small, safe correction is usually better than chasing an exact reading on an uneven site.
Another useful habit is to check the blocks after the first night. Rain can soften soil, and repeated movement can settle gravel. If the RV has shifted, secure the area before using the slides or moving inside.
I also recommend keeping a small hand level in the RV even if you have an automatic leveling system. Electronic systems are helpful, but a simple level can confirm whether the floor, refrigerator area, or counter is actually sitting as expected.
Before leaving, retract slides and jacks according to the manual. Remove chocks only when the RV is connected or ready to move. Walk around the vehicle and check for blocks, pads, cords, and loose gear.
Maintenance and Safety Checks
Inspect RV leveling blocks before each trip. Look for cracks, crushed edges, deep cuts, warped surfaces, and missing interlocking pieces.
Clean dirt and gravel from the connecting surfaces. A small stone can stop blocks from sitting flat and may create a weak point under load.
Replace any block that shows damage or has been exposed to more weight than its rating. Do not repair a cracked load-bearing block with glue or tape.
Keep blocks away from heat sources, chemicals, and direct sunlight during long-term storage. Follow the product instructions because some materials weaken after long exposure to ultraviolet light.
If you use wood, inspect it for rot, splitting, and moisture damage. Wood can be strong, but only when it remains solid and fully supported.
Frequently Asked Questions About How Do RV Leveling Blocks Work
Do RV leveling blocks go under the tires or jacks?
They can go under either, depending on the block design and the leveling method. Tire blocks raise one side of the RV, while jack pads give leveling jacks a wider, firmer base.
Are RV leveling blocks necessary on every campsite?
No. They are most useful on uneven, soft, muddy, sandy, or gravel campsites. Even on a flat site, jack pads may help prevent the feet from sinking.
Can RV leveling blocks replace stabilizer jacks?
No. Blocks can level tires and support jack feet, but stabilizer jacks reduce movement after the RV is parked. Use each part for its intended purpose.
How high can you stack RV leveling blocks?
The safe height depends on the manufacturer’s design and load rating. Follow the stated stacking limit, and avoid tall stacks that are narrow or poorly supported.
Can you use wooden boards instead of RV leveling blocks?
Yes, solid pressure-treated boards can work when they are wide, intact, and properly supported. Avoid cracked, rotten, slippery, or undersized wood.
Do leveling blocks damage RV tires?
Properly placed blocks should not damage tires. Problems can occur when a tire rests on a sharp edge, sits partly off the block, or remains heavily loaded on an uneven surface.
Should you use wheel chocks with leveling blocks?
Yes. Leveling blocks are not a complete substitute for wheel chocks. Chock the wheels securely before disconnecting a trailer or using jacks.
Conclusion
RV leveling blocks work by raising low tires or supporting jack feet on a wider, firmer surface. They help improve comfort, protect equipment, reduce sinking, and make setup safer when used with proper chocks and stable ground.
Choose blocks with the right load rating, build short and wide platforms, check your RV level twice, and follow the instructions for your tires, jacks, refrigerator, and leveling system. Practice the process at home before your next trip, then explore more RV setup guides and share your best leveling tips with fellow campers.


