HWH RV Leveling System: Easy Setup Guide
Introduction
An HWH RV leveling system helps level a motorhome after you park. Most HWH systems use hydraulic jacks. Some use air suspension, and some combine hydraulic leveling with air control. The correct operating steps depend on the HWH model installed in your U.S. motorhome.
For safe operation, park on firm ground, set the parking brake, follow the control-panel instructions, and use the owner’s manual for your exact system. Do not place any part of your body under an RV supported only by leveling jacks.

What Is an HWH RV Leveling System?
An HWH RV leveling system is a built-in device that helps reduce coach movement and correct uneven parking. HWH systems are common in Class A motorhomes and some specialty RVs in the United States.
A typical hydraulic system includes:
- A control panel
- A hydraulic pump and reservoir
- Hydraulic hoses
- Solenoid valves
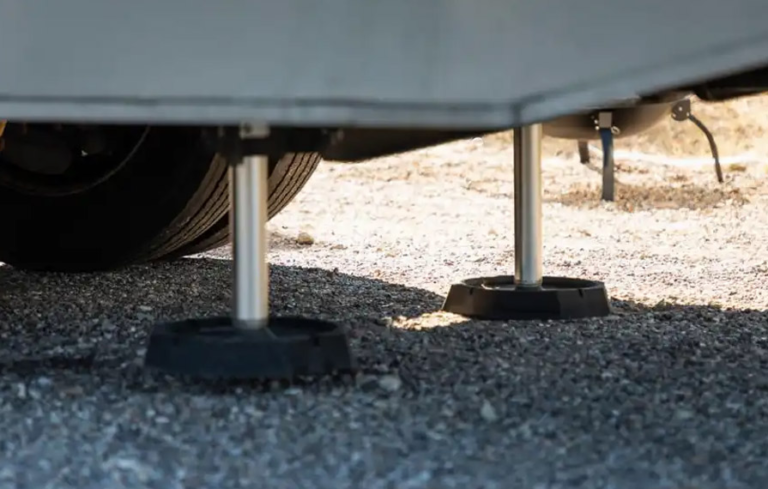
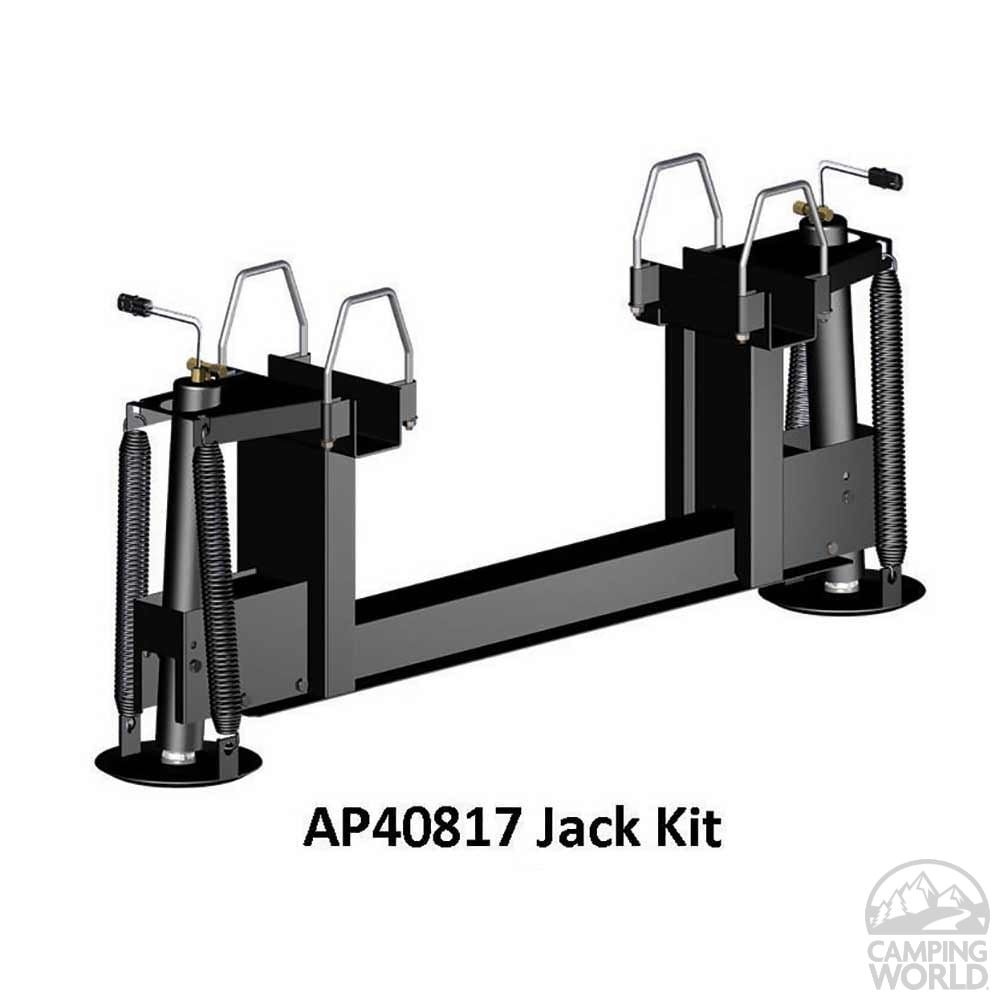
- Two or more leveling jacks
- An electrical control system
- Safety and ignition interlocks
The system may be automatic, semi-automatic, or manual. An automatic system checks the coach position and deploys the jacks in a programmed sequence. A manual system lets the operator control individual jacks or pairs of jacks.
Hydraulic leveling versus air leveling
These terms describe two different methods.
| System type | Main parts | How it levels the RV | Common concern |
|---|---|---|---|
| Hydraulic leveling | Pump, fluid, valves, jacks | Jacks extend to support the coach | Leaks, low fluid, weak power, or stuck valves |
| Air leveling | Air springs, valves, compressor, sensors | Air pressure changes ride height | Air leaks, compressor faults, or sensor errors |
| Combination system | Hydraulic and air components | Uses both methods | More parts and more possible fault points |
Hydraulic jacks usually provide firm support at the parking site. Air leveling may offer a smoother process but depends on the coach air system and the condition of its air springs.
Your RV may have an HWH system that looks different from another owner’s system. The control panel number, jack style, wiring, and leveling sequence can vary by coach and model year.
What the system can and cannot do
An HWH system can help:
- Reduce side-to-side rocking
- Improve comfort while parked
- Keep the coach more level
- Support the coach at a campsite
- Make slide-out operation safer when the coach maker requires leveling first
It is not a substitute for:
- Wheel chocks
- A parking brake
- Proper tire support
- A rated jack for tire service
- Jack stands used according to the service manual
- A safe site with enough clearance
Leveling jacks are designed for leveling and stabilizing the RV. They are not a general-purpose lifting tool for repairs.
How to Use an HWH Hydraulic Leveling System
Use the control panel and the vehicle manual together. HWH supplies the leveling equipment, but the motorhome manufacturer may set the operating rules for that coach.
Before you start
Complete these checks:
- Choose the firmest and most level part of the campsite.
- Check for soft soil, large stones, holes, curbs, and low branches.
- Keep all people and pets away from the jack area.
- Put the transmission in Park, or in the gear required by the chassis maker.
- Set the parking brake.
- Chock the wheels if the owner’s manual calls for it.
- Keep the engine running if the system instructions require it.
- Check that the jacks have enough room to extend.
- Look for utility covers, loose gravel, and other objects beneath the coach.
The engine requirement matters because the pump can draw a high electrical load. Some systems also use the running engine as part of the safety interlock. Other systems may have different instructions. Do not bypass an interlock to force operation.
Basic automatic leveling sequence
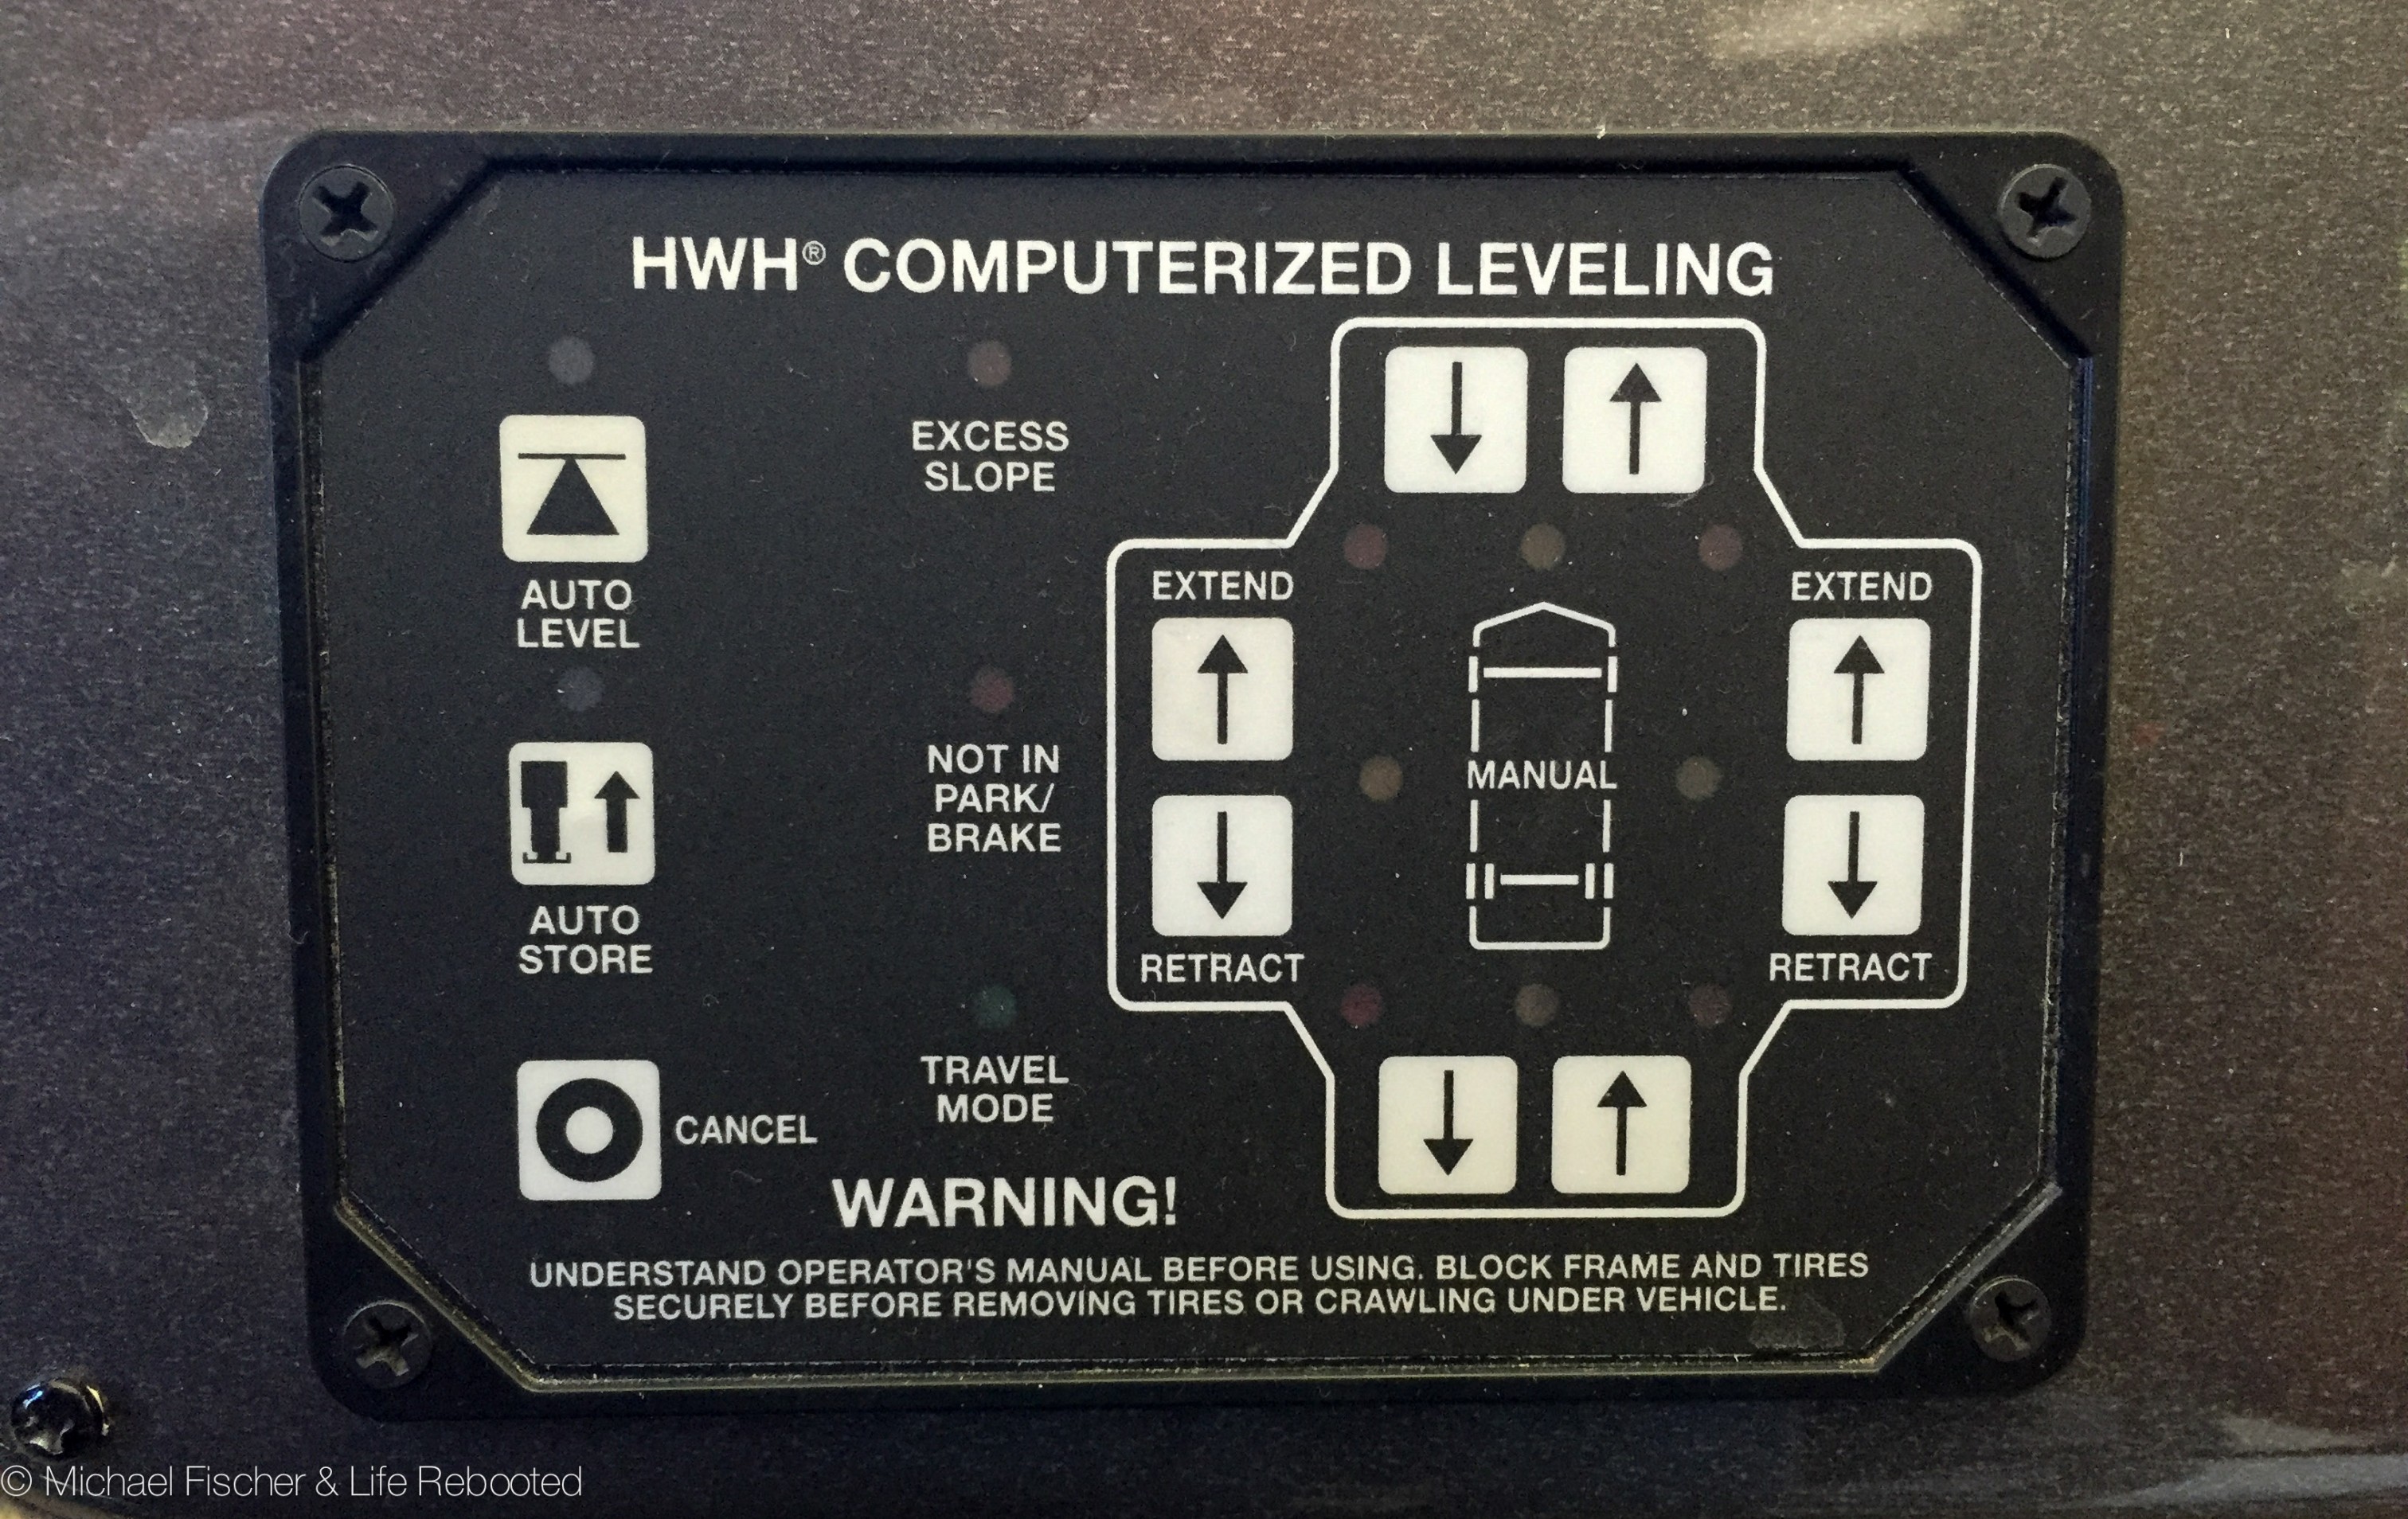
The labels differ by panel, but the process often follows this pattern:
- Turn on the leveling control.
- Confirm that the parking brake is set.
- Press the automatic or “Auto Level” function.
- Watch each jack as it extends.
- Stop the process if a jack moves in an unsafe direction or contacts an object.
- Wait for the system to finish.
- Check the coach with a small bubble level or a digital level.
- Confirm that the jacks are stable and the coach is not twisted.
- Extend slide-outs only after following the RV maker’s instructions.
Automatic leveling does not remove the need for supervision. Watch the jacks, the coach body, and nearby objects during the full cycle.
Manual leveling sequence
Manual controls require more care. The goal is to move the coach in small steps while keeping the frame and suspension within a safe range.
A common approach is:
- Extend the front or rear jacks until they are near the ground.
- Bring the low side up in small increments.
- Keep the coach as close to level as practical.
- Avoid lifting a wheel far off the ground.
- Stop when the coach is stable and the control panel indicates a normal condition.
Do not assume that every HWH panel uses the same order. Some systems use front and rear pairs. Others allow individual jack control.
Signs of a successful setup
A properly leveled RV should:
- Feel stable when people walk inside
- Sit within the range stated by the coach maker
- Have jacks firmly planted
- Show no hydraulic fluid leak
- Keep all wheels in a safe position
- Allow slide-outs to operate without binding
- Show no warning light or error code
A refrigerator may need to be reasonably level for safe operation, but the refrigerator maker’s instructions control the allowed limits. Do not use the leveling system as a way to correct a major slope beyond the coach or jack limits.

How to Retract HWH Leveling Jacks
Retract the jacks before moving the RV. A partially retracted jack can strike the road, damage the jack, or cause a serious loss of control.
Normal retraction steps
- Start the engine if the HWH and chassis manuals require it.
- Confirm that the transmission and parking brake are in the required positions.
- Turn on the leveling panel.
- Press “Store,” “Retract,” or the matching control.
- Watch each jack return to its travel position.
- Wait for the warning light or buzzer to clear.
- Walk around the RV and inspect every jack.
- Check that the jacks are fully stowed before driving.
Some HWH systems use springs to retract the jacks. Other designs use hydraulic pressure or different return methods. A slow or incomplete return may indicate weak springs, contamination, a bent jack, a valve problem, low voltage, or a hydraulic fault.
Never drive because the panel appears normal. Perform a visual check.
If a jack will not retract
Do not place your body under the RV. First check:
- Whether the control is actually in “Store” or “Retract”
- Whether the engine and parking brake interlocks are satisfied
- Battery voltage and main power connections
- Hydraulic fluid level, if the system uses fluid
- Visible hose damage or fluid leakage
- Dirt, ice, or an object blocking the jack
- A bent jack cylinder or damaged foot
If the system has a manual retraction procedure, use only the procedure in the HWH manual for that model. Do not loosen hydraulic fittings to release pressure unless the service instructions specifically tell you to do so. Pressurized fluid can penetrate skin and cause a medical emergency.

HWH RV Leveling System Troubleshooting
Start with the safest and simplest checks. Many apparent jack failures result from low battery voltage, an incorrect parking-brake condition, a blown fuse, or a system that has not completed its cycle.
Troubleshooting table
| Symptom | Possible causes | First safe checks |
|---|---|---|
| Panel has no power | Low battery, blown fuse, bad ground, failed switch | Check chassis voltage, fuses, grounds, and the main disconnect |
| Pump does not run | Interlock not satisfied, relay fault, weak battery, motor fault | Confirm Park, parking brake, engine status, and battery condition |
| One jack does not extend | Closed valve, wiring fault, obstruction, damaged jack | Inspect wiring and clearance; compare with other jacks |
| Jack extends but will not hold | Hydraulic leak, leaking valve, damaged cylinder seal | Look for fluid and stop using the system if support is unreliable |
| Jack retracts slowly | Weak springs, low voltage, bent cylinder, cold or contaminated fluid | Check battery power and inspect for physical damage |
| Coach is not level | Uneven ground, incorrect zero setting, sensor issue, poor manual sequence | Recheck the site and follow the model-specific calibration process |
| Alarm stays on | Jack not fully stored, sensor fault, low fluid, control error | Inspect all jack legs and read the panel instructions |
| Pump runs but jacks do not move | Low fluid, valve issue, air in the system, pump problem | Check the reservoir and stop if a leak is present |
| System levels, then sinks | Internal or external hydraulic leak, valve leakage, soft ground | Inspect the ground and all hydraulic components |
These causes are not interchangeable. For example, a leaking hydraulic cylinder needs a different repair from a failed control switch.
Step 1: Check power and interlocks
Hydraulic pumps need strong electrical power. A battery may show normal voltage with no load and still fail when the pump starts.
Check:
- Chassis battery condition
- Battery terminals
- Ground straps
- Main fuse or circuit breaker
- Control-panel power
- Pump motor connections
- Required ignition, transmission, and parking-brake conditions
If the pump clicks but does not turn, a weak battery, poor connection, failed relay, or worn motor may be involved. Repeatedly holding the switch can overheat the motor and wiring.
Step 2: Check the hydraulic fluid
Use the fluid type and fill level specified by the HWH manual. Do not mix fluids based on color alone. The reservoir may be difficult to see, and the correct level can depend on whether the jacks are retracted.
Low fluid may point to:
- A hose leak
- A fitting leak
- A cylinder seal leak
- An incorrectly filled reservoir
- Fluid loss during previous service
Clean the area before checking for a new leak. A small wet mark can spread and make the source hard to find.
Hydraulic fluid on the ground is both a system problem and a slip hazard. Keep it away from tires and brakes.
Step 3: Inspect the jacks
Look for:
- A bent cylinder
- A damaged foot pad
- Mud or gravel around the moving shaft
- A crushed hose
- Corrosion
- A jack that sits at an unusual angle
- Contact with a suspension part or frame member
Do not scrape or polish a hydraulic shaft with a harsh tool. Damage to the polished surface can harm the seal and create a new leak.
Step 4: Check the valves and wiring
HWH systems use electrically controlled valves. A loose connector, damaged wire, poor ground, or failed solenoid can affect one jack while the others work.
If one jack fails and the rest operate normally, the fault is more likely to be local. If all jacks fail, start with shared parts such as power, control input, pump operation, fluid level, and common wiring.
Do not swap wires or jump terminals unless the service manual gives a clear test procedure. A wrong connection can damage the control board or cause unexpected jack movement.
Step 5: Check calibration or the “zero” setting
Some automatic HWH systems use a level sensor and a stored reference position. If the coach repeatedly stops nose-high, nose-low, or tilted, the sensor or its stored setting may need service.
Before recalibration:
- Park on a known level surface
- Confirm the suspension is at its normal ride height
- Check that the jacks and sensor are mounted correctly
- Use the exact procedure for the control panel
A calibration procedure for one HWH series may not apply to another. Do not treat a generic internet sequence as a substitute for the model manual.

HWH System Warning Lights and Error Conditions
An HWH warning light or buzzer usually means the control system sees an unsafe or incomplete condition. The exact meaning depends on the panel.
Common warning conditions include:
- A jack is not fully retracted
- The system is still in leveling mode
- The parking brake is not set
- The ignition or transmission condition is wrong
- The control panel has lost power
- A sensor has reported an abnormal reading
- A hydraulic component has not responded as expected
Read the label beside the light before resetting anything. A reset may clear the display without fixing the cause.
If the “jacks down” warning remains after visual inspection, measure the actual jack position. A failed position switch or sensor can create a warning even when a jack appears to be stored. Conversely, a faulty indicator can hide a real mechanical problem, so the visual check remains necessary.

HWH Hydraulic Fluid, Leaks, and Maintenance
Routine maintenance can reduce failures, but it cannot replace inspection of worn parts.
Hydraulic fluid care
Follow the HWH manual for:
- Fluid type
- Reservoir level
- Fill position
- Change interval, if one is specified
- Bleeding or purging instructions
- Approved cleaning products
Keep the reservoir cap and filler area clean. Dirt inside a hydraulic system can damage valves and seals.
Do not add fluid simply because the level looks low while the jacks are extended. The reservoir level may rise when the jacks retract. Use the position required by the manual.
Jack maintenance
Inspect the jack shafts and foot pads before and after travel. Keep road salt, mud, and grit from building up around moving parts.
Do not apply a lubricant unless HWH or the coach maker specifies it. Some products can damage seals or collect grit.
Hose and fitting inspection
Look for:
- Wet fittings
- Cracked hoses
- Chafing
- Bulges
- Fluid near a jack
- Fluid sprayed onto nearby parts
A hydraulic hose can fail under pressure without looking severely damaged. Replace a suspect hose with the correct rated part. Do not use a common automotive hose as a substitute.
Air-leveling maintenance
If your HWH system uses air leveling, inspect the air compressor, air lines, fittings, ride-height components, and air springs. A coach that slowly drops may have a leak, a valve problem, or a compressor that cannot maintain pressure.
Never enter the space under an air-suspended RV unless the coach is mechanically supported according to the service procedure. Air suspension can lose pressure without warning.

When to Repair an HWH Leveling System Yourself
Simple checks are reasonable when they do not require you to defeat a safety device or work beneath an unsupported RV.
Usually reasonable owner checks
An owner may often perform these tasks:
- Read the HWH and coach manuals
- Check the control-panel settings
- Inspect for visible leaks
- Check fuses and battery connections
- Confirm the parking brake and transmission position
- Remove loose dirt around a jack foot
- Confirm that all jacks are fully retracted
- Record warning lights and symptoms
Work better left to a qualified RV technician
Seek qualified help for:
- Hydraulic leaks under pressure
- A jack that will not retract
- A bent cylinder
- A failed pump motor
- Control-board faults
- Wiring repairs near high-current circuits
- Sensor calibration that does not respond
- Work beneath the coach
- Air-suspension repairs
- Any repair that requires opening pressurized lines
Bring the technician the HWH model number, coach year, control-panel part number, and a description of what happened. Photos of a leak or warning display can save time.
Stop using the system when
Stop and secure the RV if:
- A jack is unstable
- The coach is lifting a wheel unexpectedly
- Hydraulic fluid is spraying or pooling
- The pump runs continuously
- A jack will not retract
- The frame or body begins to twist
- The RV moves while the system is operating
- You smell overheated wiring
- The system gives an unexplained warning during travel preparation
Use wheel chocks and another safe method to prevent movement. Do not drive until every jack is fully stored and the warning condition is resolved.

HWH Leveling System Versus Aftermarket Leveling Options
An installed HWH system is integrated with the motorhome’s frame, wiring, suspension, and control logic. That can make it convenient, but repairs may require model-specific parts and procedures.
Portable alternatives include:
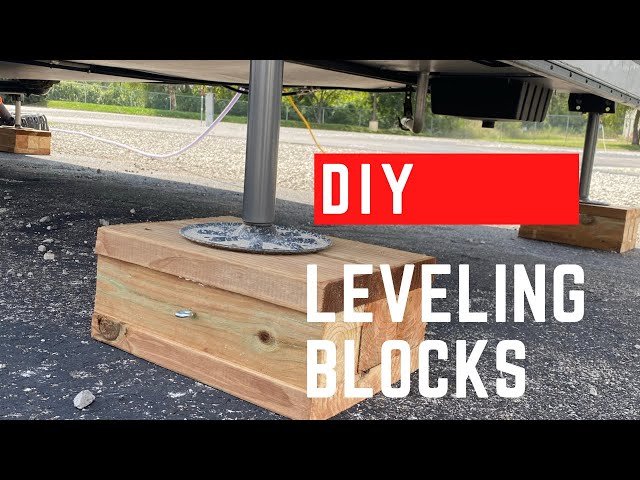
- Manual leveling blocks
- Rigid drive-on ramps
- Portable hydraulic jacks
- External stabilizer products
Each option has limits. Blocks can help with small height changes but must be rated and placed on firm ground. Portable jacks need a correct lifting point and a rated support method. Stabilizers are not automatically substitutes for a full leveling system.
The deciding issue is not brand name alone. Check:
- Vehicle weight
- Chassis type
- Number and location of jacks
- Ground conditions
- Required lift range
- Replacement-part support
- Manual availability
- Access to trained service
A system that fits one Class A motorhome may not fit another, even if both vehicles look similar.

Model Information You Should Record
Before ordering parts or requesting service, record the details below:
- HWH system series or model number
- Control-panel part number
- Motorhome make and model
- Chassis make and model
- Coach model year
- Hydraulic or air system type
- Number of jacks
- Warning lights or displayed codes
- Whether the problem affects one jack or all jacks
- Whether the pump runs
- Recent repairs or battery replacement
- Photos of the control panel, jack, and leak area
HWH manuals and service documents are model-specific. The official HWH Corporation website is the best starting point for identifying manuals, service information, and support options. The motorhome owner’s manual is also essential because it may define slide-out, parking, ignition, and chassis requirements.

Common HWH Leveling Mistakes
Avoid these errors:
-
Operating on soft ground
A jack foot can sink and change the coach position. -
Using a small block under a jack
The material may split, slide, or fail under load. Use only support material rated for the load and approved for the application. -
Lifting a tire too far
A leveling system should not normally leave a wheel hanging in the air. -
Driving with a jack partly down
The jack can hit the pavement or damage the mounting structure. -
Ignoring a slow leak
A small leak can become a loss of support. -
Adding the wrong fluid
Incorrect fluid may harm seals or valves. -
Forcing a control or bypassing an interlock
This can cause unexpected movement and electrical damage. -
Working under the RV without mechanical support
Hydraulic and air systems can lose pressure. -
Using automatic leveling without watching it
Automation does not detect every obstacle or site hazard.

Frequently Asked Questions
How long does an HWH leveling system take to level an RV?
The time varies with the coach, slope, jack travel, battery condition, and system type. A small correction may take less time than a steep site. If the pump runs much longer than usual, stop and check for a fault rather than holding the control indefinitely.
Can I level an RV with one HWH jack?
Do not use a single jack unless the system’s instructions specifically allow that action. A single jack can twist the coach or place an unsafe load on the frame. Follow the sequence for the exact HWH system.
Why does my RV lean after the HWH system finishes?
Possible causes include soft ground, a sensor or calibration issue, incorrect manual operation, a leaking valve, or a jack that did not extend. Recheck the site first. If the lean repeats on firm, level ground, have the system inspected.
Can I drive with the HWH jacks down?
No. Retract and visually inspect every jack before driving. The panel warning must also clear. A jack that appears nearly retracted can still strike the road.
What should I do if the HWH panel has no power?
Check the required ignition and parking-brake conditions, the chassis battery, main fuses, grounds, and control-panel connections. If the panel remains dead, stop troubleshooting before opening control modules or bypassing wiring.

Conclusion
An HWH RV leveling system can make a motorhome more stable and comfortable, but it must be used within the limits of the coach and the system model. Park on firm ground, follow the correct leveling sequence, watch the jacks during operation, and inspect the system before travel.
For most faults, begin with power, interlocks, fluid level, visible leaks, and jack clearance. Stop when the RV is unstable, a jack will not retract, fluid is leaking, or work beneath the coach is required. Use the exact HWH manual or a qualified RV technician for model-specific repairs and calibration.