How To Use RV Leveling System: Easy Setup Guide
Park on firm ground, secure the RV, and follow the leveling system’s control-panel sequence step by step.
Learning how to use an RV leveling system makes campsite setup safer, faster, and far more comfortable. The right method depends on whether your RV has hydraulic jacks, electric leveling jacks, air leveling, or manual stabilizers. This guide explains the full process, common mistakes, safety checks, and practical tips so you can level your motorhome or travel trailer with confidence.
What an RV Leveling System Does
An RV leveling system adjusts the coach until its floor, appliances, doors, and living areas sit as evenly as possible. It may use hydraulic cylinders, electric motors, air bags, or manual screw jacks.
Leveling is different from stabilizing. Leveling corrects the RV’s side-to-side and front-to-back angle. Stabilizing reduces movement after the RV is level. Some systems perform both jobs, while others only stabilize.
A level RV offers several benefits:
- Better comfort when walking and sleeping
- More accurate operation from absorption refrigerators
- Less stress on the RV frame and slide-outs
- Easier use of doors, drawers, and cabinets
- Better drainage from sinks and showers
- Less movement when people walk inside
Your refrigerator deserves special attention. Many absorption refrigerators need to remain reasonably level because their cooling system relies on gravity and heat movement. Always follow the refrigerator manufacturer’s instructions, especially if the RV is noticeably tilted.

Identify Your RV Leveling System
Before learning how to use an RV leveling system, identify the equipment installed on your RV. The control method and safe limits can vary widely by brand and model.
Hydraulic leveling jacks
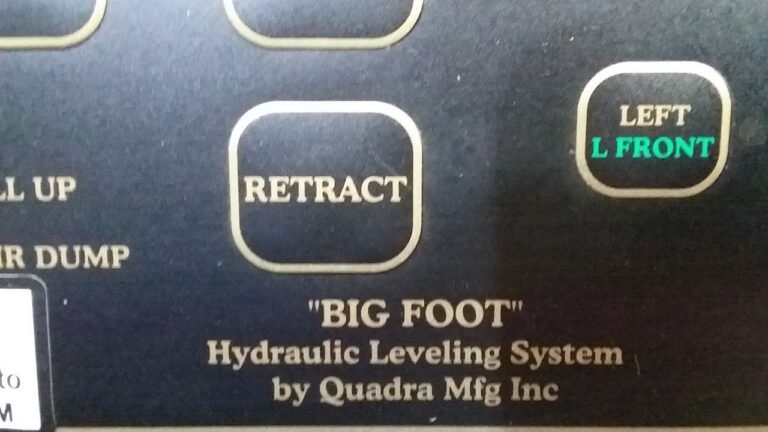
Hydraulic systems use fluid pressure to extend strong metal jacks. They are common on Class A and larger Class C motorhomes. Many have an automatic leveling mode and a manual mode.
Hydraulic systems are powerful, but they can lift part of the RV off the ground if used incorrectly. Never place any part of your body beneath an RV supported only by hydraulic jacks.
Electric leveling jacks
Electric systems use motors and screw mechanisms to extend the jacks. They are often found on smaller motorhomes and some trailers.
Electric jacks may work more slowly than hydraulic systems. They also need a healthy battery and clean electrical connections.
Manual stabilizer jacks
Manual scissor jacks or drop-leg stabilizers are common on travel trailers and fifth wheels. They are designed to reduce movement, not to lift the entire RV or correct a major slope.
Use the trailer tongue jack and leveling blocks to set the main height. Then use the stabilizer jacks to support the corners.
Air leveling systems
Some motorhomes use air bags and onboard compressors to adjust ride height. These systems may level the coach automatically after you park.
Air leveling can be convenient, but it may not provide the same solid feel as ground-supported jacks. Follow the system’s instructions and avoid placing excessive weight on one side.

Prepare Before You Level the RV
Good preparation prevents most leveling problems. Take a few minutes before pressing the automatic button or lowering a jack.
First, choose the best parking position. Look for firm, stable ground that is free of soft soil, deep gravel, standing water, and sharp rocks. Avoid low areas that may collect water during rain.
Next, check for obstacles above and below the RV. Tree limbs, low signs, curbs, rocks, utility covers, and campsite borders can all interfere with the jacks or slides.
Use this simple preparation routine:
- Park the RV in the desired position.
- Keep the steering wheel straight if you drive a motorhome.
- Put the transmission in Park.
- Set the parking brake.
- Place wheel chocks on the wheels that will remain on the ground.
- Disconnect the tow vehicle only if your trailer setup requires it.
- Close the RV entry door before leveling.
- Check the control panel and read any warning lights.
- Confirm that the jacks have enough clearance.
- Keep people and pets away from moving equipment.
On a trailer, do not remove the wheel chocks before the trailer is safely connected to the tow vehicle or supported by the proper hitch equipment. A leveling jack is not a replacement for a wheel chock.

How to Use RV Leveling System on a Motorhome
The following steps apply to many automatic hydraulic and electric systems. Your owner’s manual always takes priority because button names and sequences differ.
Step 1: Park and secure the motorhome
Stop on the selected site and place the transmission in Park. Apply the parking brake and keep your foot on the brake while the system begins its setup.
Some systems require the engine to run. Others require the engine to be off. Check the control-panel instructions before operating the jacks.
Step 2: Extend the slides only when instructed
Many owners wonder whether to level first or extend the slides first. In most cases, level the RV before extending slide-outs. A level frame helps prevent stress and reduces the chance of slide alignment problems.
Some manufacturers provide a different sequence. If your manual specifically says to extend or partially extend slides before leveling, follow that instruction.
Step 3: Press the automatic leveling control
Turn on the leveling panel and press the automatic level button. The system may lower the front jacks first, followed by the rear jacks.
Stay outside where you can see every jack. Listen for unusual grinding, popping, or hydraulic sounds. Stop the process if a jack moves toward a soft edge or an unsafe obstacle.
Step 4: Watch the coach during operation
The RV may shift as the jacks take weight. This movement is normal, but the coach should not slide across the campsite or tilt sharply.
Do not enter or exit through a door that is binding. A badly stressed frame can make a door difficult to open.
Step 5: Check the result
When the panel reports that leveling is complete, inspect the RV with a small bubble level or a digital level. Check the floor, kitchen counter, and refrigerator area.
A perfectly level campsite is not always possible. A small difference is usually acceptable, but a large tilt can affect comfort, drainage, and refrigerator operation.
Step 6: Extend the slides
Once the RV is stable and level, extend the slide-outs according to the manufacturer’s instructions. Watch the top, bottom, and sides of each slide for obstructions.
If a slide moves unevenly, stop immediately. Do not keep holding the switch in the hope that the slide will correct itself.

How to Use RV Leveling System on a Travel Trailer
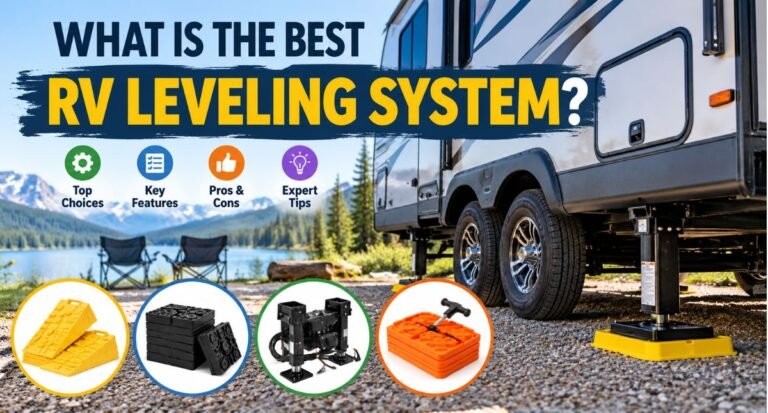
Travel trailers usually need a combination of leveling blocks, the tongue jack, and stabilizer jacks. Stabilizers should not be used to lift the trailer into a level position.
Use this sequence:
- Position the trailer on the campsite.
- Keep it connected to the tow vehicle.
- Place wheel chocks on both sides of the trailer wheels.
- Use a level to check the side-to-side angle.
- Drive onto leveling blocks if one side is low.
- Recheck the side-to-side level.
- Disconnect the trailer from the tow vehicle.
- Use the tongue jack to adjust the front-to-back level.
- Lower the front stabilizer jacks.
- Lower the rear stabilizer jacks.
- Apply only enough pressure to support the trailer.
- Check the level again before opening slide-outs.
A useful rule is to level side to side before disconnecting. Once the trailer is off the tow vehicle, correcting side-to-side tilt becomes much harder.
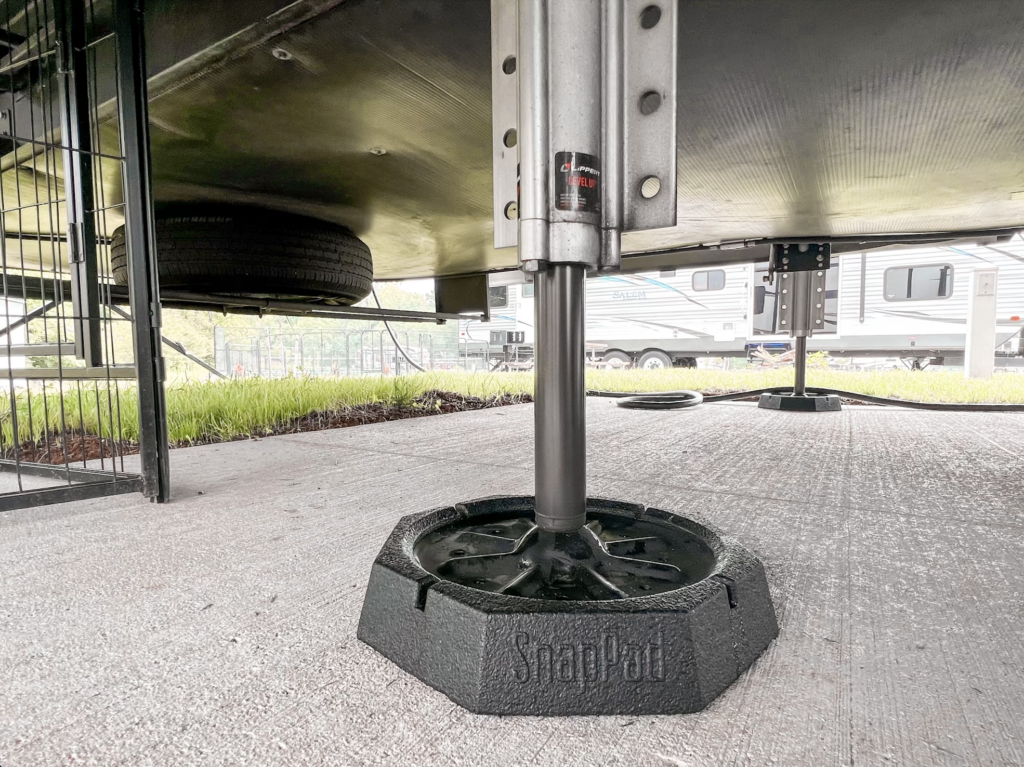
Place wide pads or blocks beneath each stabilizer jack. This spreads the load and helps prevent the jack from sinking into dirt or asphalt. Never use loose bricks, thin wood scraps, or unstable objects.

Manual Leveling With Blocks and Stabilizers
Manual leveling works well when your RV has no automatic system or when the automatic system cannot handle the campsite slope.
Start with the lowest side of the RV. Place purpose-made leveling blocks in front of the tires and build a gradual ramp. Avoid creating a steep step that could damage the tires or cause the RV to roll.
Drive slowly onto the blocks. Ask a spotter to stand where you can see them clearly. Stop when the side-to-side level is correct, then secure the wheels with chocks.
Next, use the tongue jack or front landing gear to correct the front-to-back angle. After that, lower the stabilizers until they make firm contact with their pads.
The stabilizers should feel snug, not aggressively tight. Overextending them can bend the supports, lift the frame, or create unwanted pressure on the RV structure.
A small torpedo level can help, but a digital RV level mounted inside the coach is even more useful. It lets you compare the same reference point each time you arrive at a campsite.

Automatic Leveling Versus Manual Leveling
Automatic systems save time and reduce guesswork. They are especially helpful for large motorhomes, where moving between the controls and each jack can be difficult.
However, automatic leveling is not a substitute for judgment. The system may not know that a campsite edge is soft or that a jack is close to a buried water line.
Benefits of automatic leveling
- Fast and simple campsite setup
- Consistent leveling results
- Less physical effort
- Helpful for large and heavy motorhomes
- Reduced need to walk repeatedly between jacks
Limits of automatic leveling
- It may place too much pressure on one jack
- Sensors can become inaccurate
- A system may stop because of low voltage
- It may not work well on steep or soft ground
- Repairs can be costly
- Automatic mode cannot detect every campsite hazard
Manual leveling takes more time, but it gives you greater control. Many experienced RV owners use automatic leveling as a starting point and then inspect the final position with a physical level.
How to Use an RV Leveling System Safely
Safety should come before speed. Leveling jacks can move with great force, and an RV can weigh many thousands of pounds.
Follow these safety rules:
- Never crawl beneath an RV supported only by leveling jacks.
- Never use leveling jacks as a substitute for a vehicle jack during tire service.
- Keep children and pets away from the control panel and moving jacks.
- Use wheel chocks before operating trailer jacks.
- Avoid leveling on soft shoulders, unstable soil, or steep slopes.
- Keep hands, feet, and tools away from jack contact points.
- Stop if a jack sinks, bends, twists, or moves sideways.
- Do not exceed the system’s rated capacity.
- Keep the engine running only if the manufacturer requires it.
- Watch for overhead and underground obstacles.
- Follow the RV, jack, and refrigerator manuals.
A common mistake is trying to gain extra interior height by lifting the tires off the ground. Some systems can physically do this, but that does not mean it is safe or recommended. Keep the tires in contact with the ground unless the manufacturer gives a specific procedure for another setup.

Common RV Leveling Mistakes
Many leveling problems come from small errors rather than equipment failure. Understanding them can save time and prevent expensive repairs.
Using stabilizers to level
Stabilizer jacks are meant to reduce movement. If you use them to lift a low corner, you may twist the frame or damage the jack.
Skipping wheel chocks
A jack can move the RV slightly as it extends. Without chocks, a trailer may roll or shift.
Leveling on soft ground
A jack foot can sink into soil, grass, sand, or hot asphalt. Use large, strong pads designed for RV use.
Opening slides too early
Slides change the weight distribution. Level the RV first unless your manufacturer specifies another order.
Trusting the automatic system without checking
Sensors can be out of calibration. Check the final result with a level and inspect the jack placement.
Ignoring the refrigerator angle
If an absorption refrigerator remains far off level, its cooling unit may suffer damage. If you are unsure, turn it off and consult the refrigerator manual or a qualified RV technician.
Leaving jacks extended during travel
Always retract the jacks fully before moving. A partially extended jack can strike the ground and cause severe damage.

Troubleshooting an RV Leveling System
When the system does not work, begin with simple checks. Do not repeatedly press the controls if the motor or pump is struggling.
The leveling panel has no power
Check the house battery, chassis battery, disconnect switch, fuses, and circuit breakers. Low voltage can cause electric jacks to move slowly or stop.
A hydraulic jack will not retract
Look for low hydraulic fluid, a damaged hose, a stuck valve, or a weak pump. Never place yourself under the coach to inspect a jack while it is unsupported.
One jack sinks into the ground
Stop the system and retract the jack if it is safe to do so. Reposition the RV or place a wide, stable pad under the jack.
The RV is still not level
Use the manual controls to make small corrections. If one corner rises far more than the others, stop and inspect the ground, jack position, and sensor calibration.
The control panel shows an error
Write down the error code and check the system manual. A reset may clear a temporary fault, but repeated errors need professional diagnosis.
The jacks make unusual noises
Grinding, loud clicking, fluid leaks, or metal bending sounds are warning signs. Stop operation and arrange an inspection.
In my experience, the best troubleshooting habit is to change one thing at a time. Check power first, then ground support, then fluid or mechanical parts. Randomly cycling the jacks often makes the problem harder to identify.
Maintenance Tips for RV Leveling Jacks
Regular maintenance helps the system work smoothly and extends its service life. Add the leveling system to your normal RV inspection routine.
Inspect the following items:
- Jack legs for dents, bends, or rust
- Hydraulic lines for leaks or damaged fittings
- Electric motors for loose wiring
- Jack feet and pads for cracks
- Mounting bolts and brackets
- Battery terminals and ground connections
- Control-panel switches and error lights
- Hydraulic fluid level, if applicable
Lubricate screw-type electric jacks only with the lubricant recommended by the manufacturer. The wrong grease can attract dirt or damage seals.
Keep jack shafts clean. Mud and road salt can cause corrosion, especially if you travel in winter. Retract the jacks fully before driving and rinse away salt after winter trips.
Have a qualified RV technician inspect the system if you see hydraulic fluid, a bent jack, repeated electrical faults, or uneven movement. A small service issue can become a major repair if ignored.
Practical Tips for Faster Campsite Setup
A repeatable routine makes RV leveling feel easy. Keep a small setup kit in an accessible compartment.
Useful items include:
- A digital or bubble level
- Wheel chocks
- Leveling blocks
- Jack pads
- A flashlight
- Work gloves
- A measuring tape
- The leveling system manual
- Spare fuses approved for your RV
- A phone or camera for recording error codes
Mark your preferred level reference inside the RV. For example, you might check the kitchen counter and refrigerator shelf each time. Using the same points gives you a more reliable result than checking a different surface at every campsite.
If you travel with another person, agree on simple hand signals before backing in. One person can watch the wheels and jack area while the driver focuses on the spotter.
Take your time on the first few trips. A calm five-minute setup is better than a rushed two-minute setup followed by a bent jack, damaged slide, or unstable trailer.
Frequently Asked Questions About How to Use RV Leveling System
Do I level an RV before or after extending the slides?
In most cases, level the RV before extending the slides. A level frame helps protect slide mechanisms and reduces stress, but always follow the sequence in your RV manufacturer’s manual.
Can leveling jacks lift the RV completely off the ground?
Some systems have enough power to lift the tires, but you should not do this unless the manufacturer specifically allows it. Keep the tires grounded whenever possible, and never rely on leveling jacks alone for repairs.
Should I use stabilizer jacks to level my travel trailer?
No. Stabilizer jacks are designed to reduce movement after the trailer is level. Use leveling blocks and the tongue jack to correct the trailer’s position first.
How level does an RV need to be?
An RV does not always need to be perfectly level. A small variation is usually acceptable, but a large tilt can affect comfort, doors, drainage, slide operation, and absorption refrigerator performance.
Why does my RV leveling system keep beeping?
Beeping may indicate low voltage, an uncompleted leveling cycle, a jack that is not fully retracted, or a system error. Check the control-panel message and manual before resetting the system.
Can I level an RV on asphalt?
Yes, but hot asphalt can soften under heavy jack pressure. Use wide jack pads, inspect the surface, and avoid parking where a jack may sink or punch through the pavement.
How often should RV leveling jacks be serviced?
Inspect them before each trip and clean them after travel on muddy or salty roads. Follow the manufacturer’s service schedule for lubrication, hydraulic fluid, electrical checks, and professional inspection.
Conclusion
Using an RV leveling system is a simple process when you combine the right sequence with careful ground checks. Park on firm ground, secure the RV, use wheel chocks, level before extending slides, and treat stabilizers as support rather than lifting tools.
Automatic systems can save time, but they still need human supervision. Check the final position, watch for soft ground, protect the refrigerator, and stop whenever a jack behaves strangely. Practice this routine at home or at a quiet campsite, then use it on your next trip with confidence.
Keep your owner’s manual and a reliable leveling tool close by, and share your best RV setup tips in the comments.