
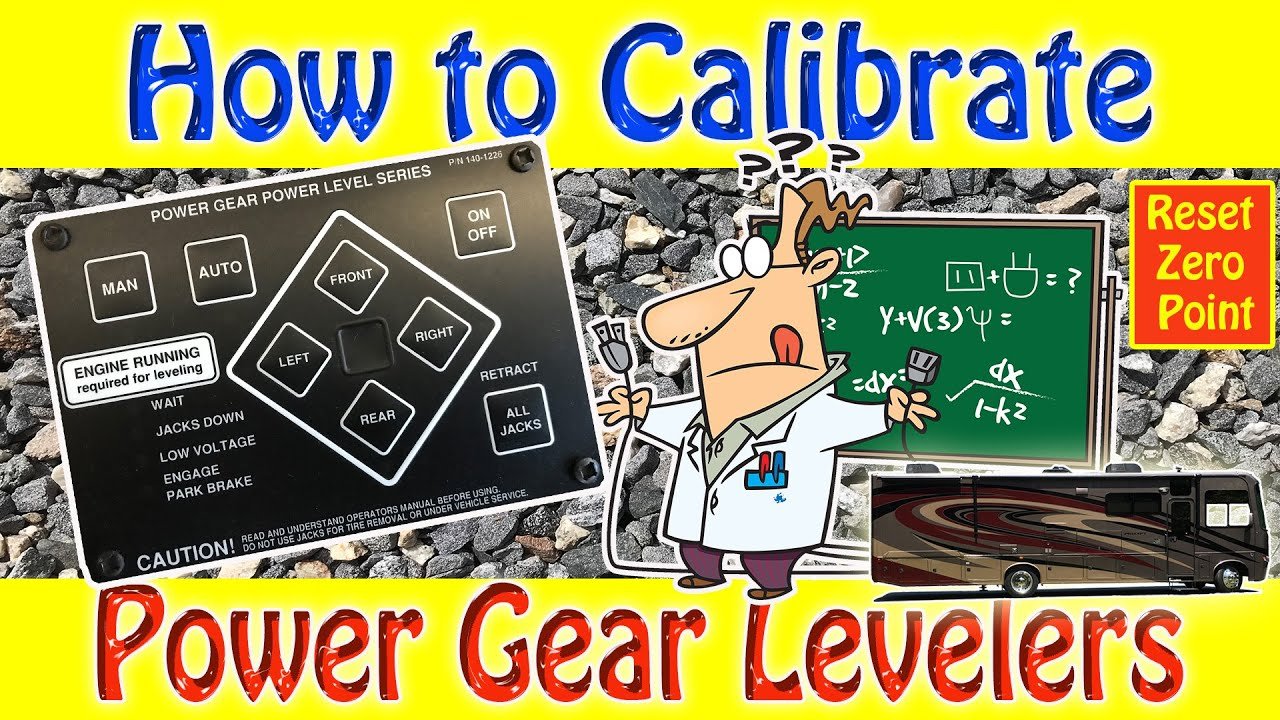
How To Calibrate RV Leveling System: Easy Guide
Most RV leveling systems calibrate by setting a true level position as the control panel’s zero point.
Learning how to calibrate an RV leveling system can save time, prevent uneven floors, and reduce stress at the campsite. The correct method depends on whether your RV uses hydraulic jacks, electric jacks, air leveling, or a system such as Lippert, HWH, or Equalizer. This guide explains the safe process, common errors, and simple tests that help confirm your calibration is accurate.

What RV leveling system calibration means
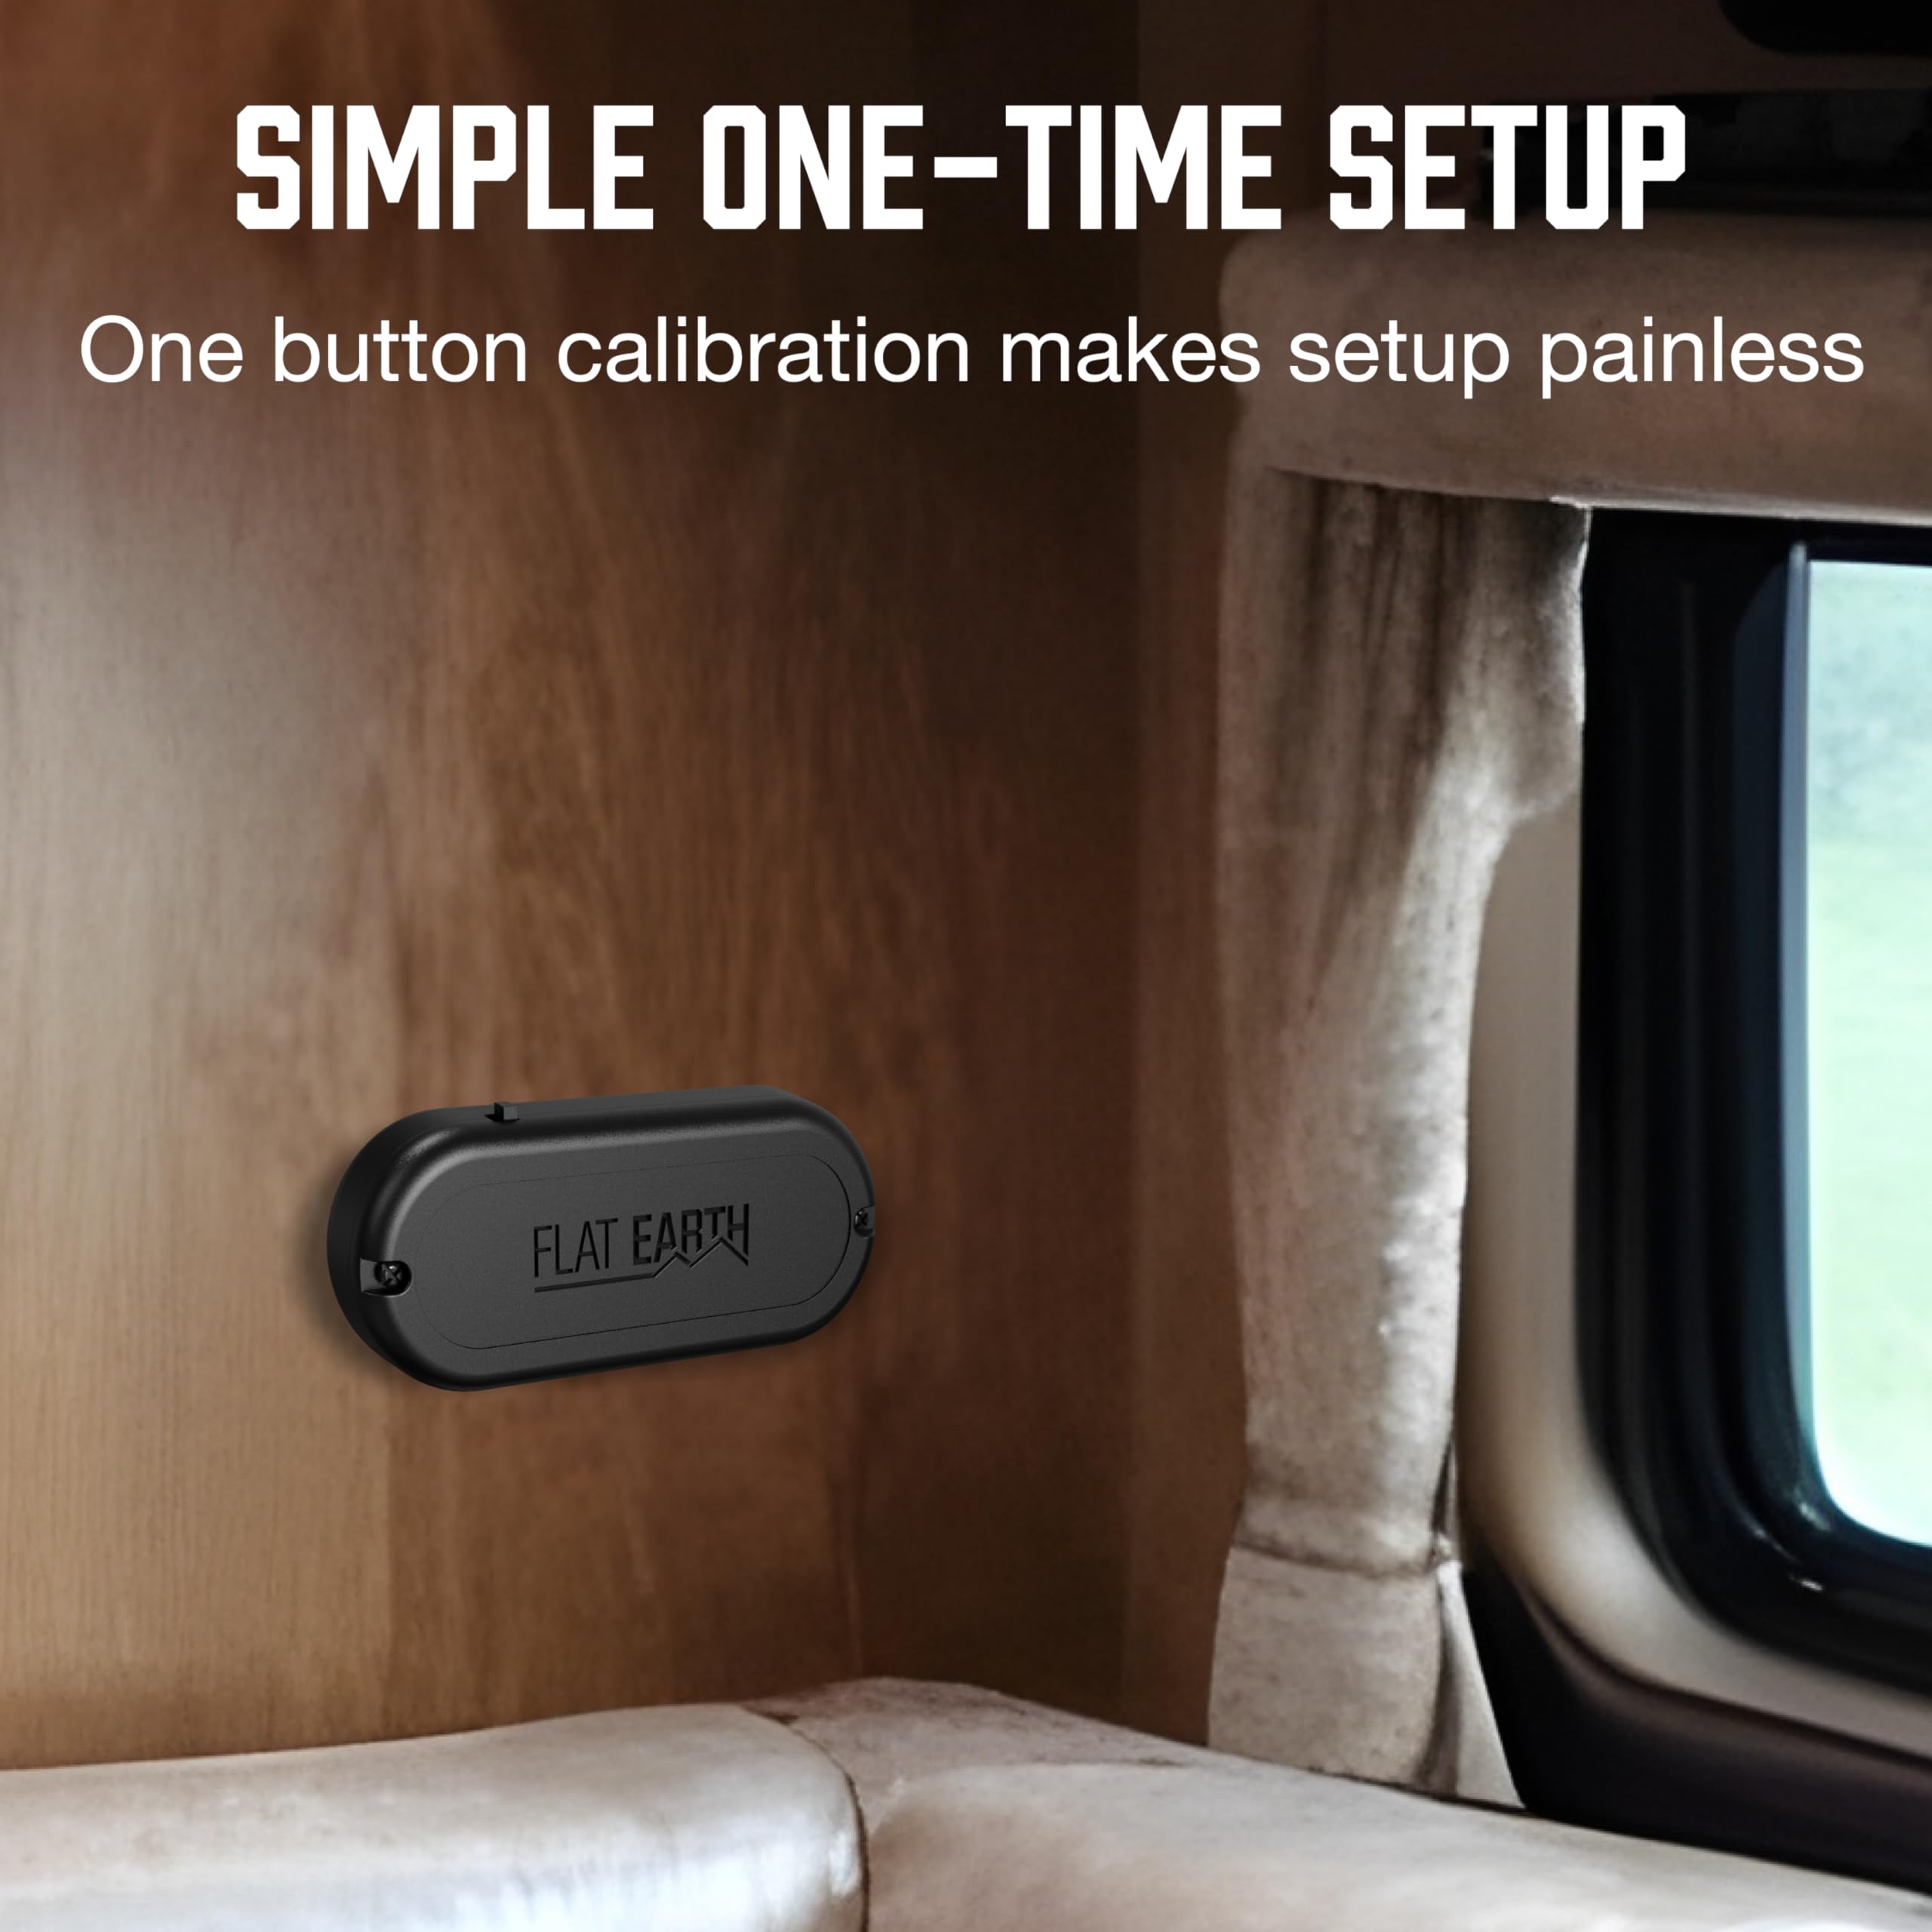
Calibration teaches the leveling control system what “level” looks like. The system uses a level sensor, often called an electronic leveling sensor or level controller, to compare the RV’s position with its stored zero point.
When the zero point is wrong, the RV may:
• Stop with the floor tilted
• Raise one side too far
• Show a level warning when the coach is already level
• Retract or extend jacks unevenly
• Cause cabinet doors or slide rooms to move out of alignment
Calibration does not repair a bent jack, low hydraulic fluid, weak battery, loose sensor, or damaged wiring. It only resets the reference position used by the control system.
Most manufacturers recommend calibrating the system on a firm, reasonably level surface. A perfectly flat shop floor is ideal, but a level campsite pad can work if you check it with a trusted bubble level or digital inclinometer.

When you should calibrate an RV leveling system
You may need to calibrate an RV leveling system after certain repairs or when its behavior changes. Common situations include:
• Installing a new control panel or level sensor
• Replacing a hydraulic pump, jack, wiring harness, or controller
• Removing and reinstalling the sensor
• Storing the RV for a long period
• Receiving repeated “not level” warnings
• Finding that automatic leveling leaves the bed or kitchen floor tilted
• Moving the sensor to a new mounting location
• Noticing that the system levels correctly in one direction but not another
A small change in sensor position can create a large error at the corners of a long motorhome. For example, a sensor that shifts by only a few degrees may make the rear of the RV rise several inches during auto-leveling.
Do not calibrate simply because the RV feels different on a sloped campsite. First move to a stable surface and test the system there. A slope can make a correctly calibrated system appear faulty.

Tools and safety items you need
Before learning how to calibrate an RV leveling system, gather a few basic tools. The exact list varies by RV, but these items are useful:
• A long bubble level or digital inclinometer
• Wheel chocks
• A flashlight
• A tape measure
• A charged house battery
• Safety glasses and work gloves
• The RV owner’s manual
• The leveling system manual
• A smartphone for recording settings and symptoms
Some systems also need a small screwdriver or wrench to adjust the level sensor. Never loosen a sensor unless the manufacturer’s instructions allow it. A sensor that is moved without recording its original position can create a new problem.
Safety matters more than speed. Keep people away from the space beneath the RV, never place any part of your body under a coach supported only by leveling jacks, and do not use leveling jacks as a substitute for properly rated service stands.
Inspect the RV before calibration
A calibration problem is often a mechanical or electrical problem in disguise. Inspect the system before changing its zero point.
Check the battery and power supply
Low voltage can make electric jacks move slowly or cause a controller to shut down. Hydraulic systems also need a strong battery because the pump motor draws high current.
Check that:
• The house battery is charged
• Battery terminals are clean and tight
• The main disconnect is on
• Fuses and circuit breakers are in good condition
• The engine or generator is running only if the manual permits it
Do not assume that a running engine fixes every power problem. A poor ground connection can still cause erratic movement.
Inspect jacks, fluid, and wiring
Look for bent jack legs, leaking hydraulic fluid, cracked hoses, loose bolts, and damaged wires. Electric jack motors should not show signs of overheating or repeated clicking.
For hydraulic systems, check the reservoir only as directed by the manufacturer. Some reservoirs must be checked with all jacks fully retracted. Filling the tank in the wrong position can cause an overflow when the jacks retract.
Confirm the sensor is secure
The level sensor is usually mounted near the center of the RV, often on the frame or floor. It must be firmly attached and mounted in the orientation specified by the manufacturer.
A loose sensor can shift during travel. That is one of the most common causes of repeated calibration loss.

How to calibrate an RV leveling system step by step
The following process applies to many automatic RV leveling systems. Button names and timing vary, so use your specific manual when it gives different instructions.
1. Choose a stable surface
Park on solid ground with enough room to extend the jacks. Concrete or a firm asphalt pad is best. Avoid soft soil, deep gravel, steep slopes, and ground that may settle overnight.
Set the transmission in Park or the proper gear. Apply the parking brake and place wheel chocks on the wheels that remain on the ground.
2. Prepare the RV
Close the entry door and keep people out of the coach while the system moves. Retract the slides unless your manufacturer specifically says to level with the slides extended.
This step matters because slide rooms change the RV’s weight distribution. If you calibrate with slides out and later use the system with slides in, the results may not match.
Keep cabinets, appliances, and stored items in their normal travel positions. Remove unusual loads that could twist the coach.
3. Find the true level position
Place the bubble level in several locations:
• On the main floor
• Across the front and rear of the coach
• Along the centerline from front to back
• Near the refrigerator or another sensitive appliance
A digital inclinometer can provide more precise readings, but it must be placed on a surface that truly represents the RV floor. Do not rely on a countertop that may not be installed perfectly.
Adjust the jacks in small steps until the floor is level from side to side and front to back. The goal is not to make every exterior surface perfect. The goal is to create a stable, comfortable reference plane for the living area.
4. Enter the calibration or zero-point mode
Many systems use terms such as “zero point calibration,” “null,” “level sensor calibration,” or “set level.” Some use a sequence of buttons. Others require a service tool or a smartphone app.
Read the manual before pressing buttons. A common mistake is confusing the “auto level” function with the “calibrate” function. Auto level moves the jacks to reach the stored reference. Calibration changes the stored reference itself.
5. Store the level position
With the RV physically level, activate the correct calibration command. The panel may beep, flash, or display a message when it accepts the new setting.
Do not move the RV, touch the jacks, or switch off power during this step. If the display does not confirm the setting, repeat the procedure only after checking the manual and battery voltage.
6. Retract and test the system
Use the normal retract or store function. Wait until the jacks are fully retracted, then run auto-level again.
Check the floor with the same level locations used earlier. A properly calibrated system should stop close to the stored position. Small differences can occur because of ground conditions, tire pressure, suspension movement, or weight changes.
7. Record the result
Write down the date, system brand, symptoms, and any work performed. A quick phone photo of the control panel and sensor location can also help.
Good records make future troubleshooting much easier. They can also help a service technician determine whether the issue is calibration, wiring, a sensor, or a mechanical fault.

How to calibrate common RV leveling system types
The basic idea is similar across systems, but the control method differs.
Hydraulic leveling systems
Hydraulic systems use a pump, fluid reservoir, solenoid valves, hoses, and hydraulic jacks. Calibration normally affects the electronic level sensor and controller, not the hydraulic pressure itself.
If the pump runs but a jack does not move, calibration will not solve the problem. Check fluid level, valve operation, wiring, and possible air or mechanical faults.
Electric leveling systems
Electric systems use motorized jacks and gear assemblies. They may need a stable 12-volt supply during calibration.
If one motor runs slower than the others, inspect the motor, ground, gear, and jack load before recalibrating. A controller may interpret uneven movement as a level error.
Air leveling systems
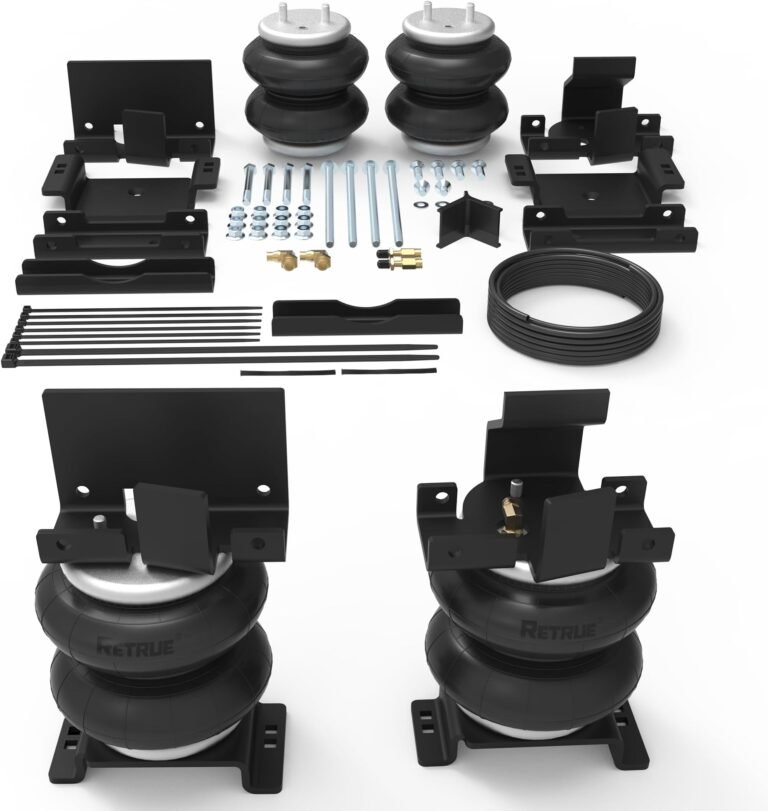
Air systems use suspension airbags, valves, compressors, and height sensors. Their calibration process is more specialized and may require measuring ride height at specific points.
Do not use a hydraulic jack calibration procedure on an air leveling system. Incorrect ride-height settings can affect handling, braking, driveline angles, and suspension safety.
Manual leveling systems
A manual system may have no electronic zero point. In that case, “calibration” usually means checking the level sensor or resetting an indicator, not teaching an automatic controller.
Use a physical level inside the RV and follow the correct manual sequence for the jacks.

Common calibration mistakes to avoid
Knowing how to calibrate an RV leveling system is useful, but the wrong setup can make the system worse. Avoid these mistakes:
• Calibrating on a steep or soft campsite
• Leaving slide rooms extended without checking the manual
• Using a short level on an uneven counter
• Ignoring low battery voltage
• Moving the sensor without marking its original position
• Setting the zero point while a jack is on unstable ground
• Assuming a calibration reset repairs a bent jack
• Standing under the RV while the jacks are moving
• Holding control buttons longer than the manual requires
• Repeating the procedure without checking for loose wiring
One service-bay lesson is worth remembering: if the system becomes wrong after every trip, the sensor may be moving. Calibration can correct the setting for one day, but it cannot hold a reference that is physically loose.
Troubleshooting after calibration
If the RV still does not level correctly, test one issue at a time.
The system says “not level”
Check the inside floor with a trusted level. If the floor is level but the panel shows an error, inspect the sensor, connector, and controller. Moisture, corrosion, or a loose plug can create false readings.
One corner sits high
Measure the jack extension and compare it with the other corners. A bent jack, blocked valve, uneven ground, or suspension problem may be responsible.
If the same corner remains high on a flat surface, the issue is probably not calibration alone.
The system shuts down during leveling
Check battery voltage and cable connections. A weak battery may show normal voltage with no load but drop sharply when the pump or jack motors run.
A professional can perform a voltage-drop test to find resistance in cables, grounds, or connections.
The RV levels, then becomes uneven
The ground may be settling. Hydraulic fluid may be leaking internally, or an air system may have a valve leak. Inspect for fluid, listen for air loss, and check the system after several hours.
The calibration will not save
The controller may not be entering the correct mode, or the sensor may be outside its allowed range. Check the exact button sequence, battery voltage, error codes, and sensor orientation.
If the manual requires a dealer tool, do not guess at the procedure. Incorrect programming can disable automatic leveling.
How often should you calibrate an RV leveling system?
There is no universal calendar interval for calibration. Most RV owners should calibrate only when the system shows symptoms, after sensor or controller work, or when the manufacturer calls for it.
A quick level check at the start of a travel season is sensible. Inspect the jacks, wiring, battery, and sensor mount at the same time.
Recalibration is not a substitute for routine service. Keep hydraulic components clean, protect electrical connectors from moisture, and follow the maintenance schedule in the owner’s manual.
Manufacturers may publish different procedures for similar-looking control panels. The system brand, model year, controller version, and sensor type all matter.
When to call an RV technician
Some problems are safe to inspect but not safe to repair without training. Contact a qualified RV technician if:
• A jack is bent or leaking
• The RV moves after the jacks are set
• The pump runs continuously
• A warning light stays on
• The controller shows repeated fault codes
• The sensor cannot hold calibration
• The coach leans sharply after leveling
• You need to work beneath the RV
A technician can check hydraulic pressure, electrical voltage drop, sensor output, frame condition, and controller data. These tests are more reliable than replacing parts by guesswork.
For air suspension systems, seek help sooner. Incorrect ride height can affect the vehicle beyond campsite comfort.
Frequently Asked Questions
Can I calibrate an RV leveling system on a campsite?
Yes, if the campsite is firm and close to level. Use a long bubble level or digital inclinometer, and avoid calibrating on ground that may settle or shift.
How do I know if my RV leveling system needs calibration?
Signs include uneven auto-leveling, repeated “not level” messages, a new sensor or controller, and a coach that stops in a different position than before. First inspect the battery, jacks, wiring, and sensor mount.
Should the RV slides be out during calibration?
Usually, slides should be retracted unless the manufacturer gives different instructions. Slide rooms change weight distribution, so using the wrong position can create an inaccurate zero point.
Can low battery voltage affect RV leveling calibration?
Yes. Low voltage can cause slow jack movement, controller resets, and incomplete calibration. Charge the house battery and inspect the main power and ground connections before calibrating.
Why does my RV become unlevel after calibration?
Possible causes include soft ground, a hydraulic leak, a loose sensor, a bent jack, suspension movement, or an electrical fault. If the same corner changes repeatedly on firm ground, have the system inspected.
Is RV leveling system calibration the same for every brand?
No. Lippert, HWH, Equalizer, and other systems use different panels, sensors, and button sequences. Always follow the procedure for the exact model installed in your RV.
Conclusion
A correct zero point is the heart of a dependable RV leveling system. Start with a firm surface, inspect the battery and hardware, level the coach with a trusted tool, and use the exact calibration steps for your system.
Remember that calibration cannot fix damaged jacks, loose sensors, low fluid, wiring faults, or air leaks. Test the result after storing the new level position, keep safety first, and call a qualified RV technician when the problem continues.
Try these steps before your next trip, save your system details, and share your experience or questions with other RV owners.


One Comment