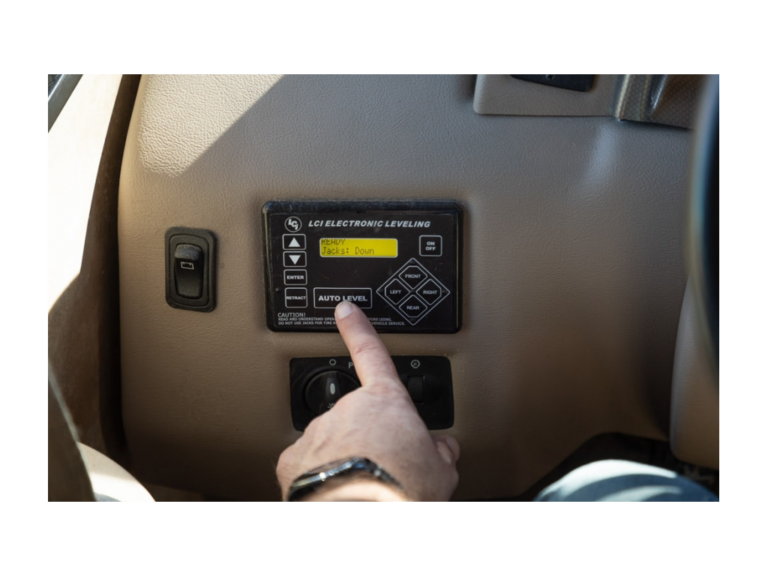
RV Slide Out Leveling: Easy Setup And Fixes
Introduction
RV slide-out leveling means leveling the RV before you extend any slide-outs. A level coach helps the slide room move straight, keeps seals aligned, and reduces stress on the frame, rollers, gears, and motors.
For most RVs in the United States, the safe order is:
- Park on a firm site.
- Chock the wheels.
- Level the RV from side to side.
- Level it from front to back.
- Deploy stabilizers or leveling jacks as the owner’s manual directs.
- Extend the slide-outs only after the RV is stable and level.
The exact method depends on whether you have a travel trailer, fifth wheel, motorhome, hydraulic system, electric jacks, or an automatic leveling system. Always follow the instructions for your RV and slide-out system first.

What Does RV Slide-Out Leveling Mean?
RV slide-out leveling is the process of placing the RV body in a level, stable position before moving a slide room. It does not mean leveling the slide-out by itself.
A slide-out adds weight to one side of the RV. If the RV is not level, that weight can change how the slide room sits in its opening. The room may move unevenly. It may also place extra pressure on:
- Slide rails
- Rollers
- Drive gears
- Seals
- Wall openings
- Hydraulic cylinders
- Electric motors
- Cabinet and floor joints
A slide-out is not designed to level an RV. It is a room extension, not a support jack.
Leveling and stabilizing are different
Leveling corrects the RV’s angle. It may use:
- Tire blocks
- Landing gear
- Hydraulic leveling jacks
- Electric leveling jacks
- An automatic leveling system
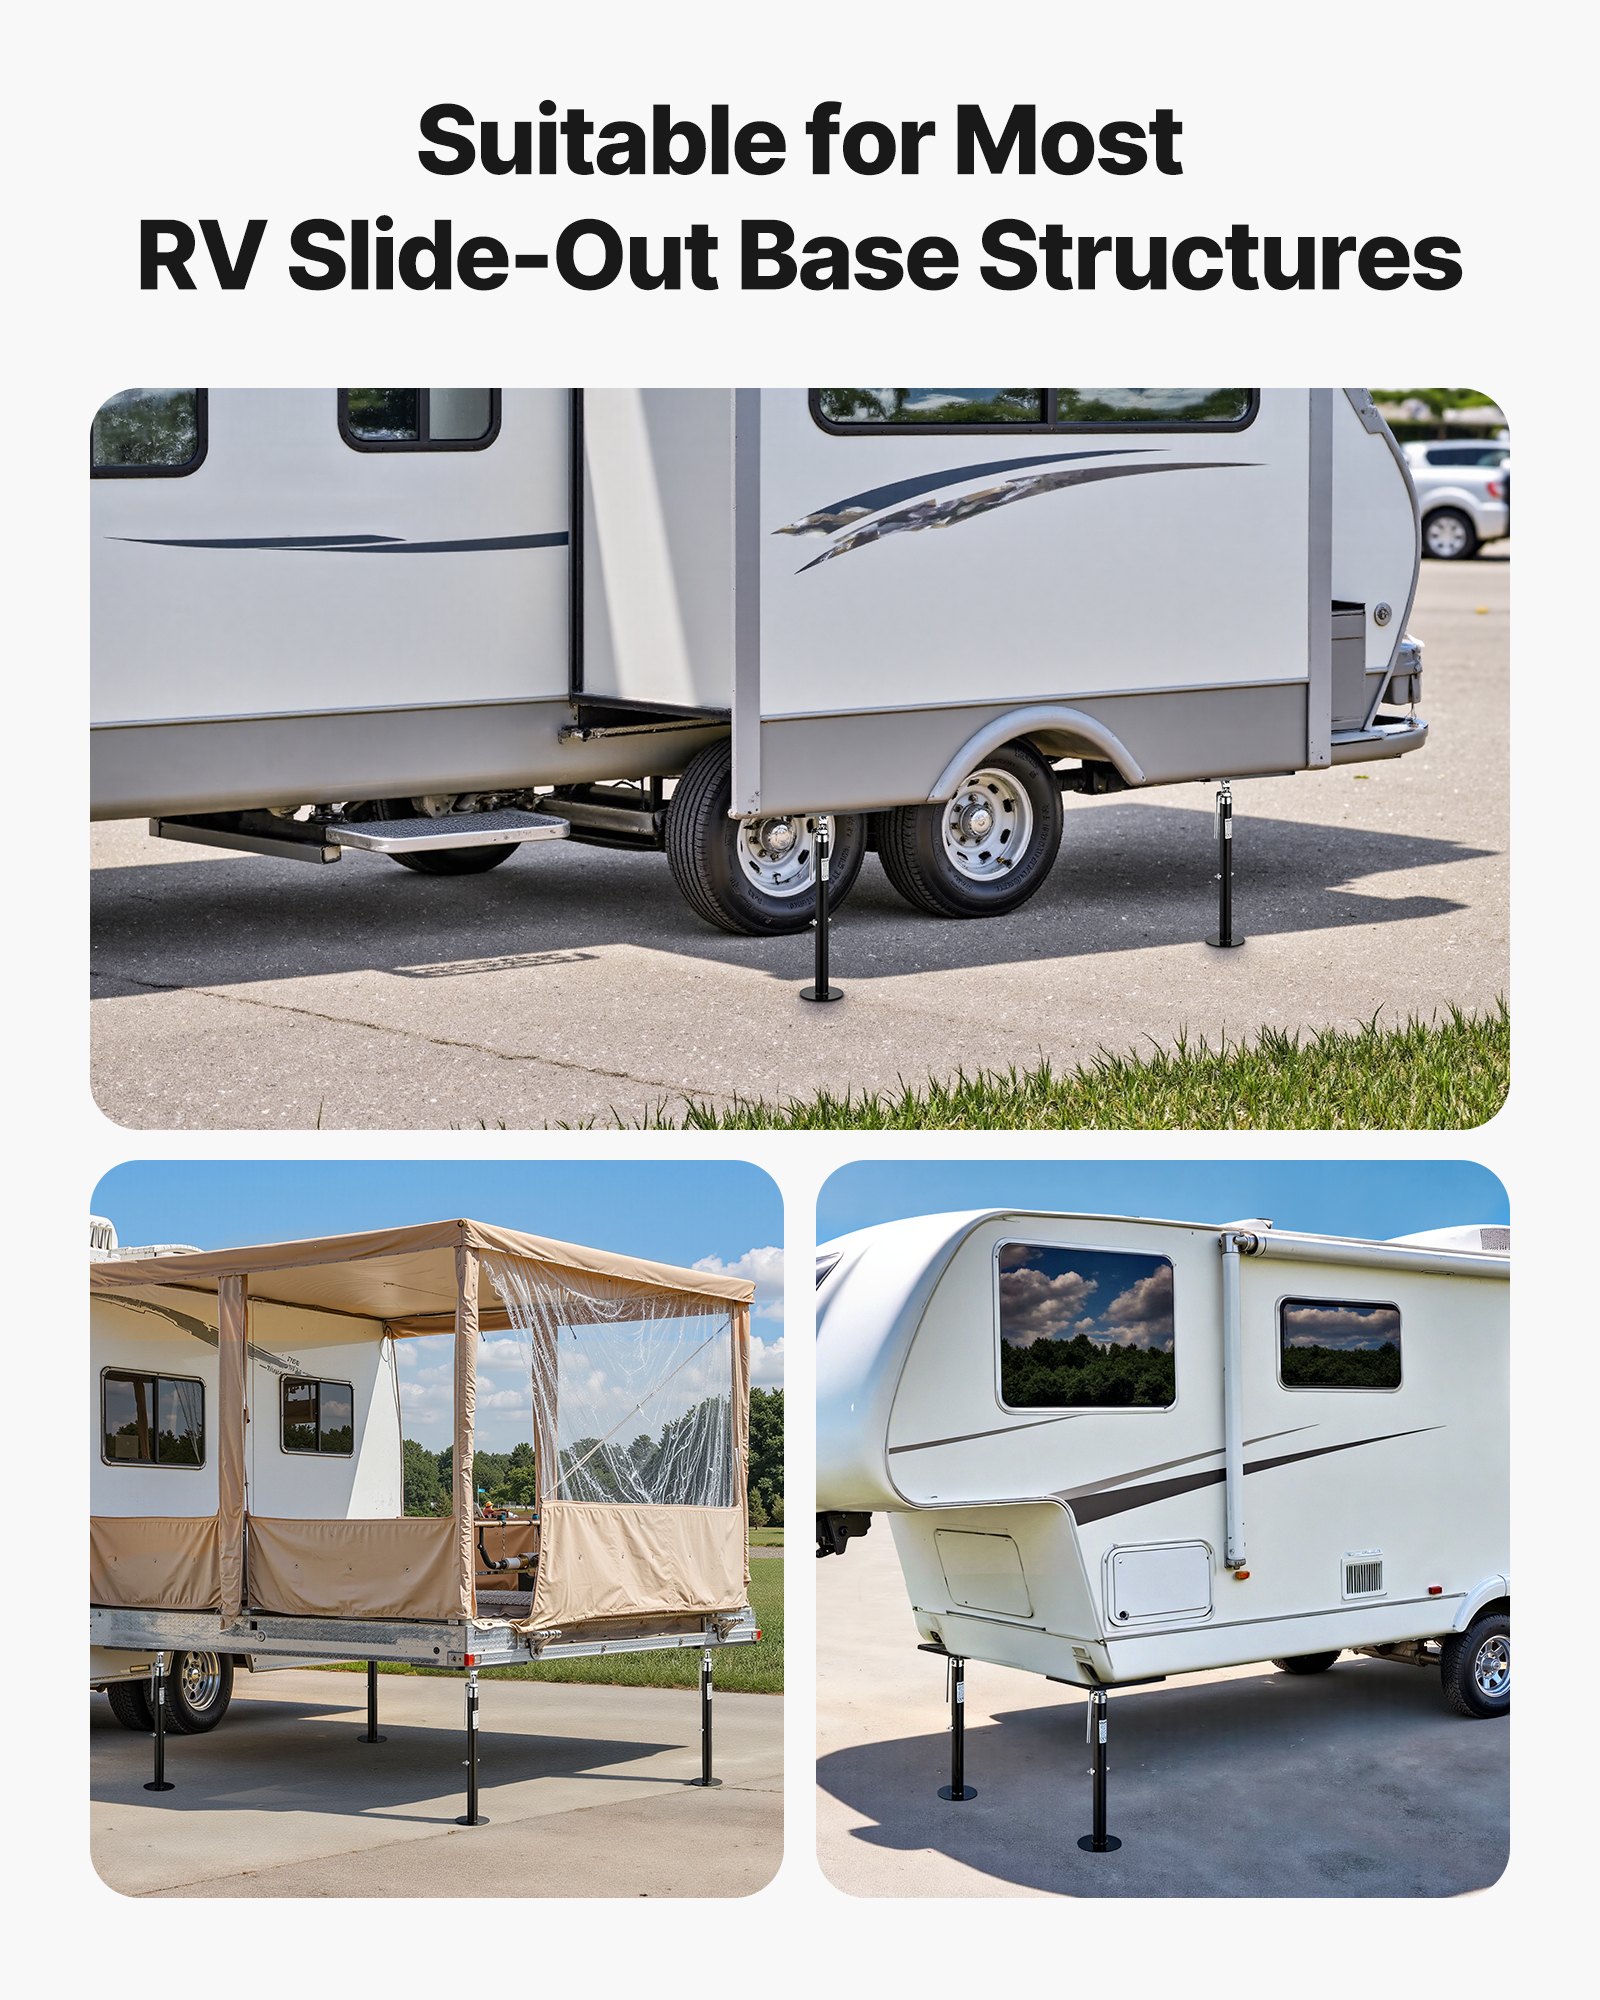
Stabilizing reduces movement after the RV is level. Stabilizers help limit rocking, but they are not always designed to lift the RV or correct a large slope.
Do not use stabilizer jacks to lift the tires off the ground unless the RV manufacturer specifically allows it. A lifted tire can reduce stability and may damage the jack system.
Why level the RV before opening the slides?
A level RV gives the slide mechanism a more even path. It also helps the slide seals press against the wall with similar force around the opening.
Leveling first can reduce the chance of:
- A slide that binds or moves slowly
- Uneven gaps around the slide room
- Seal damage
- Motor overload
- Water entry during rain
- Cabinet doors or interior doors shifting
- Floor damage from an uneven slide room
Leveling will not fix every slide-out problem. A worn motor, damaged gear, bent rail, weak battery, or poor adjustment can still cause trouble.
What You Need Before Leveling an RV
Gather the basic tools and inspect the site before you begin. A short check can prevent a costly repair.
You may need:
- RV owner’s manual
- Slide-out manual
- Wheel chocks
- Leveling blocks or pads
- Bubble level or digital level
- Tape measure
- Flashlight
- A charged house battery
- Shore power cord, if available
- Gloves
- A spotter when backing or placing blocks
Use blocks that are made for RV leveling. Do not use loose bricks, rounded stones, thin scrap wood, or damaged plastic blocks. The blocks must support the tire or jack foot without sliding or crushing.
Check the site
look for:
- Soft soil
- Deep ruts
- Standing water
- Tree roots
- Low branches
- Utility covers
- Sharp stones
- A slope that may exceed your leveling system’s limits
A site can look level but still have a cross slope. Check both directions with a level.
Place the level on a solid floor area. Good locations include:
- The main floor
- A frame-approved reference point
- The countertop, if it is known to be level with the RV
- A manufacturer-provided leveling reference
Do not assume the slide floor is a reliable place to check the RV. A slide may have its own angle or adjustment.
How to Level an RV Before Extending the Slide-Outs
The steps below fit many U.S. travel trailers and motorhomes. Fifth wheels and RVs with automatic hydraulic systems may use a different order. If your manual gives a different sequence, use the manual.
Step 1: Park on the best part of the site
Position the RV so the slide side has enough room to open. Check for:
- Trees
- Posts
- Picnic tables
- Park hookups
- Fences
- Neighboring vehicles
- Awning clearance
Leave enough space for the slide room, slide topper, awning, and windows.
Keep the vehicle connected to the trailer until the trailer is secure. For a motorhome, set the parking brake and place the transmission in park.
Step 2: Set the parking brake and chock the wheels
Set the parking brake on a motorhome. For a trailer, keep the tow vehicle connected at this stage.
Place wheel chocks on both sides of the wheels. If the site slopes, chock the downhill side first. Use enough chocks to stop movement in both directions.
Never rely on the tongue jack or landing gear to stop a trailer from rolling.
Step 3: Correct side-to-side level
Check the RV from side to side. If one side is low, place leveling blocks under the tires on that side.
For a tandem-axle travel trailer, the blocks must support the tires in a way that does not overload one axle. Use a purpose-built ramp or leveling system made for tandem axles. Do not place a single small block under only one tire if it leaves the other tire unsupported.
Move the trailer onto the blocks slowly. Use a spotter when possible.
After the RV is in position:
- Set the parking brake or keep the tow vehicle connected.
- Recheck the side-to-side level.
- Add or remove blocks if needed.
- Chock the wheels firmly.
Do not use the slide-out as a guide for whether the RV is level. Level the main RV body instead.
Step 4: Disconnect the trailer only after it is secure
For a travel trailer:
- Confirm that the wheels are chocked.
- Lower the tongue jack.
- Disconnect the safety chains, electrical plug, and breakaway connection as directed.
- Release the hitch.
- Move the tow vehicle away only when the trailer is stable.
For a fifth wheel:
- Keep the landing gear ready.
- Confirm that the wheels are chocked.
- Lower the landing gear.
- Release the hitch according to the fifth-wheel procedure.
- Pull the tow vehicle forward slowly.
Never disconnect a trailer that is not securely chocked.
Step 5: Correct front-to-back level
Use the tongue jack on a travel trailer or the landing gear on a fifth wheel to adjust front-to-back level.
A trailer tongue jack is not a replacement for wheel blocks. If the trailer needs a large correction, use blocks first. A jack should not be extended beyond its rated travel.
On many travel trailers, the final front-to-back adjustment is made with the tongue jack. On a fifth wheel, the landing gear usually makes this adjustment.
Step 6: Deploy stabilizers or leveling jacks
Lower stabilizers or leveling jacks in the pattern listed in the manual.
The goal is to support and steady the RV. Do not force the RV into a new angle by overextending one jack.
For an automatic hydraulic system:
- Confirm the engine or power source is ready, if required.
- Keep doors, people, and objects clear of the jack legs.
- Select the automatic leveling mode.
- Watch the system during the full cycle.
- Stop if a jack moves unexpectedly or the coach becomes unstable.
Some automatic systems are designed to level the coach with the slides retracted. Others may have model-specific instructions. The manufacturer’s sequence takes priority.
Step 7: Recheck level and stability
Walk through the RV and check:
- The main floor
- Cabinet doors
- Interior doors
- Refrigerator position, if applicable
- Countertops
- Windows
- Jack contact with the ground
The RV should feel stable. A small amount of movement may remain, but the coach should not rock heavily when someone walks inside.
Step 8: Extend the slide-outs
Before extending a slide:
- Remove objects from the slide path.
- Check inside and outside the RV.
- Confirm that furniture, rugs, cords, and cabinet doors are clear.
- Check the slide topper and seals.
- Make sure people and pets are clear.
- Verify that the battery or shore-power supply meets the system requirements.
Operate the slide control only as long as the manual directs. Many systems require the switch to remain engaged until the room reaches the fully open or fully closed position. Do not hold the switch after the system stops unless the manual specifically says to do so.
The slide should move smoothly and evenly. Stop if it:
- Tilts sharply
- Stops on one side
- Makes grinding or popping sounds
- Moves in short jerks
- Leaves a large uneven gap
- Scrapes the floor or wall
- Shows a seal pulling away
Leveling Different Types of RVs
The correct process changes with the RV type and jack system.
| RV type | Side-to-side leveling | Front-to-back leveling | Main caution |
|---|---|---|---|
| Travel trailer | Tire blocks | Tongue jack | Chock before disconnecting |
| Fifth wheel | Tire blocks | Landing gear | Keep landing gear within its rated range |
| Motorhome with manual jacks | Built-in system or blocks | Leveling jacks | Do not place jacks on soft ground |
| Motorhome with automatic leveling | Automatic system | Automatic system | Follow the required slide position |
| Truck camper | Site choice and support system | Camper jacks or blocks | Use only the support points approved for the camper |
Travel trailers
Travel trailers usually need tire blocks for a major side-to-side correction. The tongue jack then handles the front-to-back adjustment.
The slide-outs should normally remain closed while you level the trailer. A slide can change the load on the tires and frame.
Fifth wheels
Fifth wheels use landing gear after the tow vehicle disconnects. Their high center of gravity makes firm chocks and stable ground especially important.
Do not place landing gear on soft soil without a suitable pad. The foot can sink, which may change the trailer’s level or cause instability.
Motorhomes with automatic leveling
Automatic systems can make setup easier, but they do not remove the need for inspection. Before pressing the leveling button, check that:
- The jacks have clear space.
- The ground is firm.
- No jack foot is near an edge or hole.
- The slide position matches the manual.
- The parking brake is set.
Some systems use air suspension before hydraulic leveling. Others require the suspension to be settled first. Use the chassis and leveling-system instructions for your model.

How Much Level Is Enough for an RV Slide-Out?
The RV should be close to level, stable, and within the limits set by the manufacturer. There is no safe universal number for every RV.
A small reading difference on a bubble level may not cause a problem. A clear slope, soft ground, or large jack correction deserves more attention.
Use this practical guide:
| Condition | Recommended action |
|---|---|
| Slightly off level but stable | Make a small correction if needed |
| Noticeable side slope | Use tire blocks before opening slides |
| Large front-to-back slope | Choose another site or use approved blocks |
| Jack near full extension | Add blocks or reposition the RV |
| Soft or sinking ground | Move the RV or improve the support surface |
| RV rocks after leveling | Stop and correct the support setup |
Do not chase a perfect reading if doing so makes the RV less stable. Stability and proper support matter more than a tiny bubble difference.
A simple leveling example
Assume the left side of a travel trailer is low. The safe approach is to:
- Place an RV leveling ramp or approved blocks under the left-side tires.
- Drive onto the blocks slowly.
- Chock both sides.
- Recheck side-to-side level.
- Use the tongue jack for front-to-back adjustment.
- Lower the stabilizers.
- Open the slides.
Do not extend the slide first and then raise the low side with jacks. That can change the frame position while the slide is loaded.
RV Slide-Out Troubleshooting After Leveling
If the slide-out still acts up after proper leveling, check the simple causes first. Do not repeatedly cycle a slide that is binding.
Slide moves slowly
Possible causes include:
- Low house-battery voltage
- Poor shore-power supply
- Loose or corroded connections
- Cold or damaged battery
- Excess weight in the slide
- Dry or damaged slide components
- Motor wear
Check the battery voltage according to the RV and slide-system instructions. A converter may not make up for a weak battery under load.
One side moves before the other
A small timing difference may occur on some electric slide systems. A large difference can indicate:
- A loose drive component
- Uneven rail adjustment
- A damaged gear
- A failed motor
- A control-board issue
- An obstruction
Stop the system if the room becomes crooked. Do not push the slide by hand unless the manufacturer provides a specific manual procedure.
Slide makes a grinding or popping sound
Stop moving the slide. Inspect for:
- A stone or object in the track
- A damaged roller
- A loose screw
- A bent rail
- A dry or worn gear
- Contact between the slide floor and the RV floor
Do not spray a random lubricant into the system. Some slide mechanisms require a specific lubricant, while others have parts that should not be lubricated.
Slide is open but leaks
Check:
- The exterior seal
- The wiper seal
- The slide roof
- The slide topper
- The corner seals
- The RV’s level
- The slide room’s alignment
A leak may come from the roof, a corner, a window, or the main wall rather than the slide seal. Dry the area and locate the entry point before applying sealant.
Slide stops before it is fully open
Possible causes include:
- An obstruction
- Low voltage
- A system limit
- A control fault
- A mechanical failure
Do not keep holding the switch. Read the manual for the emergency retract procedure and call a qualified RV technician if the room is stuck or crooked.

Common RV Slide-Out Leveling Mistakes
Avoid these mistakes during setup:
Opening slides before leveling
This can load the slide mechanism while the RV frame is still moving into position. Retract the slides, level the RV, and then extend them.
Using stabilizers to lift the RV
Stabilizers may bend, sink, or overload when used as lifting jacks. Use approved leveling points and tire blocks.
Skipping wheel chocks
A jack can move a trailer. Chocks help stop rolling while you disconnect and level.
Using weak blocks
A cracked block or loose piece of wood can shift under load. Use blocks rated for RV use and inspect them often.
Ignoring soft ground
A jack foot can sink after the RV seems level. Use a wide, stable pad or move to firmer ground.
Adjusting jacks after the slide is open
If the coach is already loaded by the slide, a jack adjustment can twist the body or change the slide alignment.
Assuming automatic leveling is always safe
Automatic systems still need firm ground, clear jack paths, and the correct operating sequence.
Continuing after a warning sign
Grinding, binding, crooked movement, or loud popping is a reason to stop. Repeated attempts can turn a small fault into a major repair.
Maintenance That Helps Prevent Slide-Out Problems
Good leveling habits work best with routine care.
Before each trip:
- Inspect slide seals.
- Remove dirt from the slide roof.
- Check for loose screws or trim.
- Inspect visible rails and rollers.
- Look for water stains.
- Test the house battery.
- Confirm that the slide moves evenly.
- Review the system manual.
Keep the slide roof clear before retracting it. Branches, leaves, pine cones, and standing water can damage seals or add weight.
Use only the cleaning products and lubricants approved for your slide system. Some seals need a rubber-safe treatment. Some mechanisms use dry lube. Others require no routine lubrication.
If the slide needs adjustment, use an RV service technician unless the manufacturer provides a clear owner procedure. Slide alignment can affect the wall opening and water seal.

When to Call an RV Technician
Get professional help when:
- The slide is crooked in the opening.
- A motor runs but the room does not move.
- A rail or gear is bent.
- The slide has damaged the wall or floor.
- Water continues to enter.
- The leveling jack will not retract.
- The RV shifts or sinks during setup.
- You smell burning insulation or see melted wiring.
- The emergency procedure does not work.
Disconnect power before inspecting wiring, unless the service instructions require power for a test. Keep hands away from moving gears, rails, and hydraulic parts.
A manufacturer-approved service center may be the safest choice when the RV is under warranty or when the system uses proprietary parts.
FAQs About RV Slide-Out Leveling
Should I level my RV before or after opening the slide-outs?
Level the RV before opening the slide-outs. Keep the slide rooms retracted while you correct side-to-side and front-to-back level, unless your RV manual gives a different sequence.
Can I level an RV with the slide-outs extended?
Do not do this unless the manufacturer specifically permits it. Moving jacks or blocks after the slides are open can shift the frame and cause binding.
Do slide-outs make an RV unlevel?
A slide-out adds weight to one side, but it should not be used to level the RV. If the coach becomes noticeably uneven after opening a slide, stop and check the setup.
Can I use wood blocks under RV tires?
You can use solid, sound blocks only if they are suitable for the load and placed securely. Purpose-built RV leveling blocks or ramps are easier to place and less likely to split or shift.
Why does my slide-out work better when the RV is plugged into shore power?
The slide motor needs adequate electrical power. Shore power may support the converter and battery, but it will not repair a weak battery, bad connection, worn motor, or mechanical fault.
Should I lubricate my RV slide-out?
Only use the lubricant and method specified for your system. Lubricating the wrong part can attract dirt, damage seals, or hide a mechanical problem.
Can I stay in an RV that is not perfectly level?
A small difference may be acceptable if the RV is stable and the manufacturer allows it. Avoid using the RV on a steep or unstable slope, especially with slide-outs, jacks, or appliances that require level operation.
Key Takeaways
- Level the RV before extending any slide-out.
- Correct side-to-side level with approved tire blocks when needed.
- Use the tongue jack, landing gear, or approved leveling system for front-to-back level.
- Chock the wheels before disconnecting a trailer.
- Do not use stabilizers as lifting jacks.
- Stop if a slide binds, grinds, moves crookedly, or leaves an uneven gap.
- Follow the owner’s manual for the exact jack and slide sequence.
Conclusion
Proper RV slide-out leveling starts before the slide moves. Choose firm ground, secure the wheels, level the main RV body, and deploy the support system in the correct order. Then inspect the slide path and extend the room slowly.
If the slide still binds after the RV is level, treat the problem as a mechanical or electrical fault. Do not force it. Retract it if safe, protect the opening from weather, and get service before the next trip.