

How To Build RV Leveling Blocks: Easy DIY Guide
Build RV leveling blocks from pressure-treated lumber, cut in steps, and secure them for a wide, stable base.
Learning how to build RV leveling blocks is a useful skill for campers who want a low-cost alternative to store-bought ramps. The right design can help level your rig on uneven ground, protect tires from sharp surfaces, and make setup less stressful. This guide explains safe materials, proven dimensions, cutting steps, weight limits, and common mistakes so you can build blocks that suit your RV.
Why Build Your Own RV Leveling Blocks?
Store-bought RV leveling blocks are easy to use, but a full set can cost more than expected. Homemade blocks let you choose the size, height, and shape that match your motorhome, travel trailer, or fifth wheel.
A good set of RV leveling blocks can also offer these benefits:
• Lower cost than many commercial kits
• Custom sizes for small or large tires
• Better use of leftover pressure-treated lumber
• Easy repairs or replacements
• A wide footprint for soft soil or gravel
Still, homemade blocks are not right for every situation. They must be strong, dry, stable, and free from cracks. Never use them to support an RV while working underneath it. Use approved jack stands and follow the vehicle maker’s safety instructions for service work.

Materials and Tools You Need
The best material for DIY RV leveling blocks is sound, structural-grade lumber. Pressure-treated wood works well because it handles moisture better than untreated wood. However, treatment does not make weak, split, or rotten boards safe.
For a basic set of RV leveling blocks, gather:
• Pressure-treated 2×8 or 2×10 boards
• Exterior-grade wood screws, about 3 inches long
• A circular saw or miter saw
• Drill and drill bits
• Tape measure and pencil
• Carpenter’s square
• Safety glasses and hearing protection
• Sandpaper or a sanding block
• Exterior wood sealant for cut ends
A nominal 2×8 board is usually about 1 1/2 inches thick and 7 1/4 inches wide. A nominal 2×10 board is usually about 1 1/2 inches thick and 9 1/4 inches wide. Actual sizes vary, so measure the lumber before cutting.
Avoid plywood scraps, fence boards, pallet wood, and untreated indoor lumber. These materials can split, bend, or break under concentrated tire loads. Also avoid nails for the main joints. Screws hold the layers together more securely and are easier to replace.

Choose the Right RV Leveling Block Design
There are several ways to build RV leveling blocks. The simplest design uses flat wood platforms. A stepped ramp design is more useful because you can drive onto the correct height without placing separate pieces in front of the tires.
Flat stackable blocks
Flat blocks are short sections of lumber placed under the tires. They are simple to build and store, but you may need several pieces to reach the height you want.
A common size is:
• Length: 12 to 16 inches
• Width: 8 to 12 inches
• Height: 1 1/2 to 3 inches per block
Stack no more blocks than needed. Each added layer creates another surface that can shift.
Stepped leveling ramps
A stepped ramp has short layers that increase in height. The tire climbs one step at a time. This design gives you more control when leveling from the driver’s seat.
A useful ramp may include:
• A 12-inch base layer
• A 9-inch second layer
• A 6-inch third layer
• A 3-inch top layer
These lengths create a gradual stair shape. The exact pattern depends on your tire size and the space available at your campsite.
Wedge-style ramps
Wedge ramps use angled cuts. They allow smoother tire movement, but they require more accurate cutting. They can also be harder to build with basic tools.
For most RV owners, a stepped ramp is the best balance of strength, cost, and ease. It works like a small staircase for the tire rather than a steep curb.

How to Build RV Leveling Blocks Step by Step
This method creates a strong, stepped wood ramp for one tire. Build two or more matching ramps if you need to level an axle evenly.
1. Measure your tires and campsite needs
Measure the tire width and the space in front of the tire. The block should be wider than the tire’s contact area. A tire should never hang over the edge.
For many travel trailers, a 2×10 platform provides more useful width than a 2×8 board. Large motorhomes may need wider material or a commercial system designed for higher loads.
Also measure the amount of correction you normally need. If your RV often needs only 1 or 2 inches of lift, a low ramp is better than a tall stack.
2. Plan the height
A standard 2x lumber board adds about 1 1/2 inches of height. Two layers add about 3 inches, and three layers add about 4 1/2 inches.
Do not assume that a tall ramp is safer. A steep climb can cause a tire to slip or roll past the end. A gradual ramp with a stop at the top is easier to control.
Draw the ramp from the side before cutting. This small step helps prevent errors and saves lumber.
3. Cut the lumber
For one stepped ramp, cut several pieces with different lengths. For example:
• One 16-inch piece for the base
• One 12-inch piece for the middle
• One 8-inch piece for the top
• One 4-inch piece for the front transition, if needed
Make each piece the same width. Keep the cuts square so the layers sit flat. A crooked cut can create a rocking point under the tire.
Wear eye protection while cutting pressure-treated wood. Keep hands clear of the blade, and support long boards so they do not pinch the saw.
4. Sand sharp edges
Round or sand the corners and remove splinters. Pay special attention to the front edge where the tire first touches the ramp.
Do not sand away large amounts of wood. The goal is to remove sharp edges, not reduce the block’s strength.
5. Assemble the layers
Place the longest board on the ground. Center the next board on top of it, then add the shorter board. Keep the layers aligned from side to side.
Pre-drill holes before driving screws. Use at least two screws on each side of every layer. Stagger the screws so they do not all run through the same line of wood.
Use exterior-rated screws that pass through the upper board and enter the lower board deeply. Do not leave screw heads sticking above the surface where they could damage a tire.
6. Add a tire stop
A short raised stop at the rear of the ramp can help prevent the tire from rolling off. Use a sturdy piece of lumber and attach it firmly.
The stop should guide the driver, not act as a sudden wall. Drive slowly and stop as soon as the tire reaches the desired position. Never rely on the stop alone to hold an RV on a slope.
7. Seal the cut ends
Pressure-treated lumber can still absorb water through fresh cuts. Apply an exterior wood preservative or end-cut treatment to cut surfaces.
Let the coating dry as directed. Keep the blocks out of service until the finish is dry and no longer tacky.
8. Test the blocks carefully
Test the finished ramp on level ground before using it at a campsite. Look for movement, flexing, loose screws, or gaps between layers.
Place the ramp in front of a tire and drive onto it at idle speed. If the block shifts, stop immediately. A ramp that moves on flat pavement may be dangerous on gravel or grass.
How to Use Homemade RV Leveling Blocks Safely
Building RV leveling blocks is only half the job. Placement and driving technique matter just as much.
Follow these steps during setup:
-
Choose the lowest and firmest part of the campsite.
-
Remove rocks, sticks, and loose debris.
-
Place the blocks in line with the tire.
-
Keep the ramp square to the tire.
-
Ask a spotter to guide you when possible.
-
Drive forward slowly and avoid sudden braking.
-
Stop when the RV reaches the target height.
-
Set the parking brake and place wheel chocks.
-
Lower stabilizers or landing gear according to the RV manual.
-
Recheck the level after the RV settles.
Level the RV from side to side before adjusting front to back. On a travel trailer, use the tongue jack for front-to-back adjustment after the axle is level. On a fifth wheel, use the landing gear as directed by the manufacturer.
Do not use stabilizer jacks to lift the entire RV. They are designed to reduce movement and support a settled load, not to raise a wheel off the ground.

How Much Weight Can RV Leveling Blocks Hold?
There is no single weight rating for all homemade RV leveling blocks. Capacity depends on the wood species, board condition, block design, screw placement, ground surface, and how the load reaches the block.
The tire load is also not always equal. A fully loaded RV may place more weight on one tire than another. Your RV’s certification label, tire information, and owner’s manual provide better guidance than a general online estimate.
Use these safety rules:
• Choose lumber with no major cracks, rot, or deep knots.
• Make the block wider than the tire.
• Keep all tires fully supported.
• Use solid ground beneath the block.
• Do not stack loose pieces higher than necessary.
• Inspect the blocks before every trip.
• Replace any block that splits, warps, or crushes.
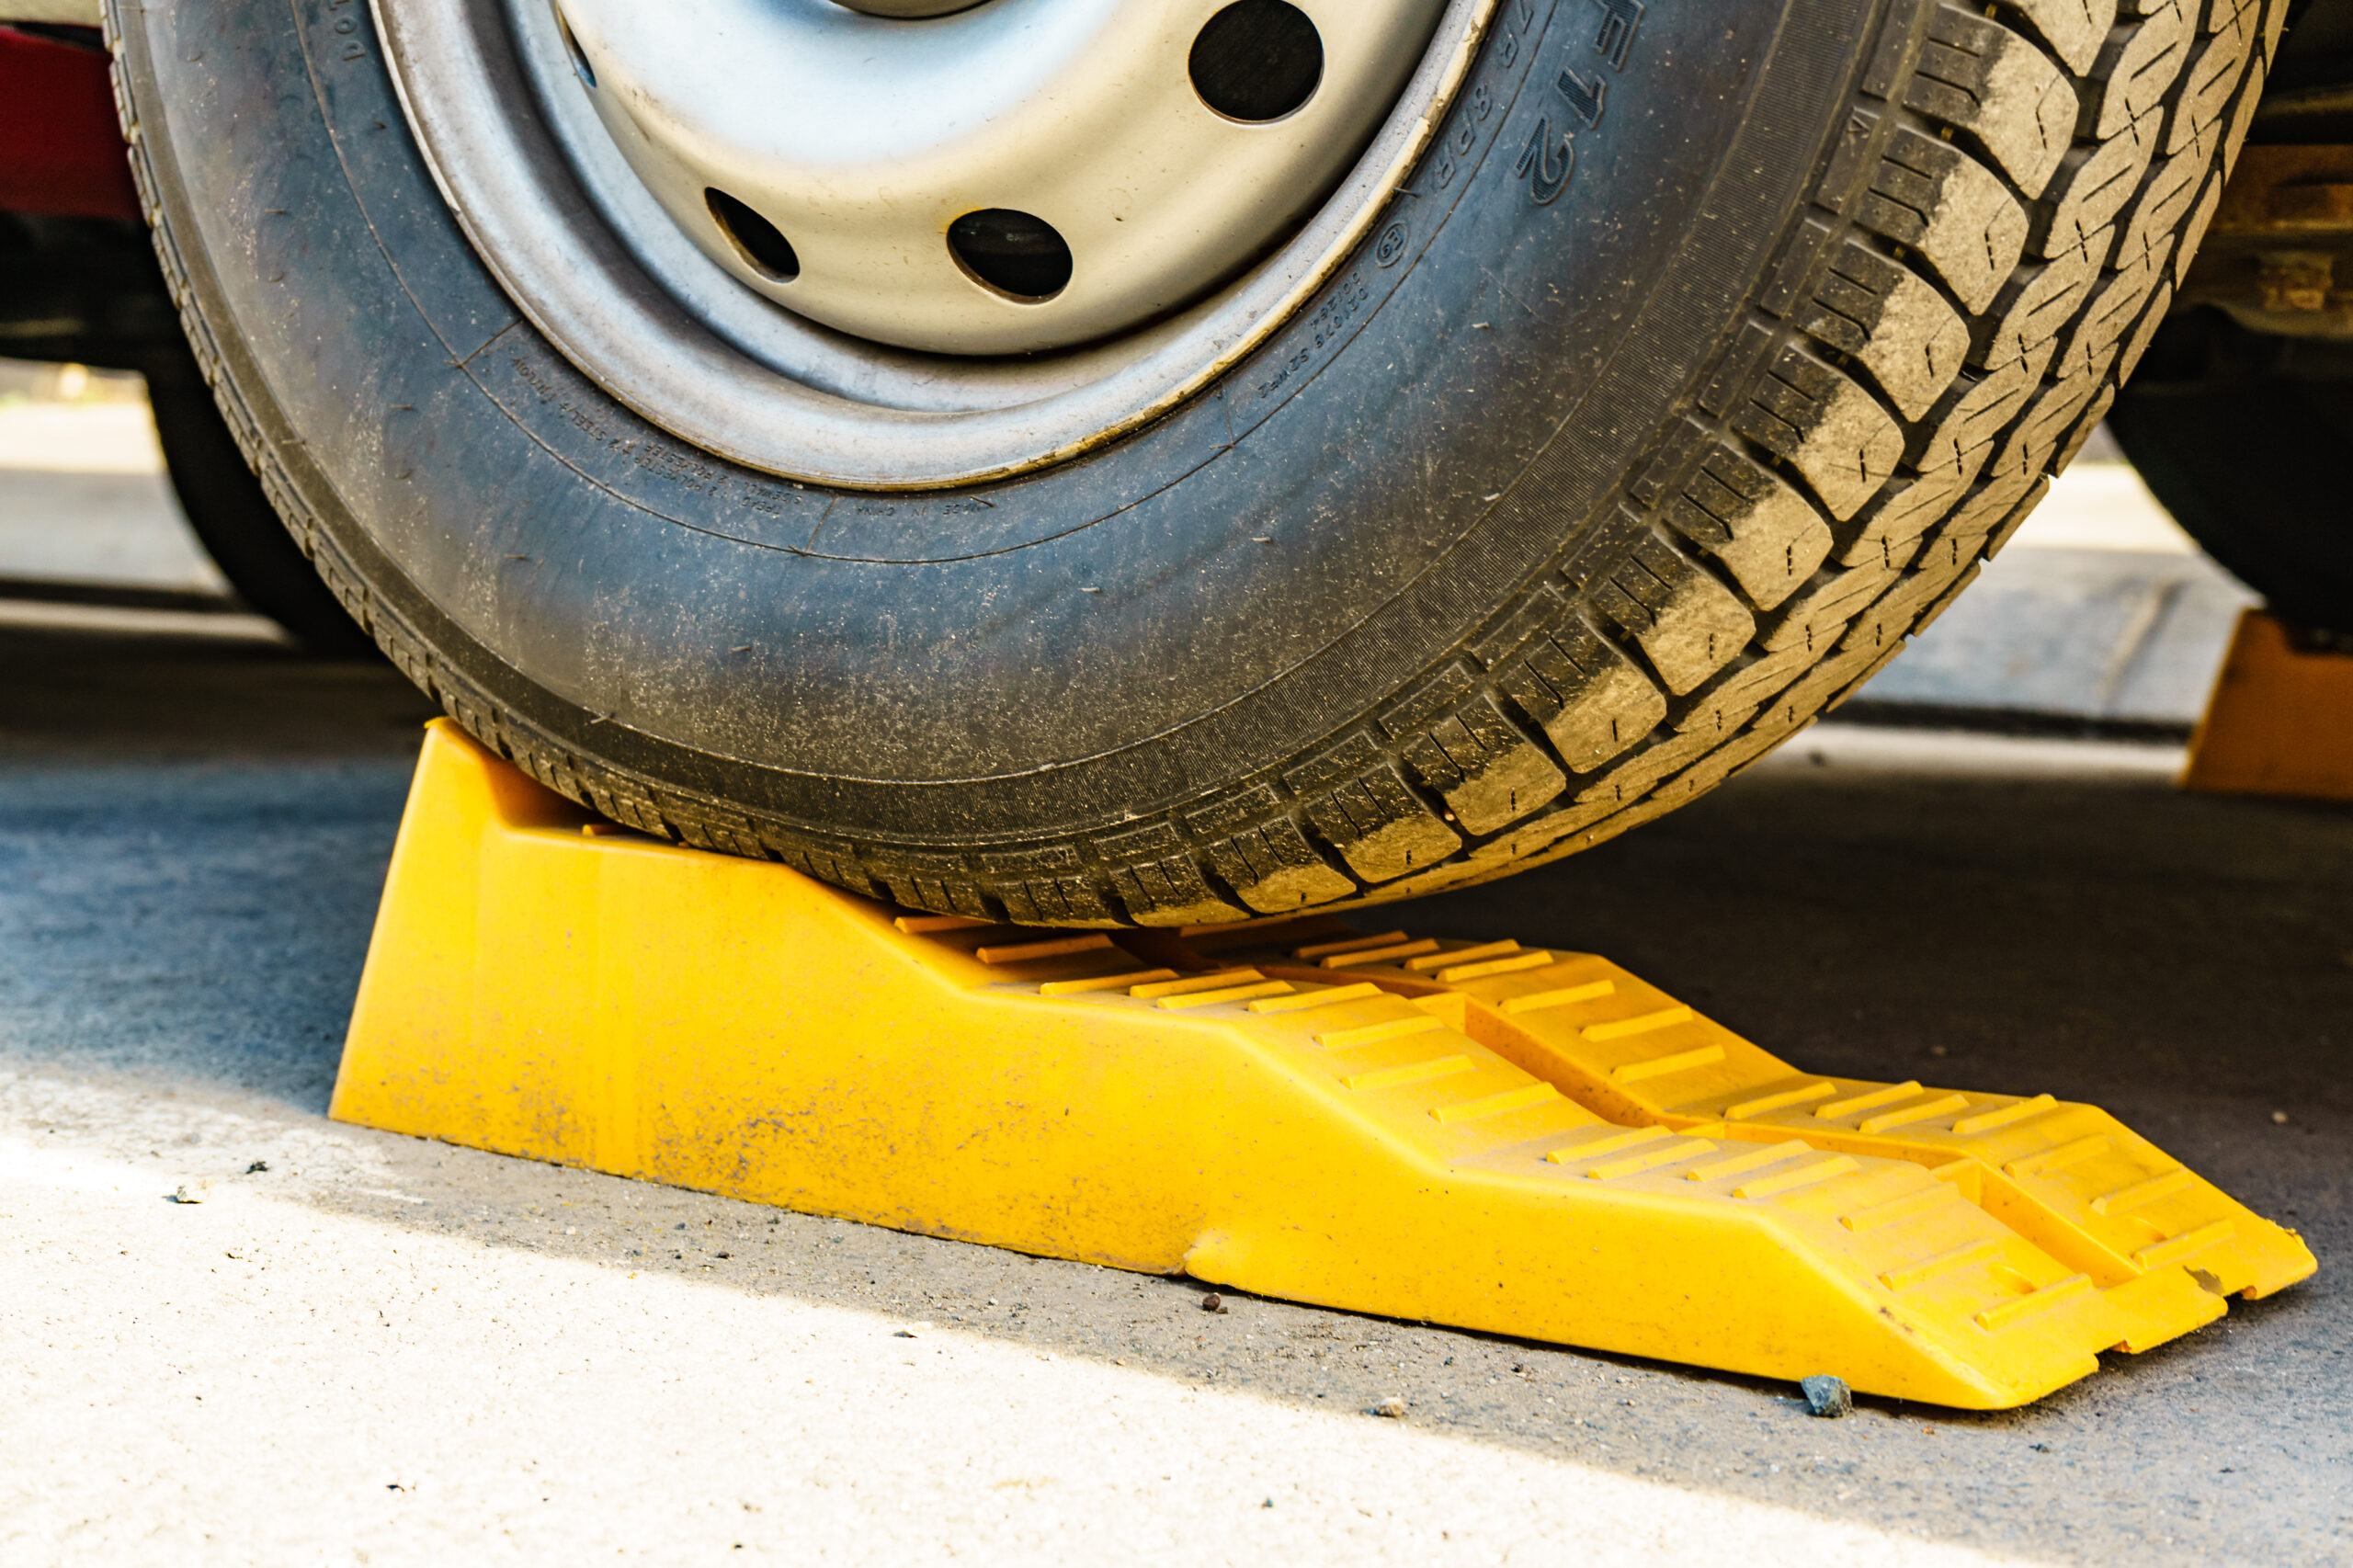
When in doubt, use commercial leveling ramps with a published load rating. Homemade RV leveling blocks can work well, but they do not come with factory testing or a certified capacity.
Common Mistakes to Avoid
Many problems come from small setup errors rather than the basic design. Avoid these mistakes when you build and use RV leveling blocks.
Using narrow boards
A narrow board may not support the full tire footprint. It can tilt or sink into soft soil. Use a platform that gives the tire solid support from edge to edge.
Building a ramp that is too steep
A steep ramp makes it harder to stop accurately. It may also cause a tire to spin, especially on wet wood. Add another step or use a longer base.
Leaving loose layers unconnected
Loose boards can spread apart as the tire climbs. A screwed-together ramp is more stable than a pile of separate pieces.
Relying on wood alone on soft ground
Even a strong block can sink into mud or loose sand. Place a wider ground board below the ramp when needed. Check that the base does not rock before driving onto it.
Skipping wheel chocks
Leveling blocks do not replace wheel chocks. Chock the wheels that remain on the ground, both before and after leveling, as directed by your RV manual.
Using damaged lumber
A small surface split may grow under repeated loading. Inspect each ramp before use, especially after winter storage.
Lifting a wheel too far
The goal is to level the RV, not raise a tire high into the air. Excessive lift can reduce stability and place unusual stress on suspension parts.

Storing and Maintaining RV Leveling Blocks
Good storage extends the life of homemade RV leveling blocks. Store them in a dry, ventilated compartment or a covered area. Do not leave them sitting in wet grass or standing water.
Before each trip, inspect:
• Cracks across the grain
• Soft spots or rot
• Loose screws
• Warped boards
• Damaged corners
• Oil, grease, or chemical stains
Clean dirt from the blocks and allow them to dry. If the wood becomes rough, sand splinters before storage. Retighten screws only if the wood remains sound. A stripped or crushed screw hole usually means the block needs repair or replacement.
Label each ramp by height if you have several designs. This simple habit makes campsite setup faster, especially at night or in bad weather.
A Practical Example for a Travel Trailer
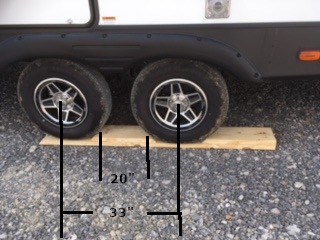
Suppose a dual-axle travel trailer sits 3 inches low on one side. Instead of stacking several loose boards, build two matching stepped ramps for the tires on that side.
Use a wide base and three levels. Each layer can add about 1 1/2 inches, giving you several height choices. Drive both tires onto matching ramps so the axle remains supported evenly.
After leveling, check the trailer with a bubble level inside the living area. Then chock the wheels and use the stabilizers to reduce movement. If the door, refrigerator, or cabinets still show signs of unevenness, make small changes rather than adding a tall, unstable stack.
This example shows why learning how to build RV leveling blocks is not only about cutting wood. It is also about matching the design to the RV, tire position, ground, and amount of lift needed.
Frequently Asked Questions About How to Build RV Leveling Blocks
What is the best wood for RV leveling blocks?
Pressure-treated structural lumber is a practical choice for outdoor use. Select straight boards without rot, large splits, or weak damage, and seal freshly cut ends.
How thick should DIY RV leveling blocks be?
A nominal 2x board is about 1 1/2 inches thick and works well for low stepped ramps. Use several connected layers when you need more height, but avoid creating a steep or unstable ramp.
Can I use plywood to build RV leveling blocks?
Standard plywood is usually not the best choice for direct tire loading because edges can separate and layers can crush. Exterior structural plywood may work in a properly designed platform, but solid lumber or a rated commercial ramp is often simpler and more predictable.
Do RV leveling blocks replace wheel chocks?
No. Leveling blocks raise or support the tires, while wheel chocks help prevent movement. Use both when the RV is parked and follow the chocking instructions in the owner’s manual.
Can I use homemade blocks under RV jacks?
Do not use homemade wood blocks under jacks unless the RV manufacturer specifically allows that type of support. Never use improvised blocks as a substitute for approved jack stands when working beneath an RV.
How many RV leveling blocks do I need?
The number depends on your RV type and the ground slope. Many owners build two ramps for one axle, while motorhomes may need support for several tire positions.
How do I stop RV leveling blocks from sliding?
Use a wide, clean base on firm ground and drive onto the ramp slowly. If movement continues, stop using the ramp and choose a commercial product or improve the ground surface rather than relying on friction alone.
Conclusion
Learning how to build RV leveling blocks can save money and make campsite setup easier when the blocks are designed with strength and stability in mind. Use sound pressure-treated lumber, build a gradual stepped ramp, secure the layers with exterior screws, and make the platform wider than the tire.
Always inspect the blocks, use wheel chocks, avoid excessive lifting, and follow your RV manufacturer’s instructions. Build one test ramp first, try it on firm ground, and improve the design before making a full set. If you have a useful design or campsite lesson, share it with other RV owners and keep exploring reliable leveling and towing resources.


