How Many RV Leveling Blocks Do I Need: Easy Guide
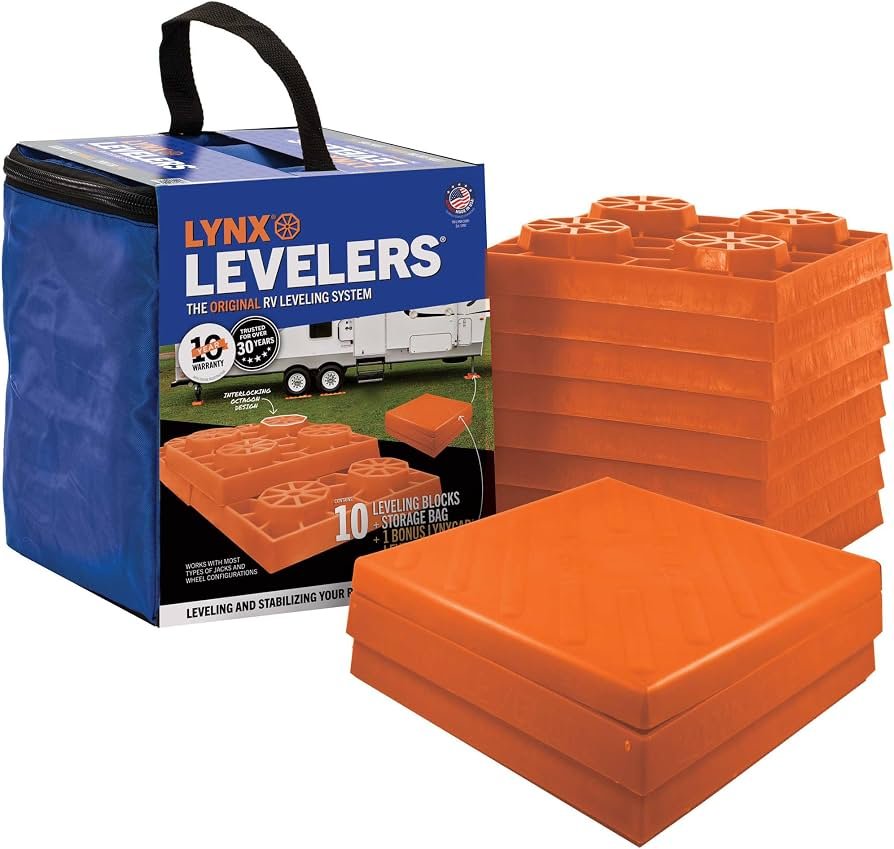
Most RVs need four to eight leveling blocks, depending on the tires, axles, slope, and block design.
Knowing how many RV leveling blocks do I need can make setup faster, safer, and far less stressful. The right number depends on which wheels need lifting, how uneven the campsite is, and whether you use a ramp-style system or separate stacking blocks. This guide explains how to count them, place them correctly, avoid common mistakes, and build a simple leveling kit that works in real camping conditions.

How many RV leveling blocks do I need?
For most RVs, plan on carrying at least four leveling blocks. Many campers carry six to eight because campsites are not always flat and extra blocks provide more setup options.
The exact number depends on your RV type:
• Small travel trailer: Four to six blocks often work well.
• Class B or Class C motorhome: Four to six blocks are usually enough.
• Large Class A motorhome: Six to eight blocks may be more useful.
• Fifth wheel: Six to eight blocks are a practical starting point.
• Tandem-axle trailer: Six to eight blocks may be needed when both axles must be supported.
These numbers are general estimates. When asking how many RV leveling blocks do I need, first count the wheels or tires that must be raised. Then consider how many blocks are needed under each tire to reach the required height.
For example, if two tires on the low side need to rise and each tire needs three blocks, you need six blocks. If your blocks form a single ramp, the number may be different because one ramp can support a tire across several levels.

What do RV leveling blocks do?
RV leveling blocks raise one side of your RV so the coach sits level from left to right. They do not replace the parking brake, wheel chocks, stabilizer jacks, or landing gear.
A level RV is more comfortable and safer to use. Doors close more normally, water drains as designed, and appliances such as absorption refrigerators can operate within their recommended position limits. A level floor also helps prevent people from walking on a constant angle.
Think of leveling blocks as a firm bridge between your tires and the ground. They spread weight over a larger area and help keep tires from sinking into soft soil, gravel, or wet grass.
Leveling blocks are different from:
• Wheel chocks, which stop the RV from rolling.
• Stabilizer jacks, which reduce movement after the RV is parked.
• Jack pads, which create a firm base under jacks.
• Tongue-jack blocks, which reduce jack extension on a travel trailer.
Never use stabilizer jacks to lift the full weight of an RV unless the manufacturer specifically allows it. Most stabilizers are designed to steady the RV, not raise it.

How to calculate the number of leveling blocks
The easiest way to work out how many RV leveling blocks do I need is to use a simple step-by-step count.
-
Park the RV in the site.
-
Check the side-to-side level with a bubble level or electronic level.
-
Find the low side.
-
Count the tires that must rise.
-
Estimate the height needed.
-
Multiply the blocks needed per tire by the number of tires.
For example, imagine a travel trailer with two tires on one axle. If the low side needs about two inches of lift and each block is one inch tall, you may need two blocks under that side. That equals four blocks if both tires need the same support.
However, some block systems are not meant to be stacked into tall, narrow towers. Their instructions may require a specific pattern. Always follow the load rating and stacking limits printed by the manufacturer.
A useful formula is:
Number of blocks = tires being raised × blocks needed under each tire
This formula gives you a starting point. It does not replace the product instructions or the RV manufacturer’s guidance.

How many blocks does each RV type usually need?
Travel trailers
A single-axle travel trailer often needs four blocks. Two blocks can support the tires, while the remaining blocks can support the tongue jack or provide backup for a small height change.
A tandem-axle trailer often needs six to eight blocks. Some owners level only the tires on the low side, but the best method depends on the block design and the trailer manufacturer’s instructions. Both axles must remain properly supported and aligned.
Do not create a sharp slope that forces one axle to carry much more weight than the other. A long ramp or connected block system is often safer than separate tall stacks.
Class B and Class C motorhomes
Smaller motorhomes commonly need four to six blocks. If only the front or rear sits low, two tires may need support. If one side is low across both axles, four tires may need support.
A Class C can have a high center of gravity, especially when loaded with water, fuel, food, and camping gear. Use broad, stable blocks and avoid raising the RV more than necessary.
Class A motorhomes
Large Class A motorhomes can require six to eight blocks, or more if the system uses several pieces per wheel. Their size and weight make block capacity especially important.
Check the tire load, axle rating, and leveling system before choosing blocks. A lightweight plastic block may be suitable for one RV but unsafe for a larger coach.
Fifth wheels
Fifth wheels often need six to eight blocks for the tires and additional pads under the landing gear. The landing gear may need to extend far on an uneven site, so blocks under the landing gear can reduce extension and improve stability.
The number of RV leveling blocks do I need for a fifth wheel may change with the site. A nearly flat site may need only four tire blocks, while a sloped gravel site may require a larger set.

Do I put leveling blocks under every tire?
Not always. You normally place blocks under the tires on the low side, but the correct method depends on your RV and the leveling system.
If the RV slopes from left to right, drive the low-side tires onto the blocks. On a motorhome, this may mean raising two or four tires. On a trailer, it may mean supporting one or both tires on the low side.
Tandem-axle trailers require extra care. Both tires on the same side should remain supported in a way that keeps the trailer stable. A ramp-style system can spread the load and reduce stress between the axles.
Avoid placing blocks under only one tire when the other tire on the same axle remains at a very different height. This can create an unstable setup and may place unusual stress on the suspension.
A good rule is to raise the lowest side only as much as needed. Leveling is not the same as lifting the RV high into the air.

How to use RV leveling blocks safely
Use this basic process each time you arrive at a campsite:
-
Inspect the site for holes, soft soil, sharp rocks, and drainage problems.
-
Check the RV’s side-to-side level before placing blocks.
-
Put the blocks in front of the tires on the low side.
-
Build a smooth ramp instead of a steep step when possible.
-
Drive onto the blocks slowly.
-
Apply the parking brake and place the transmission in park.
-
Use wheel chocks on both sides of the tires.
-
Check the side-to-side level again.
-
Disconnect or unhitch the trailer if required.
-
Level the RV from front to back with the tongue jack, landing gear, or built-in system.
-
Lower stabilizer jacks until they make firm contact.
-
Recheck the level inside the RV.
Do not crawl beneath an RV supported only by leveling blocks. Do not use damaged, cracked, warped, or crushed blocks. Replace any piece that shows signs of failure.
Keep your hands and feet clear while the RV moves onto the blocks. Ask a spotter to watch the tires, especially in tight campsites.
How high should I stack RV leveling blocks?
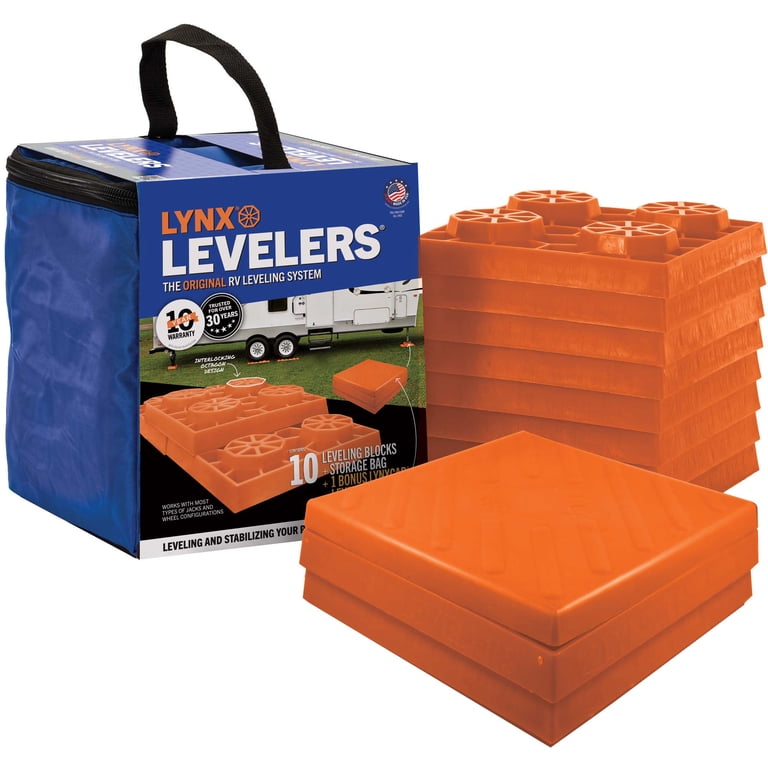
Use the lowest stack that gives you a level RV. Most setups need one to three inches of lift, but a very uneven campsite may require more.
Tall stacks can become unstable. They may shift, spread, or tilt under the tire. A long ramp is safer than a short tower because it gives the tire a gradual path and distributes weight across more surface area.
Before stacking blocks, check:
• The maximum stack height.
• The weight rating.
• The correct block orientation.
• Whether the blocks lock together.
• Whether the product allows stacking.
• Whether the tire rests fully on the supported area.
Never mix random wood pieces, loose bricks, and plastic blocks unless the materials are rated and arranged for the load. Homemade solutions can move or break without warning.
If the campsite requires a very tall stack, consider moving to a better site. A poor site can turn a simple setup into a safety problem.

How do I know when the RV is level?
Use a small bubble level inside the RV or a reliable electronic leveling device. Place the level on a firm, representative surface, such as the floor near the refrigerator or a central counter.
Check side-to-side level first. This tells you whether the tires need blocks. Then check front-to-back level. On a trailer, the tongue jack usually handles this adjustment. On a motorhome, the hydraulic or electric leveling system may handle both directions.
Do not rely only on how the RV feels when you walk inside. A small slope can be hard to notice, especially after you have been driving for hours.
Some modern RV refrigerators can tolerate a limited amount of off-level operation, but the safe range varies by model. Follow the appliance manual. When in doubt, turn off an absorption refrigerator until the RV is properly level.
How many extra blocks should I carry?
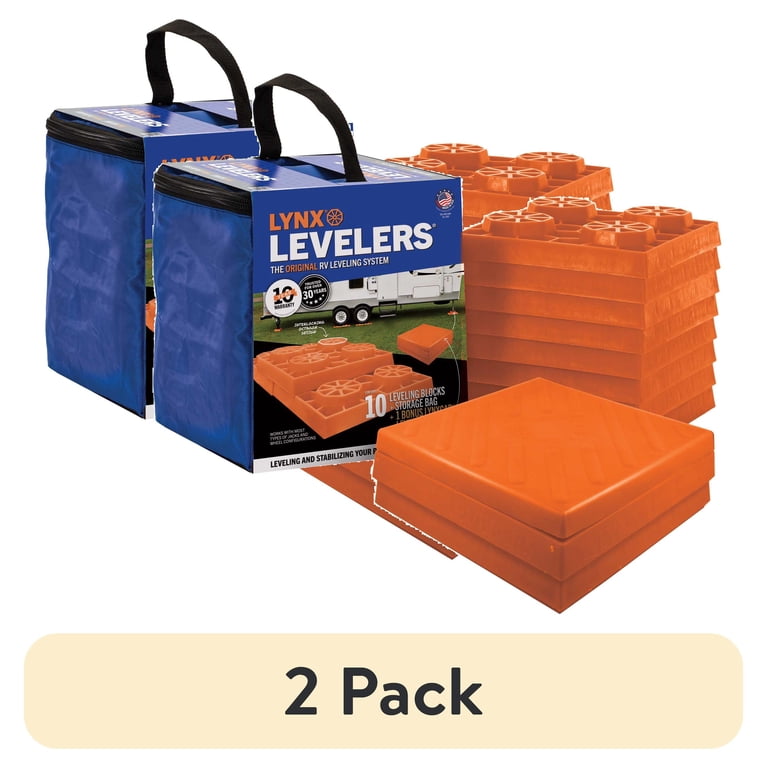
Carry at least two extra blocks beyond the number you expect to use. Extra pieces help when the ground is soft, the site is more sloped than expected, or a block becomes damaged.
A practical kit may include:
• Four to six tire leveling blocks.
• Two to four extra blocks.
• Two or more wheel chocks.
• Jack pads for stabilizers or landing gear.
• A bubble level or electronic level.
• A small brush for clearing gravel and dirt.
• Gloves for handling wet or muddy blocks.
When deciding how many RV leveling blocks do I need for a complete kit, remember that tire blocks and jack pads serve different jobs. A block under a tire may not have the correct shape or capacity for a hydraulic jack.
Extra blocks also save time. It is frustrating to discover that your campsite needs two more pieces after you have already unhitched and leveled the trailer.
Common mistakes to avoid
Many leveling problems come from using too few blocks or placing them in the wrong position.
Using stabilizers to level the RV
Stabilizers are designed to reduce movement. They should not usually lift the RV. Raising the RV with stabilizers can bend components or cause the RV to shift.
Forgetting wheel chocks
Leveling blocks do not replace chocks. Chock the wheels before disconnecting a trailer and keep the wheels secured during setup.
Building tall, narrow stacks
A high stack can lean or collapse. Use a wider base, a longer ramp, or a different campsite.
Ignoring block capacity
A block’s weight rating must meet the load placed on it. Consider axle weight, tire load, and how the manufacturer rates the product.
Leveling only by the outside wall
The ground may look level while the RV floor is not. Check inside the RV after setup.
Using loose materials
Rocks, scraps of wood, and unstable pavers can shift. Use purpose-built blocks or solid materials approved for the load.
Carrying too few blocks
If you only carry four blocks, a site that needs six can leave you stuck. A few extra blocks are cheap insurance.
Plastic blocks versus wood blocks
Plastic leveling blocks are light, easy to clean, and often lock together. They are popular because they pack well and resist moisture. Their main limitation is that they must be used within their stated load and stacking limits.
Wood can provide a broad, solid base, but it is heavy and can split, rot, or absorb water. Wood pieces must be thick enough and free from cracks or weak grain.
Whichever material you choose, inspect it before every trip. Look for crushed edges, cracks, severe wear, oil damage, and signs of sinking. A small defect can grow when thousands of pounds rest on the block.
The best choice is the one that matches your RV’s weight, your camping style, and the ground you usually encounter.
A practical example for a campsite
Suppose you arrive at a gravel campsite with a tandem-axle travel trailer. A level check shows that the left side is two inches low.
You might use a six-piece ramp system under the two left-side tires. The ramp allows both tires to climb gradually and supports the trailer across a wider area. You could then use two more pads under the tongue jack and chock the wheels.
In this case, how many RV leveling blocks do I need? You need the number required by the ramp system for both tires, plus any separate pads required for the tongue jack. The exact total depends on the block shape and the manufacturer’s instructions.
This example shows why there is no single answer for every RV. Tire count, slope, axle layout, block height, and product design all matter.
Lessons from real-world RV setup
One common setup lesson is that the first campsite is not always worth forcing. If the ground is sharply crowned, deeply rutted, or too soft, moving to a better site is often safer than building a tall block stack.
Another lesson is to test your blocks at home. Load the RV as you normally travel, place the blocks on a firm surface, and practice driving onto them slowly. This helps you learn how much height each block provides.
It also helps to mark your preferred setup. Some RV owners keep a small note in their phone that says how many blocks they usually use on the front, rear, left, or right. That turns future arrivals into a simple routine.
I also recommend storing blocks where they are easy to reach. If they are buried under chairs, hoses, and outdoor rugs, you may be tempted to skip proper leveling. Good storage supports good habits.
How to choose the right leveling block kit
Before buying a kit, compare these features:
• Weight capacity: The kit must support the expected tire or axle load.
• Block dimensions: Wider blocks offer better support on soft ground.
• Locking design: Interlocking pieces help keep the ramp together.
• Height options: Several height choices offer more control than one tall piece.
• Surface grip: Textured surfaces can reduce sliding.
• Storage size: The kit should fit your RV’s storage compartment.
• Material quality: Strong, weather-resistant materials last longer.
• Manufacturer instructions: Clear limits make safe use easier.
Do not buy only by piece count. Eight tiny blocks may not provide the same support as four large blocks. The shape, height, surface area, and load rating are just as important as the number printed on the box.
If you are unsure how many RV leveling blocks do I need, choose a kit with extra pieces and flexible ramp options. It is usually easier to carry two spare blocks than to solve a shortage at the campsite.
Frequently Asked Questions About How Many RV Leveling Blocks Do I Need
Can four RV leveling blocks be enough?
Yes, four blocks can be enough for a small RV or a nearly level campsite. You may need more if several tires must be raised or if the blocks are designed to use multiple pieces per tire.
How many RV leveling blocks do I need for a travel trailer?
Most travel trailers need four to eight blocks. A single-axle trailer may use four, while a tandem-axle trailer often benefits from six to eight, depending on the slope and block design.
Do I need blocks under all four motorhome tires?
Not always. Place blocks under the tires on the low side, but the number depends on whether two or four tires need to rise and on the motorhome’s leveling system.
Can I stack RV leveling blocks?
You can stack blocks only when the manufacturer allows it. Follow the stated stacking pattern, height limit, and weight rating, and avoid tall stacks that can tilt or shift.
Are leveling blocks and jack pads the same?
No. Leveling blocks support tires and raise one side of the RV. Jack pads support stabilizer jacks, landing gear, or hydraulic jacks and may have different strength and size requirements.
Should I use leveling blocks under a tandem axle?
Often, yes, but the support pattern matters. Use a ramp or connected system when possible, and follow the trailer and block manufacturer’s instructions so both axles remain stable.
Can leveling blocks replace wheel chocks?
No. Leveling blocks raise or support the RV, while wheel chocks prevent rolling. Use both whenever the RV is parked and especially before unhitching a trailer.
Conclusion
For most RVs, four to eight leveling blocks provide a useful starting range. The right number depends on the tires that need lifting, the slope of the site, the RV’s weight, and the design of the blocks.
Use a level, raise the low side only as much as needed, follow the product’s load limits, and keep extra blocks and wheel chocks in your kit. When you know how many RV leveling blocks do I need before arriving, setup becomes safer and much less frustrating.
Test your system at home, review your RV and appliance manuals, and share your best leveling tips in the comments or explore more RV setup guides before your next trip.