Leveling RV Side To Side: Easy Guide
Leveling an RV side to side keeps the coach stable, safe, comfortable, and ready for camping.
Leveling RV side to side is one of the first jobs to handle after you park. A small slope can make doors swing, drains work poorly, and beds feel uneven. This guide explains how to level your RV safely, whether you use leveling blocks, a travel trailer tongue jack, or an automatic hydraulic system.
Why Leveling an RV Side to Side Matters
An RV does not need to be perfectly level in every situation. However, it should be level enough for comfort, safe appliance use, and proper drainage. Side-to-side leveling corrects the slope across the width of the RV.
An uneven RV can cause several common problems:
• Doors may open or close by themselves.
• Water may collect in sinks or shower corners.
• Cabinet doors may not latch well.
• Sleeping areas can feel uncomfortable.
• refrigerator cooling may be affected if the RV remains far out of level.
• People may trip more easily on sloped floors.
The refrigerator point deserves special care. Absorption refrigerators use gravity and heat to move coolant through the system. Most manufacturers allow only a limited amount of off-level operation, so always follow the instructions for your exact refrigerator model.
In practical terms, leveling RV side to side is like placing a tray on a tilted table. You do not need to rebuild the table. You only need to raise the low side until the tray sits flat.
What You Need Before You Start
Good equipment makes leveling RV side to side faster and safer. You do not need every tool listed below, but each one solves a common problem.
• A small bubble level or digital RV level
• Heavy-duty leveling blocks or curved leveling ramps
• Wheel chocks
• A measuring tape or marker
• A tongue jack for travel trailers
• Stabilizer jacks, if your RV has them
• A torque wrench for wheel work, if needed
• A flashlight for evening arrivals
Choose blocks that match your RV’s weight rating. Thin plastic blocks made for light use may crack under a heavy motorhome or trailer. Look for products designed for RV tires and check the load limit before buying.
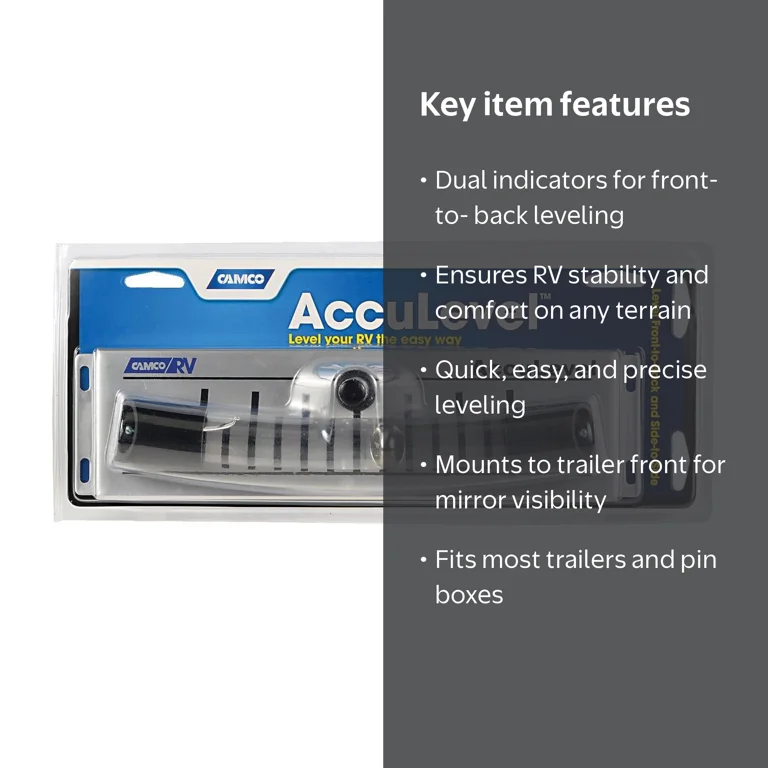
A digital level can help, but it is not required. A simple bubble level works well when placed on a flat floor, counter, or refrigerator shelf. I prefer using two small levels: one aimed at the front and rear, and one aimed at the left and right sides.
Keep chocks and leveling blocks easy to reach. A common mistake is storing them under gear that must be unloaded first. When rain is falling and the campground is crowded, simple access saves time.

How to Check the RV’s Side-to-Side Slope
Park in the site as straight as possible. Avoid correcting a poor parking angle with a large stack of blocks. A straight approach gives the tires and suspension a more even load.
Place the level inside the RV before you begin. Good locations include:
• The floor near the center of the coach
• A kitchen counter
• A sturdy table
• A refrigerator shelf, if the shelf is level with the appliance
Turn the level so it measures from the driver side to the passenger side. On a travel trailer, this usually means checking from the road side to the curb side.
Next, note which side is low. The bubble moves toward the higher side, depending on the level design. If you use a digital level, the display will show the slope directly.
Do not judge the site only by looking at it. A campground may appear flat but still have enough slope to affect sleep, drainage, and refrigerator operation. A level also helps you avoid raising the RV more than needed.

Step-by-Step Method for Leveling RV Side to Side
The safest method depends on your RV type. A travel trailer normally requires leveling the axle from side to side before unhitching. A motorhome may use leveling jacks after the tires are positioned.
Step 1: Pick the best parking position
Look for the firmest and most level area of the site. Stay away from soft soil, deep gravel, and low spots that may collect rain.
Check overhead branches, fire rings, utility posts, and the location of the campsite hookups. A level RV is not useful if the slideout hits a tree or the power cord cannot reach the pedestal.
Step 2: Find the low side
Place your level inside the RV and check the side-to-side angle. The low side is the side that must be raised.
For a travel trailer, you can also place a level on the frame or use the trailer’s built-in level. The interior floor is usually the best guide for living comfort.
Step 3: Build a ramp with leveling blocks
Place the blocks in front of the tires on the low side. Build a wide, stable ramp rather than a narrow tower.
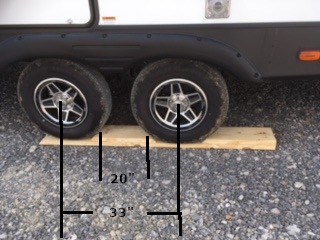
Use enough blocks to support the full tire footprint. The tire should sit on a flat surface, not on the edge of one block. If you have tandem axles, support both tires on that side.
A useful block pattern may include:
• One base layer across the width of the tire
• A second layer where extra height is needed
• A top cap or chock to prevent movement
Never place a loose stack under only one small part of a tire. The force can shift the stack or damage the tire sidewall.
Step 4: Drive or pull onto the blocks
Move slowly. Ask a spotter to stand where you can see them clearly. The spotter should stay out of the tire path and never place a foot or hand near the wheels.
Stop once the tires are centered on the blocks. Recheck the level inside the RV. If the low side still needs more height, pull off and add another layer. Do not try to add blocks under a loaded tire.
Step 5: Chock the wheels
Once the RV is level from side to side, set the parking brake if the vehicle has one. Then place wheel chocks on both sides of the tires.
For a trailer, chock the wheels before disconnecting from the tow vehicle. Chocks are not a replacement for leveling blocks. Blocks raise the RV, while chocks stop rolling.
Step 6: Level from front to rear
After side-to-side leveling, handle the front-to-rear angle. A travel trailer uses the tongue jack. A motorhome uses its leveling system or approved jack points.
Recheck both directions after each adjustment. Raising one end can change the side-to-side reading slightly.
Step 7: Lower stabilizers or leveling jacks
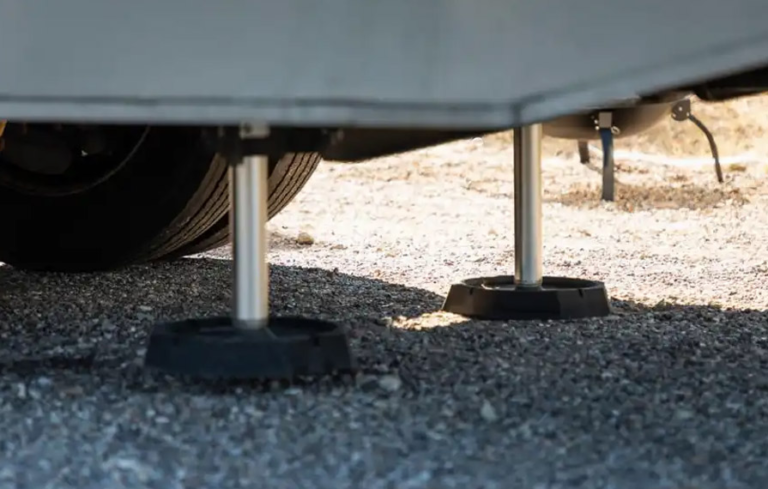
Stabilizer jacks reduce movement, but they are not designed to lift the RV into level unless the manufacturer says they can. Lower them until they contact solid ground.
Use jack pads or blocks on soft surfaces. Stop if a jack begins to sink, twist, or lift a tire when it should not. Lifting a tire can reduce stability and change the load on the suspension.
Step 8: Confirm the final position
Walk through the RV and check doors, water flow, slides, and the refrigerator position. Look under the RV for strained cables, hoses, or plumbing.
If the RV feels unstable, stop and correct the setup. A few extra minutes now are better than a damaged jack, bent frame, or night spent on a sloping bed.

Leveling RV Side to Side With a Travel Trailer
Travel trailers need special care because the axle and wheels support the trailer during the first part of the setup. You should level the trailer side to side before unhitching.
A reliable order is:
-
Park the trailer where you want it.
-
Keep it connected to the tow vehicle.
-
Check the side-to-side level.
-
Place blocks on the low side.
-
Pull or back the trailer onto the blocks.
-
Set the parking brake on the tow vehicle.
-
Apply wheel chocks on both sides.
-
Disconnect the trailer.
-
Use the tongue jack for front-to-rear leveling.
-
Lower the stabilizer jacks.
For a tandem-axle trailer, both tires on the low side should rise together. A commercial tandem-axle leveling ramp can make this easier. If you use separate blocks, make sure the blocks form a smooth, even path.
Never place a jack under an axle or frame point unless the trailer maker approves that location. A poor jack point can bend suspension parts or damage the frame.
A lesson I learned early was not to rush the chocking step. I once watched a trailer shift slightly while the coupler was being disconnected because the chocks were not tight. No one was hurt, but it was a clear reminder that stability comes before comfort.

Leveling RV Side to Side With a Motorhome
Motorhomes often use hydraulic or electric leveling jacks. These systems can make leveling RV side to side simple, but they still require proper parking and careful observation.
Park with the tires on firm ground. Engage the parking brake and follow the control panel sequence in the owner’s manual. Some systems ask you to level side to side first, while others use an automatic sequence.
Before extending the jacks, check:
• Tire position and ground firmness
• Slideout clearance
• Jack pad placement
• Nearby vehicles and objects
• Low branches and overhead obstacles
Do not use leveling jacks to compensate for a steep site beyond the system’s limits. If a jack reaches full extension, the RV may become less stable. Use approved blocks under the jack pads when the ground is soft or the extension is excessive.
Many motorhome owners extend slideouts after leveling. That is often correct, but your manufacturer may give a different order. Slideouts move a large amount of weight and can change the coach angle.
Watch the tires while the system works. If a tire begins to leave the ground, stop and check the instructions. Some systems allow limited tire lift, while others do not. The owner’s manual is the final authority.
Common Mistakes to Avoid
Small errors can turn leveling RV side to side into a safety problem. Most are easy to prevent.
• Using stabilizer jacks as lifting jacks: Stabilizers control movement. They may bend or fail if used to raise the full RV.
• Building a tall, narrow block stack: A wide ramp is much more stable.
• Forgetting wheel chocks: An RV can roll even on a gentle slope.
• Leveling after unhitching: A trailer may shift while you try to drive it onto blocks.
• Using damaged blocks: Cracked or crushed blocks can fail under load.
• Placing blocks on soft soil: The blocks may sink and change the RV’s level.
• Ignoring the refrigerator instructions: Different refrigerator types have different limits.
• Standing beside moving tires: Ask a spotter to remain in a safe, visible location.
• Overcorrecting the slope: Excessive height can increase sway and jack extension.
• Skipping a final check: Opening doors and testing the floor can reveal movement that a level does not show.
Never crawl beneath an RV supported only by leveling jacks or a jack. If work must be done underneath, use properly rated jack stands and follow safe lifting practices.

How Much Side-to-Side Level Is Enough?
Perfect level is helpful, but it is not always practical. A small reading on a bubble level may not matter if doors, drains, and appliances work normally.
For comfort, many campers aim to get the bubble near the center. For an absorption refrigerator, follow the refrigerator maker’s stated operating range rather than using a general internet rule.
A level reading can also change when people enter the RV, the water tank fills, or slideouts extend. Check the coach in its normal camping condition.
If your RV needs a very large stack of blocks, choose another site when possible. A gentle slope is easier and safer to correct than a steep one. The best leveling method is often better site selection.

Helpful Tips for Better Results
These small habits make leveling RV side to side more consistent.
• Mark your level position: Place a small piece of tape near the spot where you check the level each time.
• Use a spotter: A second person can watch tire placement and clear obstacles.
• Carry spare blocks: One lost or cracked block can stop your setup.
• Practice at home: Learn your jack controls and block pattern in a driveway.
• Keep a setup checklist: A checklist helps prevent missed chocks, open compartments, or loose hookups.
• Check after rain: Soft ground may allow blocks or jack pads to sink.
• Recheck after slideouts extend: The coach may settle or change angle.
• Use the manufacturer’s manual: It contains the correct jack points and system limits.
• Keep the floor clear: A clear interior makes it easier to spot a real slope.
From my own camping experience, a repeatable routine beats speed. I park, check side to side, build the ramp, chock, disconnect, level front to rear, and then recheck. That order feels almost boring, which is exactly what you want from a safety routine.
Leveling Blocks, Ramps, or Hydraulic Jacks?
Each method has benefits and limits.
Leveling blocks
Blocks are low cost, simple, and useful for trailers and motorhomes. They work well on moderate slopes but require careful placement.
Curved leveling ramps
Ramps provide a smoother path onto the required height. They are useful for tandem-axle trailers, though they may take more storage space.
Hydraulic leveling systems
Hydraulic systems are fast and convenient. They cost more, need maintenance, and can be unsafe if used beyond their design limits.
Electric leveling systems
Electric systems are often quieter and lighter than hydraulic systems. Their lifting capacity and extension range vary by model.
The right choice depends on RV weight, axle layout, campsite conditions, and your budget. Blocks remain useful even if your RV has automatic leveling because jack pads may need extra support on soft ground.
Frequently Asked Questions About Leveling RV Side to Side
Can I level my RV with the stabilizer jacks?
Usually, no. Stabilizer jacks are meant to reduce movement after the RV is already level, not to lift the entire coach. Use the approved leveling system or leveling blocks described by your RV manufacturer.
Should I level side to side before unhitching a travel trailer?
Yes. Keep the trailer connected while you drive onto the leveling blocks. Chock the wheels before unhitching so the trailer cannot roll or shift.
How do I know which side of the RV is low?
Place a bubble level across the RV from side to side. The level shows the angle, and the side that sits lower is the side that needs to be raised.
Are plastic leveling blocks safe for a heavy RV?
They can be safe when they are made for the RV’s weight and used on firm ground. Check the product load rating, inspect each block for cracks, and never use damaged pieces.
Can an RV refrigerator run when the RV is not level?
It depends on the refrigerator type and its operating instructions. Absorption refrigerators are sensitive to off-level operation, so keep the RV within the manufacturer’s stated range.
Do slideouts change the RV’s level?
They can. Slideouts add weight to one side and may cause a small change after they extend. Level the RV first unless your owner’s manual gives a different sequence, then check the level again.
Can I level an RV on gravel?
Yes, if the gravel is firm and well packed. Use wide jack pads or leveling blocks to spread the load, and check for sinking as the RV settles.
[CodeImg not included per instruction]
Conclusion
Leveling RV side to side is a simple task when you use the right order: choose a firm site, find the low side, use strong blocks or the approved jack system, chock the wheels, and check the RV again after setup.
Do not rush the process or use stabilizers as lifting jacks. A stable RV protects your appliances, reduces movement, improves comfort, and makes the entire campsite feel better. Practice the routine at home, keep your equipment ready, and share your best leveling tips in the comments.