Leveling RV Slide Out: Easy Steps For A Smooth Setup
Proper leveling keeps an RV slide out aligned, seals tight, and moving safely.
A slide out adds comfort and space, but it also adds weight and moving parts to your RV. The right leveling RV slide out routine helps protect the frame, seals, motor, gears, and interior floor. This guide explains how to level an RV before extending the slide out, what mistakes to avoid, and how to solve common problems with confidence.
What Does Leveling an RV Slide Out Mean?
Leveling an RV slide out means preparing the entire recreational vehicle so its frame sits close to level before you extend or retract a slide room. The slide itself does not usually have a separate leveling system. Instead, the RV’s tires, leveling jacks, suspension, and chassis support the room.
A level RV helps the slide move in a straight path. It also reduces stress on the slide rails, rollers, cables, hydraulic cylinders, and seals. Think of the RV frame as a picture frame. If the frame twists, the picture inside may rub, bind, or sit crooked.
Most modern RVs use one of three leveling methods:
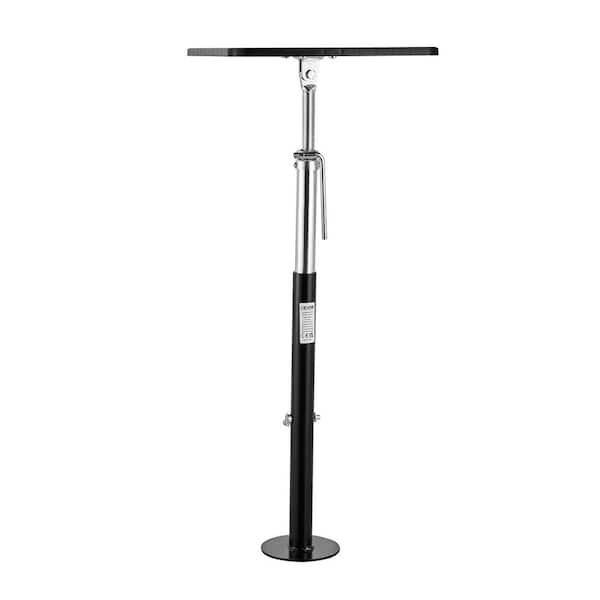
• Manual leveling with wooden blocks, plastic ramps, and stabilizer jacks
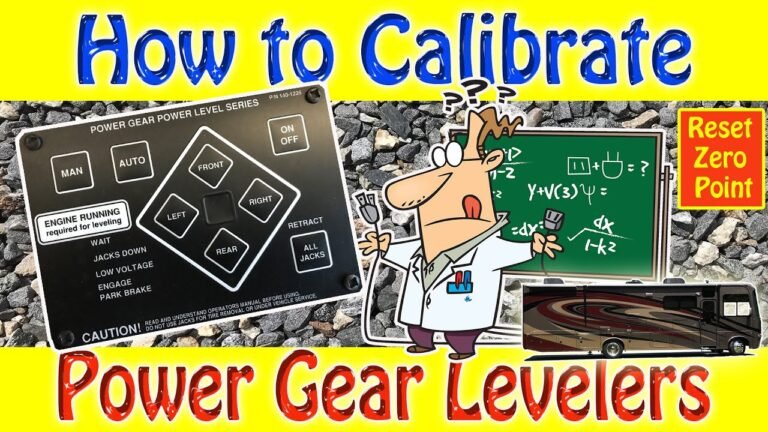
• Hydraulic leveling jacks controlled by a panel
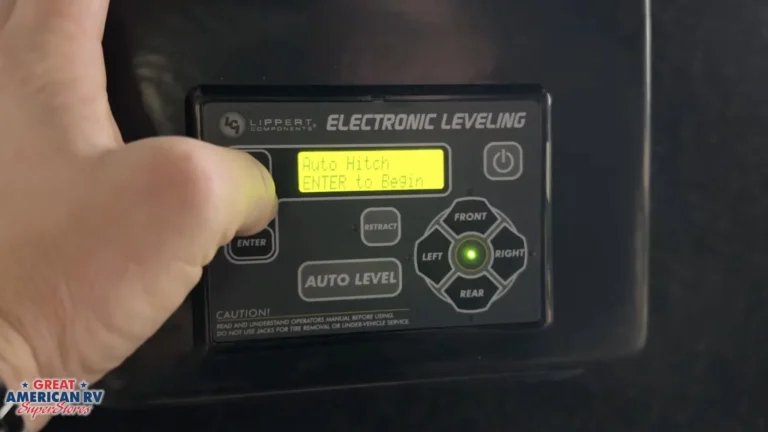
• Electric leveling jacks controlled by switches or an automatic system
The correct leveling RV slide out process depends on your RV design. A motorhome with hydraulic jacks may use a different order than a travel trailer with a tongue jack and electric stabilizers. Always follow the instructions for your exact model before relying on general advice.
Why Proper RV Leveling Matters Before Using a Slide Out
A slide room can weigh hundreds or even thousands of pounds. When it moves, that weight shifts outside the main body of the RV. If the vehicle is not level, gravity pulls the room toward the low side. This can make the slide drag against the floor, wall, or opening.
Poor leveling may lead to several problems:
• Uneven pressure on slide rollers and support rails
• A motor that strains or clicks during movement
• Gaps in the slide seals
• Water leaks around the slide roof or side walls
• Cabinet doors and interior doors that no longer close well
• A slide room that stops before reaching its full position
• Damage to gears, cables, hydraulic parts, or mounting brackets
Leveling also improves comfort inside the RV. A small slope can make water sit in the shower, cause refrigerator concerns, and make beds or tables feel uneven. A refrigerator with a traditional absorption cooling unit may be especially sensitive to long periods of poor leveling. Follow the refrigerator maker’s instructions for the allowed operating angle.
In practical terms, leveling RV slide out systems is not only about making the room move. It is about keeping the whole coach in the position intended by its designer.

Should You Level the RV Before Extending the Slide Out?
In most cases, you should level the RV before extending the slide out. This is the standard approach for many motorhomes, fifth wheels, and travel trailers because it gives the slide a stable and predictable frame.
However, some RV manufacturers publish a different order. A few designs may require the slide to be extended before the final leveling step. This can relate to how the frame, suspension, and leveling system distribute weight. The owner’s manual always comes first.
A safe general rule is:
• Park on a firm surface
• Set the parking brake or chock the wheels
• Disconnect the tow vehicle when required
• Level the RV according to the manufacturer’s instructions
• Deploy stabilizers or leveling jacks as directed
• Confirm that the RV is stable
• Extend the slide out while watching and listening
Do not assume that “auto level” means every RV component is ready for slide operation. Check that the jacks are fully planted, the system has stopped moving, and the RV is not rocking. If the RV leans after leveling, stop and correct the setup.
How to Level an RV Before Operating the Slide Out
The following process works as a general guide. Your RV manual may change the order or limit how far you may raise the vehicle.
1. Choose a suitable parking spot
Look for ground that is firm, stable, and as level as possible. Avoid soft mud, deep gravel, steep slopes, and areas where rainwater may collect.
Check for overhead branches, low signs, posts, picnic tables, and nearby vehicles. A slide out needs clear space on the side of the RV. Remember that awnings and slide toppers may also need room.
2. Position the RV carefully
Place the RV so the side with the slide has enough clearance. Keep the vehicle straight if possible. A sharp angle at the campsite can increase stress on the chassis and make leveling harder.
Set the parking brake. If the RV is a trailer, use wheel chocks before disconnecting from the tow vehicle. Chocks help prevent movement while you operate the leveling system.
3. Level from side to side
Use a bubble level, digital level, or the RV’s built-in leveling display. Many owners place small levels near the driver’s seat and inside the living area.
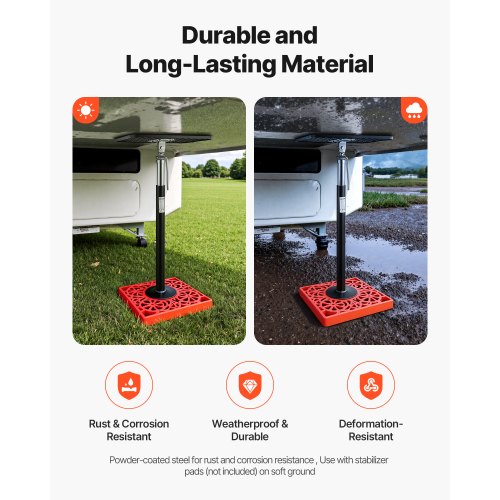
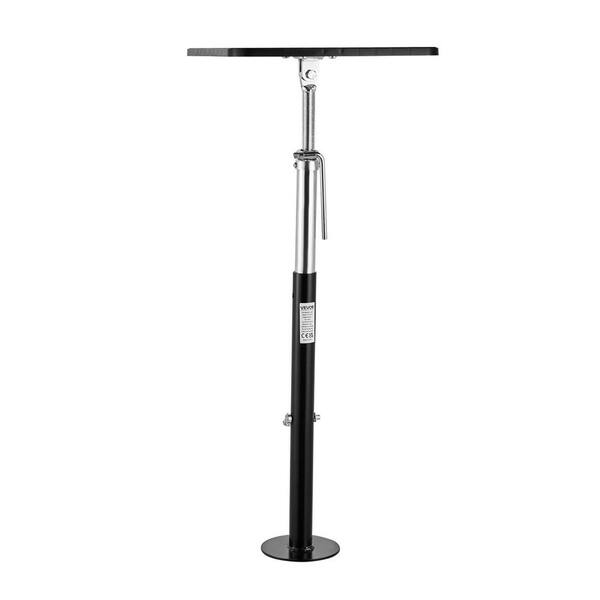
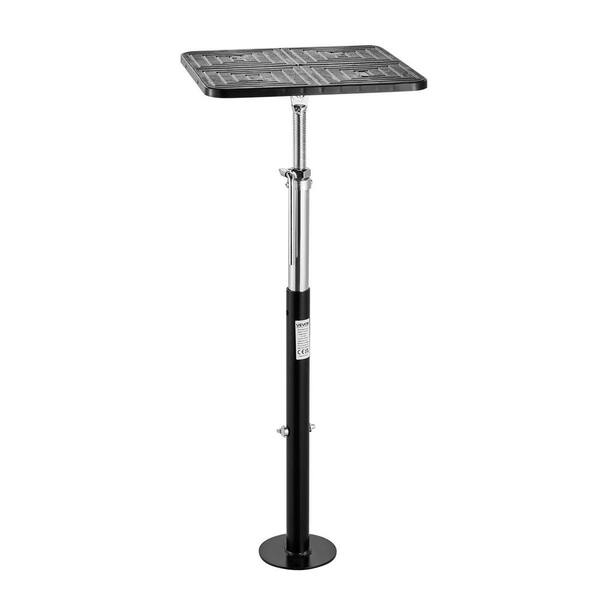
For a travel trailer or fifth wheel, level the low side with leveling blocks under the tires. Never depend on stabilizer jacks to lift the full weight of the trailer unless the manufacturer specifically says they can do so.
Drive onto the blocks slowly. Then place wheel chocks firmly against the tires.
4. Level from front to back
Use the tongue jack on a travel trailer or the landing gear on a fifth wheel. On a motorhome, use the leveling jacks according to the control panel instructions.
Do not place a jack on loose soil, thin asphalt, or an unstable surface without a proper pad. A wide jack pad spreads the load and reduces the chance of sinking.
5. Deploy stabilizers or leveling jacks
Extend each jack only as far as needed. The goal is a firm, stable platform, not excessive lifting. Raising the RV too high can unload the tires, twist the frame, or exceed the jack system’s safe range.
After the system stops, walk inside the RV. Check for movement, unusual lean, and doors that swing open or shut on their own.
6. Inspect the slide area
Before leveling RV slide out systems, look at the full slide opening. Remove chairs, rugs, toys, pet bowls, and other items that could block the room.
Outside, check the slide roof and side seals. Look for tree limbs, campsite posts, water, ice, and loose debris. Inside, confirm that cabinet doors and drawers are closed.
7. Extend the slide slowly
Hold the slide control only as long as needed. Watch the room as it moves. Listen for grinding, popping, repeated clicks, or a motor that sounds weak.
Stop immediately if the room shifts, tilts, binds, or moves unevenly. Do not keep pressing the switch in the hope that the slide will correct itself.
The Correct Order for Different RV Types
The best leveling RV slide out sequence varies by RV type and leveling design.
Motorhomes
Many motorhomes use hydraulic or electric leveling systems. A common process is to park, set the brake, keep the engine or power system in the required state, and activate the leveling system. Some systems require the engine to run during operation, while others require the ignition to be off.
After the jacks finish, confirm that the tires remain properly supported if the manual requires it. Then inspect and operate the slides one at a time.
Travel trailers
Travel trailers often use a tongue jack, wheel chocks, and rear stabilizer jacks. Level the trailer side to side before disconnecting from the tow vehicle. Then adjust front to back with the tongue jack.
Rear stabilizers are designed to reduce movement. They are not usually designed to lift the trailer or correct major leveling errors. Use blocks under the stabilizers when appropriate.
Fifth wheels
A fifth wheel commonly uses front landing gear and rear stabilizers. After leveling side to side with the tow vehicle and tire blocks, disconnect carefully and adjust the front landing gear.
Avoid placing extreme weight on one landing leg. Uneven support can cause movement or stress on the front structure. Follow the landing gear and slide operating instructions for your model.
Pop-up campers and small trailers
Small campers may have manual stabilizers and limited slide systems. Level the unit with tire blocks and a tongue jack. Make sure all stabilizers are firm before using a slide, bed extension, or large interior feature.

How to Tell If Your RV Is Level Enough
Perfect laboratory-level accuracy is not required for most slide systems. The RV should be close to level, stable, and within the limits stated by the manufacturer.
Useful checks include:
• Place a small level on the floor in the main living area
• Check a level on the exterior wall or frame
• Watch whether doors swing open by themselves
• Look for a consistent gap around the slide room
• Check that the slide roof does not rub against the opening
• Confirm that the RV does not rock when you walk inside
A digital level can make setup faster, but it should not replace a visual inspection. Sensors can be out of calibration, and an “auto level” display may show a result that does not reflect a soft or shifting campsite.
A simple test is to stand inside and move your weight from one foot to the other. If the RV rocks, find the cause before operating a slide. A slide room adds leverage, so movement that seems minor can become more obvious once the room is extended.

Common Leveling RV Slide Out Mistakes to Avoid
Small setup mistakes can create expensive repairs. These are some of the most common errors seen in RV slide operation.
Extending the slide before leveling
This can place side pressure on the slide mechanism. Unless your manufacturer gives different instructions, level first and then extend.
Using stabilizers to correct major slopes
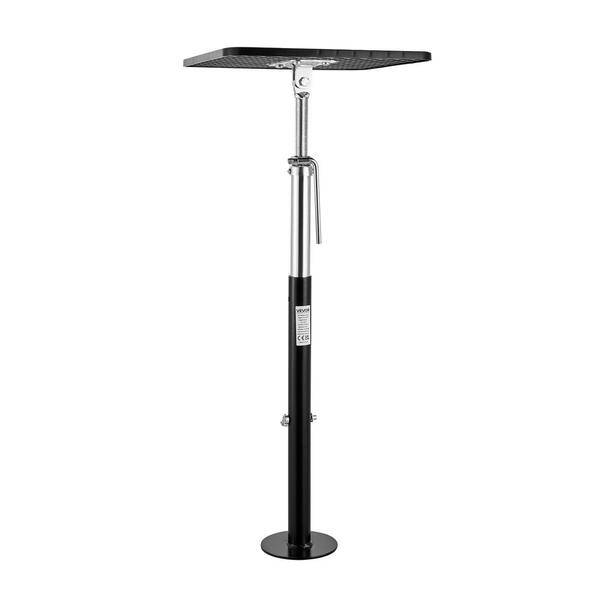
Stabilizer jacks are not a substitute for tire blocks or proper leveling equipment. They may bend, sink, or overload if used to lift too much weight.
Ignoring wheel chocks
A trailer can move even when the parking brake is set on the tow vehicle. Chock the wheels before disconnecting and before using the leveling system.
Operating on soft ground
A jack can sink into soil during or after setup. A sudden change in height may twist the RV and affect the slide opening.
Holding the slide switch after it stops
Many slide motors use a change in sound when the room reaches its limit. Continuing to hold the switch can overheat the motor or stress the mechanism. Stop when the slide reaches the proper position.
Forgetting the outside inspection
Interior checks do not show everything. A branch or picnic table can damage the slide wall while the room moves outward.
Relying only on an automatic system
Automatic leveling is useful, but it cannot see soft ground, blocked slides, low branches, or objects inside the room. Treat it as a tool, not a replacement for judgment.
What to Do If the Slide Out Is Not Level
A slide may look uneven because the RV is not level, the slide seals are compressed, or the mechanism has a fault. Do not force it with the switch.
Start with these steps:
-
Stop the slide and turn off the control.
-
Check whether the RV has shifted on its jacks or blocks.
-
Inspect the slide opening from inside and outside.
-
Look for objects under the slide or against the seals.
-
Check the battery voltage or shore power.
-
Review the owner’s manual for reset instructions.
-
Test whether the slide moves evenly when retracted or extended.
A weak battery can cause an electric slide motor to slow or stop. Low hydraulic fluid, a blown fuse, a damaged cable, or a failed motor can cause similar symptoms. Do not crawl beneath a slide or RV supported only by hydraulic jacks. Use approved supports and obtain professional help when access beneath the vehicle is necessary.
If the slide is several inches out of alignment, stop using it. A repair technician can inspect the rails, rollers, gear packs, cables, hydraulic cylinders, and frame alignment before the damage grows.

Manual, Electric, and Hydraulic Slide Systems
Understanding the slide type helps you choose the right response when leveling RV slide out performance changes.
Electric motor systems
Electric slides often use a motor, gear reduction, rails, cables, or rack-and-pinion parts. They depend on strong battery power and clean electrical connections.
Common signs of trouble include clicking, slow movement, uneven travel, and a motor that runs without moving the room. Never keep cycling a struggling motor.
Hydraulic systems
Hydraulic slides use a pump, fluid, valves, hoses, and cylinders. They can move large rooms with strong force, but leaks and low fluid can stop operation.
Look for wet spots near cylinders, hoses, fittings, or the pump reservoir. Use only the fluid specified by the manufacturer.
Cable-driven systems
Cable slides can be light and smooth, but damaged or loose cables may make one side move ahead of the other. A cable that jumps, frays, or sags needs prompt attention.
Do not adjust cable tension by guesswork. Incorrect tension may damage the room or cause it to leave the opening unevenly.
Maintenance Tips for Reliable Slide Operation
Good leveling RV slide out habits should include routine care. Maintenance is easier when the slide is clean, dry, and inspected before each trip.
Use this checklist:
• Clean dirt and leaves from the slide roof and floor area
• Inspect the wiper seals and bulb seals for cracks
• Check exposed rails, rollers, and gears for damage
• Lubricate only the parts listed by the manufacturer
• Keep slide toppers free of standing water and debris
• Test the battery before travel
• Tighten loose interior trim and visible hardware
• Look for water stains around the slide wall
Avoid using random grease or oil on slide seals. Some products collect dust or damage rubber. A manufacturer-approved dry lubricant or seal conditioner is often safer, but the product instructions matter.
Once each camping season, inspect the slide while another person operates the switch. Watch both sides at the same time. A second set of eyes can spot uneven movement before it becomes a breakdown.
How Weather and Temperature Affect Slide Outs
Cold weather can make seals stiff and brittle. Ice can bond the seals to the slide room and cause damage when the room moves. Always remove snow and ice before operation.
Hot weather can soften some seal materials and increase friction. Dust and sand can also work into the rails and rollers. In dry regions, inspect the slide more often and clean moving parts as directed.
Rain creates another risk. Water may sit on the slide roof or topper. When the room retracts, that water can enter the RV. Wipe off standing water when possible and inspect the interior for dampness after heavy rain.
Wind can move an awning or topper while the slide operates. Secure loose fabric and keep people clear of moving parts. Children and pets should stay away from the slide path.
Safety Tips for Leveling an RV Slide Out
Slides and leveling jacks can create pinch points and crush hazards. Keep hands, feet, tools, and pets away from the room, seals, rails, and jacks.
Follow these safety rules:
• Read the RV and slide manufacturer manuals
• Keep people outside the slide path
• Use wheel chocks on trailers
• Keep jacks on firm, stable pads
• Never work under an unsupported RV
• Do not exceed the leveling system’s rated capacity
• Stop if the slide makes a new sound
• Disconnect power before servicing electrical parts
• Get professional help for structural or hydraulic repairs
A slide room should never be used as a test of strength. If it needs force, the setup or mechanism needs attention. The safest repair is often the one made before the slide becomes fully stuck.
When to Call an RV Technician
Some slide issues are simple setup problems. Others need trained service. Call an RV technician if the slide is crooked, leaks after proper setup, moves in jerks, or stops repeatedly.
Professional inspection is especially important when:
• A hydraulic line leaks
• A cable is frayed or broken
• The slide wall has shifted
• The motor or gearbox grinds
• The slide room hits the floor or ceiling
• The frame shows cracks or distortion
• A jack will not retract
• The slide works only with manual force
Keep notes about when the problem started and what the RV was doing at the time. Record a short video of the sound or movement if it is safe. This can help the technician diagnose the issue faster.
Manufacturers may require specific parts, tools, and adjustment procedures. Using the wrong part or changing factory settings can affect warranty coverage and create a larger repair.
Frequently Asked Questions About Leveling RV Slide Out
Should I level my RV before opening the slide out?
Most RVs should be leveled and stabilized before the slide out is opened. However, your owner’s manual may require a different order, so follow the instructions for your exact model.
Can I use stabilizer jacks to level my RV?
Stabilizer jacks are mainly designed to reduce movement, not lift and level the full RV. Use tire blocks, a tongue jack, landing gear, or the approved leveling system for major height changes.
Why does my slide out move unevenly?
An uneven slide may result from poor RV leveling, low battery power, a damaged cable, worn rollers, a hydraulic issue, or a misaligned frame. Stop operating it and inspect the setup before trying again.
Can I operate a slide out on a slight slope?
A slight slope may be acceptable if the RV remains stable and the manufacturer allows it. The vehicle should still be leveled as closely as practical because a slope can increase friction and stress on the slide mechanism.
Should the RV tires stay on the ground while leveling?
In many RVs, the tires should remain supported unless the manufacturer specifically permits otherwise. Do not use leveling jacks to lift the vehicle beyond the limits listed in the manual.
What should I do if my slide out gets stuck?
Stop pressing the control and check for obstructions, low battery power, blown fuses, and uneven leveling. If the room is crooked or under heavy strain, contact an RV technician rather than forcing it.
How often should I inspect slide out seals?
Inspect the seals before each trip and after long periods of storage. Look for cracks, gaps, hard spots, tears, and water stains inside the RV.
Conclusion
A careful leveling RV slide out routine protects the RV frame, slide mechanism, seals, and interior. Choose firm ground, chock the wheels, level the coach according to the manual, inspect the slide path, and operate the room slowly.
Do not force a slide that binds, tilts, leaks, or makes a new sound. With a few extra minutes of setup and regular maintenance, you can enjoy more space without turning a campsite problem into a costly repair. Save this guide for your next trip, share it with another RV owner, and check your manufacturer’s manual for model-specific instructions.