Rv Leveling Cylinder: Guide To Safe Setup
An RV leveling cylinder is the hydraulic part that extends or retracts a leveling jack on many motorhomes in the United States. It helps raise or steady the coach after you park. It does not replace proper wheel support, and it should not be used to lift a wheel off the ground unless the RV maker clearly allows it.
Most cylinder problems come from low fluid, a leak, a weak pump, a bad valve, damaged seals, or a bent jack leg. The safest fix is to identify the exact leveling system, read its service guide, and test one part at a time.
What Is an RV Leveling Cylinder?
An RV leveling cylinder is a hydraulic actuator. It turns fluid pressure into straight-line motion. When the pump sends fluid into the cylinder, the piston rod moves out and lowers the jack. When fluid returns through the valve system, the rod moves back in.
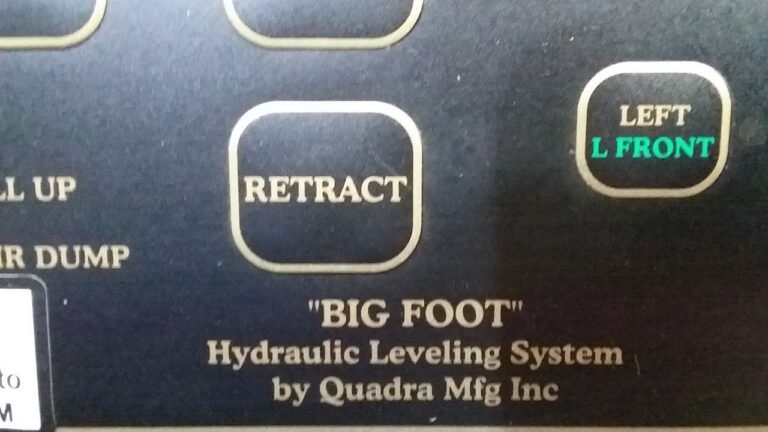
On many American motorhomes, the cylinder is part of a complete hydraulic leveling system. That system may include:
- Hydraulic pump and motor
- Fluid reservoir
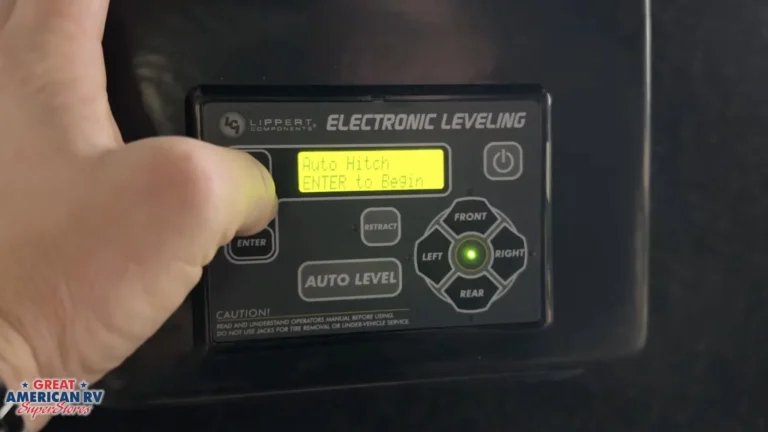
- Control panel
- Solenoid valves
- Hydraulic hoses and fittings
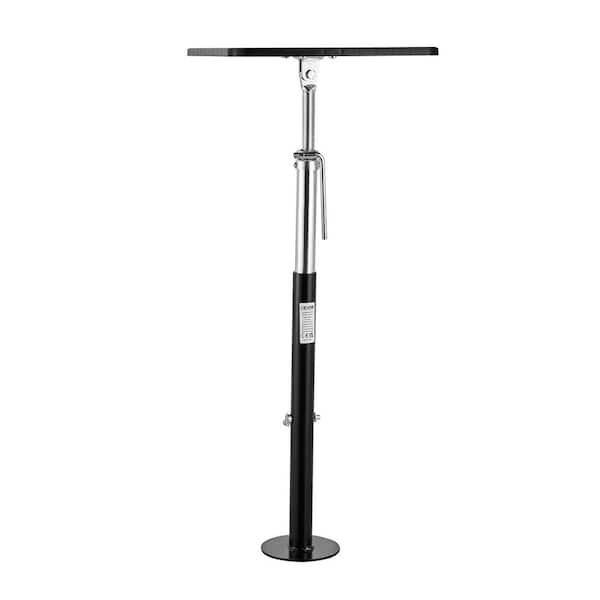
- Leveling jacks or landing gear
- Cylinders, pistons, and seals
- Safety switches or warning sensors
The terms hydraulic leveling cylinder, RV jack cylinder, and hydraulic jack ram often describe similar parts. However, they are not always interchangeable. The bore size, stroke, mounting points, fluid type, hose port, and electrical controls must match the original system.
A leveling cylinder also differs from an RV slide-out ram. A slide-out ram moves a room section. A leveling cylinder supports and stabilizes the parked coach. Their parts may look similar, but their loads and control systems can differ.
Cylinder parts that matter
| Part | What it does | Common problem |
|---|---|---|
| Cylinder barrel | Holds the hydraulic fluid and piston | Rust, dents, or internal wear |
| Piston rod | Extends and retracts the jack | Pitting, bending, or scoring |
| Rod seal | Keeps fluid inside | External oil leak |
| Piston seal | Separates pressure areas | Internal bypass |
| Wiper seal | Keeps dirt out | Dirt enters the barrel |
| Mounting pin or bracket | Attaches the cylinder to the frame or leg | Wear or bending |
| Hydraulic port | Connects the hose | Loose fitting or damaged thread |
A cylinder can look clean and still fail internally. A worn piston seal may let fluid pass from one side of the piston to the other. In that case, the jack may drift down or fail to hold pressure without leaving a large puddle.
How an RV Hydraulic Leveling System Works
The pump draws fluid from the reservoir and pushes it through valves to a selected cylinder. Pressure moves the cylinder rod. When you retract the jack, the valves change the fluid path so fluid can return to the reservoir.
The control panel usually sends power to the pump motor and valve coils. Some systems level the RV one jack at a time. Others operate pairs of jacks or use an automatic leveling cycle.
The cylinder creates force based on hydraulic pressure and piston area:
Force = pressure × piston area
A larger piston can create more force at the same pressure. But size alone does not prove that a replacement cylinder is suitable. The system also depends on valve capacity, pump output, frame design, hose size, and the RV manufacturer’s leveling limits.
Leveling versus lifting
Leveling means removing much of the coach tilt while keeping the tires supported. Lifting means raising part of the RV or taking a tire off the ground.
That difference matters. Many RV makers warn against lifting the wheels with leveling jacks because the frame, suspension, jack mounts, or cylinder may not be designed for that load. If a tire must leave the ground for service, use equipment and procedures approved for that task.
Use wheel chocks before leveling when the manufacturer permits them. Keep people away from the space beneath the coach. Never crawl under an RV supported only by hydraulic jacks.
What the cylinder should do
A healthy cylinder should:
- Extend without jerking.
- Hold its position after the pump stops.
- Retract when the correct valve or control is used.
- Stay dry around the rod seal and fittings.
- Move at a rate that matches the other jacks.
Cold weather, thick fluid, a weak battery, or a restricted hose can slow movement. Slow movement alone does not prove that the cylinder has failed.
Symptoms of a Bad RV Leveling Cylinder
The symptom often points to the right test, but it does not always identify the failed part. Check the simple and safe causes first.
The jack will not extend
Possible causes include:
- Low hydraulic fluid
- Weak chassis or house battery
- Blown fuse or poor ground
- Failed pump motor
- Bad valve coil
- Blocked hose
- Bent jack or damaged cylinder
- Control-panel fault
If other jacks work normally, compare the affected jack’s hose, valve, wiring, and mounting points with a working one. Do not swap hoses unless the service manual allows it and the system is depressurized.
The jack extends slowly
Slow movement can come from low fluid, low voltage, a weak pump, cold fluid, a restricted hose, or a failing cylinder seal.
Listen to the pump. A laboring motor may point to low voltage or excessive load. A smooth pump with one slow jack may point to a local valve, hose, or cylinder problem.
The jack creeps down
A jack that retracts or sinks after it reaches position may have:
- An external leak
- A leaking valve
- An internal cylinder bypass
- A loose fitting
- A damaged hose
Clean the suspected area first. Then watch for fresh fluid while the system is under normal operating conditions. Do not touch a pressurized leak with your hand. High-pressure fluid can enter skin and cause a medical emergency.
The cylinder leaks hydraulic fluid
Look for wetness around the rod, gland, hose connection, or cylinder body.
- Fluid at the rod usually suggests a rod seal problem.
- Fluid at the hose may indicate a fitting, hose, or port problem.
- Fluid from the cylinder body may indicate a damaged seal or barrel.
- Fluid near the pump may come from the reservoir, pump seal, or another hose.
A dirty, oily jack is not proof that the cylinder itself needs replacement. Fluid can travel along a frame or hose before dripping.
The jack will not retract
A stuck jack may result from a failed return valve, weak spring, bent rod, contamination, frozen moisture, or mechanical binding. Do not drive with a jack partly down.
Follow the system’s manual release procedure. If the jack remains extended, have an RV service technician inspect it before travel.
How to Diagnose an RV Leveling Cylinder
Start with the owner’s manual and the leveling-system manual. Identify the system brand and model before ordering parts. Common U.S. systems include equipment made by HWH, Lippert, and Equalizer Systems, but the correct procedure depends on the exact model.
1. Park safely
Park on a firm, reasonably level surface. Set the parking brake. Follow the coach manual for transmission position, wheel chocks, and engine operation.
Keep clear of the jack legs. Do not place any part of your body under the coach during a basic visual check.
2. Check the fluid level
Use the fluid listed by the system maker. Do not assume that all hydraulic fluids are compatible. Mixing fluids can damage seals or change system operation.
Check the reservoir in the position specified by the manual. Some systems require the jacks to be fully retracted before checking fluid. An incorrect jack position can make the reservoir appear overfilled or low.
If the level is low, find the leak before adding large amounts of fluid. A low level is a symptom, not a complete diagnosis.
3. Check battery voltage and electrical power
Hydraulic pumps draw high current. A weak battery, poor cable connection, corroded ground, or failed solenoid can make a good cylinder appear weak.
Check:
- Battery condition
- Battery terminals
- Main grounds
- Fuses and breakers
- Pump relay or solenoid
- Valve-coil connections
- Control-panel lights and error codes
Use the voltage and test method in the system manual. Electrical testing near hydraulic oil requires care to avoid sparks and short circuits.
4. Inspect the cylinder and jack mount
Look for:
- Bent piston rod
- Rust or pits on the rod
- Scratches on the barrel
- Loose mounting pins
- Cracked brackets
- Damaged return springs
- Debris around the foot or jack leg
- Fresh oil
A damaged rod can quickly ruin a new seal. Repair the mechanical cause before installing another cylinder.
5. Compare the bad jack with a working jack
This is a useful diagnostic method when the system has matching jacks.
Compare the affected side with a working side:
- Does the pump sound the same?
- Does the valve click?
- Does the hose remain firm?
- Does the rod move at the same speed?
- Does the warning light respond?
- Is the fluid path similar?
Do not make a hose or valve swap unless the manufacturer’s instructions support it. Incorrect testing can introduce air, cause a leak, or create a new fault.
6. Test for internal bypass
A cylinder may bypass fluid internally if it cannot hold position but shows no external leak. A qualified technician can isolate the cylinder and valve, use approved pressure-test tools, and determine which component is losing pressure.
Pressure testing is not a good first step for a do-it-yourself inspection. The system may contain very high pressure, and the wrong gauge or fitting can fail.
7. Service or replace the cylinder
A cylinder may be resealed if the barrel and rod are in good condition and the manufacturer supports seal replacement. Replacement is often more sensible when the rod is bent, the barrel is scored, or the mounting structure is damaged.
After service, the system may need bleeding, fluid adjustment, sensor calibration, or a complete leveling-cycle test.
Choosing a Replacement RV Leveling Cylinder
Choose the replacement by system identification, not by appearance. The most reliable path is the original part number or a verified cross-reference from the system manufacturer.
Record these details:
- RV make, model, and model year
- Leveling-system brand and model
- Original cylinder part number
- Extended and retracted length
- Stroke length
- Bore diameter
- Rod diameter
- Mounting-hole size and spacing
- Port size and port position
- Clevis, pin, or bracket style
- Hydraulic-fluid specification
- Maximum rated load, if documented
Do not use a cylinder with a longer stroke just because it fits the hose. The jack may contact the ground or frame at the wrong point. Do not assume that a higher load rating makes a part safer. The coach frame and mounting brackets may limit the system.
Cylinder replacement decision table
| Finding | Likely action |
|---|---|
| Loose hose fitting with no rod damage | Repair the fitting using the manual’s method |
| Wet rod seal and smooth rod | Seal repair may be possible |
| Pitted or bent rod | Replace or professionally rebuild the cylinder |
| Damaged barrel | Replace or rebuild through a qualified hydraulic shop |
| Cracked mounting bracket | Stop using the system and repair the structure |
| No movement but pump and other jacks work | Test valve, hose, wiring, and cylinder |
| Jack drifts with no visible leak | Test valve and cylinder for internal bypass |
| Wrong or unknown fluid | Stop and confirm fluid before further use |
A new cylinder will not solve a bad valve, blocked hose, weak battery, or cracked mount. Diagnose the whole circuit before buying parts.
Installation and Maintenance Safety
Hydraulic oil can cause serious injury when it escapes under pressure. Never search for a leak with your fingers. Use cardboard or another safe method from a distance, and seek medical care at once if fluid enters the skin.
Before disconnecting a hydraulic line:
- Park and secure the RV.
- Retract the jacks if the system and conditions allow it.
- Support the coach with approved mechanical supports if any work must occur beneath it.
- Shut down the pump and follow the pressure-release procedure.
- Clean the connection before opening it.
- Cap open lines and ports to keep dirt out.
- Use the correct replacement seals and fluid.
- Check for leaks from a safe position after reassembly.
Never rely on a hydraulic jack or leveling cylinder as the only support while working underneath an RV. A hydraulic system can lose pressure without warning.
During routine care, inspect the rod for rust and dirt. Keep the exposed rod clean, but do not apply a random lubricant. Some systems specify a particular lubricant, while others warn against products that attract grit or harm seals.
Retract the jacks before travel. Confirm that the warning system is off and that each jack is fully stowed. If a jack warning remains active, stop and find the cause before driving.
When to Call an RV or Hydraulic Technician
Professional help is the safer choice when the cylinder is bent, the mount is damaged, the jack will not retract, the system loses pressure, or the coach must be supported during repair.
A technician is also appropriate when:
- You cannot identify the fluid.
- The system needs a pressure test.
- The cylinder must be rebuilt.
- A control valve may be stuck.
- The RV frame or jack bracket is damaged.
- You need to work under the raised coach.
- The replacement part does not match the original specifications.
Ask the shop to identify the failed part, not just replace the cylinder. A useful work order should state the observed symptom, fluid condition, leak location, electrical test result, and reason for the recommended repair.
For system-specific procedures, use the RV owner’s manual and the leveling-system maker’s service information. Manufacturer resources from HWH, Lippert, and Equalizer Systems can help identify parts and procedures, but the instructions for one brand should not be applied to another system without confirmation.
Key Takeaways
- An RV leveling cylinder converts hydraulic pressure into jack movement.
- A leak, slow jack, or drifting jack does not always mean the cylinder has failed.
- Check fluid, battery power, valves, hoses, wiring, and mounts before ordering parts.
- Match the replacement by part number and full dimensions.
- Never crawl under an RV supported only by hydraulic jacks.
- Do not use leveling jacks to lift a wheel unless the coach maker specifically permits it.
- Stop driving if a jack is not fully retracted.
FAQs
Can I drive with an RV leveling cylinder extended?
No. A partly extended jack can strike the road, damage the jack, or affect vehicle control. Retract it fully and confirm the warning system is clear before travel. If it will not retract, use the manufacturer’s emergency procedure or call for service.
How often should I replace an RV leveling cylinder?
There is no universal replacement interval. Replace or rebuild it when inspection shows a damaged rod, leaking seal, internal bypass, or unsafe mount. Regular inspection is more useful than replacing a cylinder by age alone.
Can I use automatic transmission fluid in an RV leveling system?
Only if the system manufacturer specifies it. Hydraulic systems use different fluids, and the wrong fluid can harm seals or affect valve operation. Check the exact manual before adding fluid.
Why does my RV leveling jack sink after leveling?
The cause may be an internal cylinder leak, a leaking control valve, a hose problem, or an external seal leak. Clean the area, watch for fresh fluid, and have the circuit tested if the jack continues to drift.
Can a hydraulic shop rebuild an RV leveling cylinder?
Often, yes, if the cylinder body and rod are serviceable and replacement seals are available. A bent rod, deep rust, scored barrel, or damaged mount may make replacement the better option. Confirm the rebuilt unit’s dimensions and pressure rating before installation.
Conclusion
An RV leveling cylinder is a key part of a hydraulic leveling system, but it is only one possible source of trouble. Safe diagnosis starts with the correct system manual, fluid check, battery check, visual inspection, and comparison with a working jack.
If the cylinder leaks, drifts, binds, or has a damaged rod, stop using the leveling system until the cause is confirmed. Match any replacement to the original specifications, and use qualified help for pressure testing, structural repairs, or work beneath the coach.